Setting Up PingFederate SSO
Last updated: July 16, 2026
This article shows how to retrieve key pieces of information from PingFederate to complete the SAML SSO setup process. For the rest of the SSO setup process, see our article Setting up SAML SSO.
Before you begin
Collect key data from Writer to share with PingFederate, as explained here.
Setting up SAML
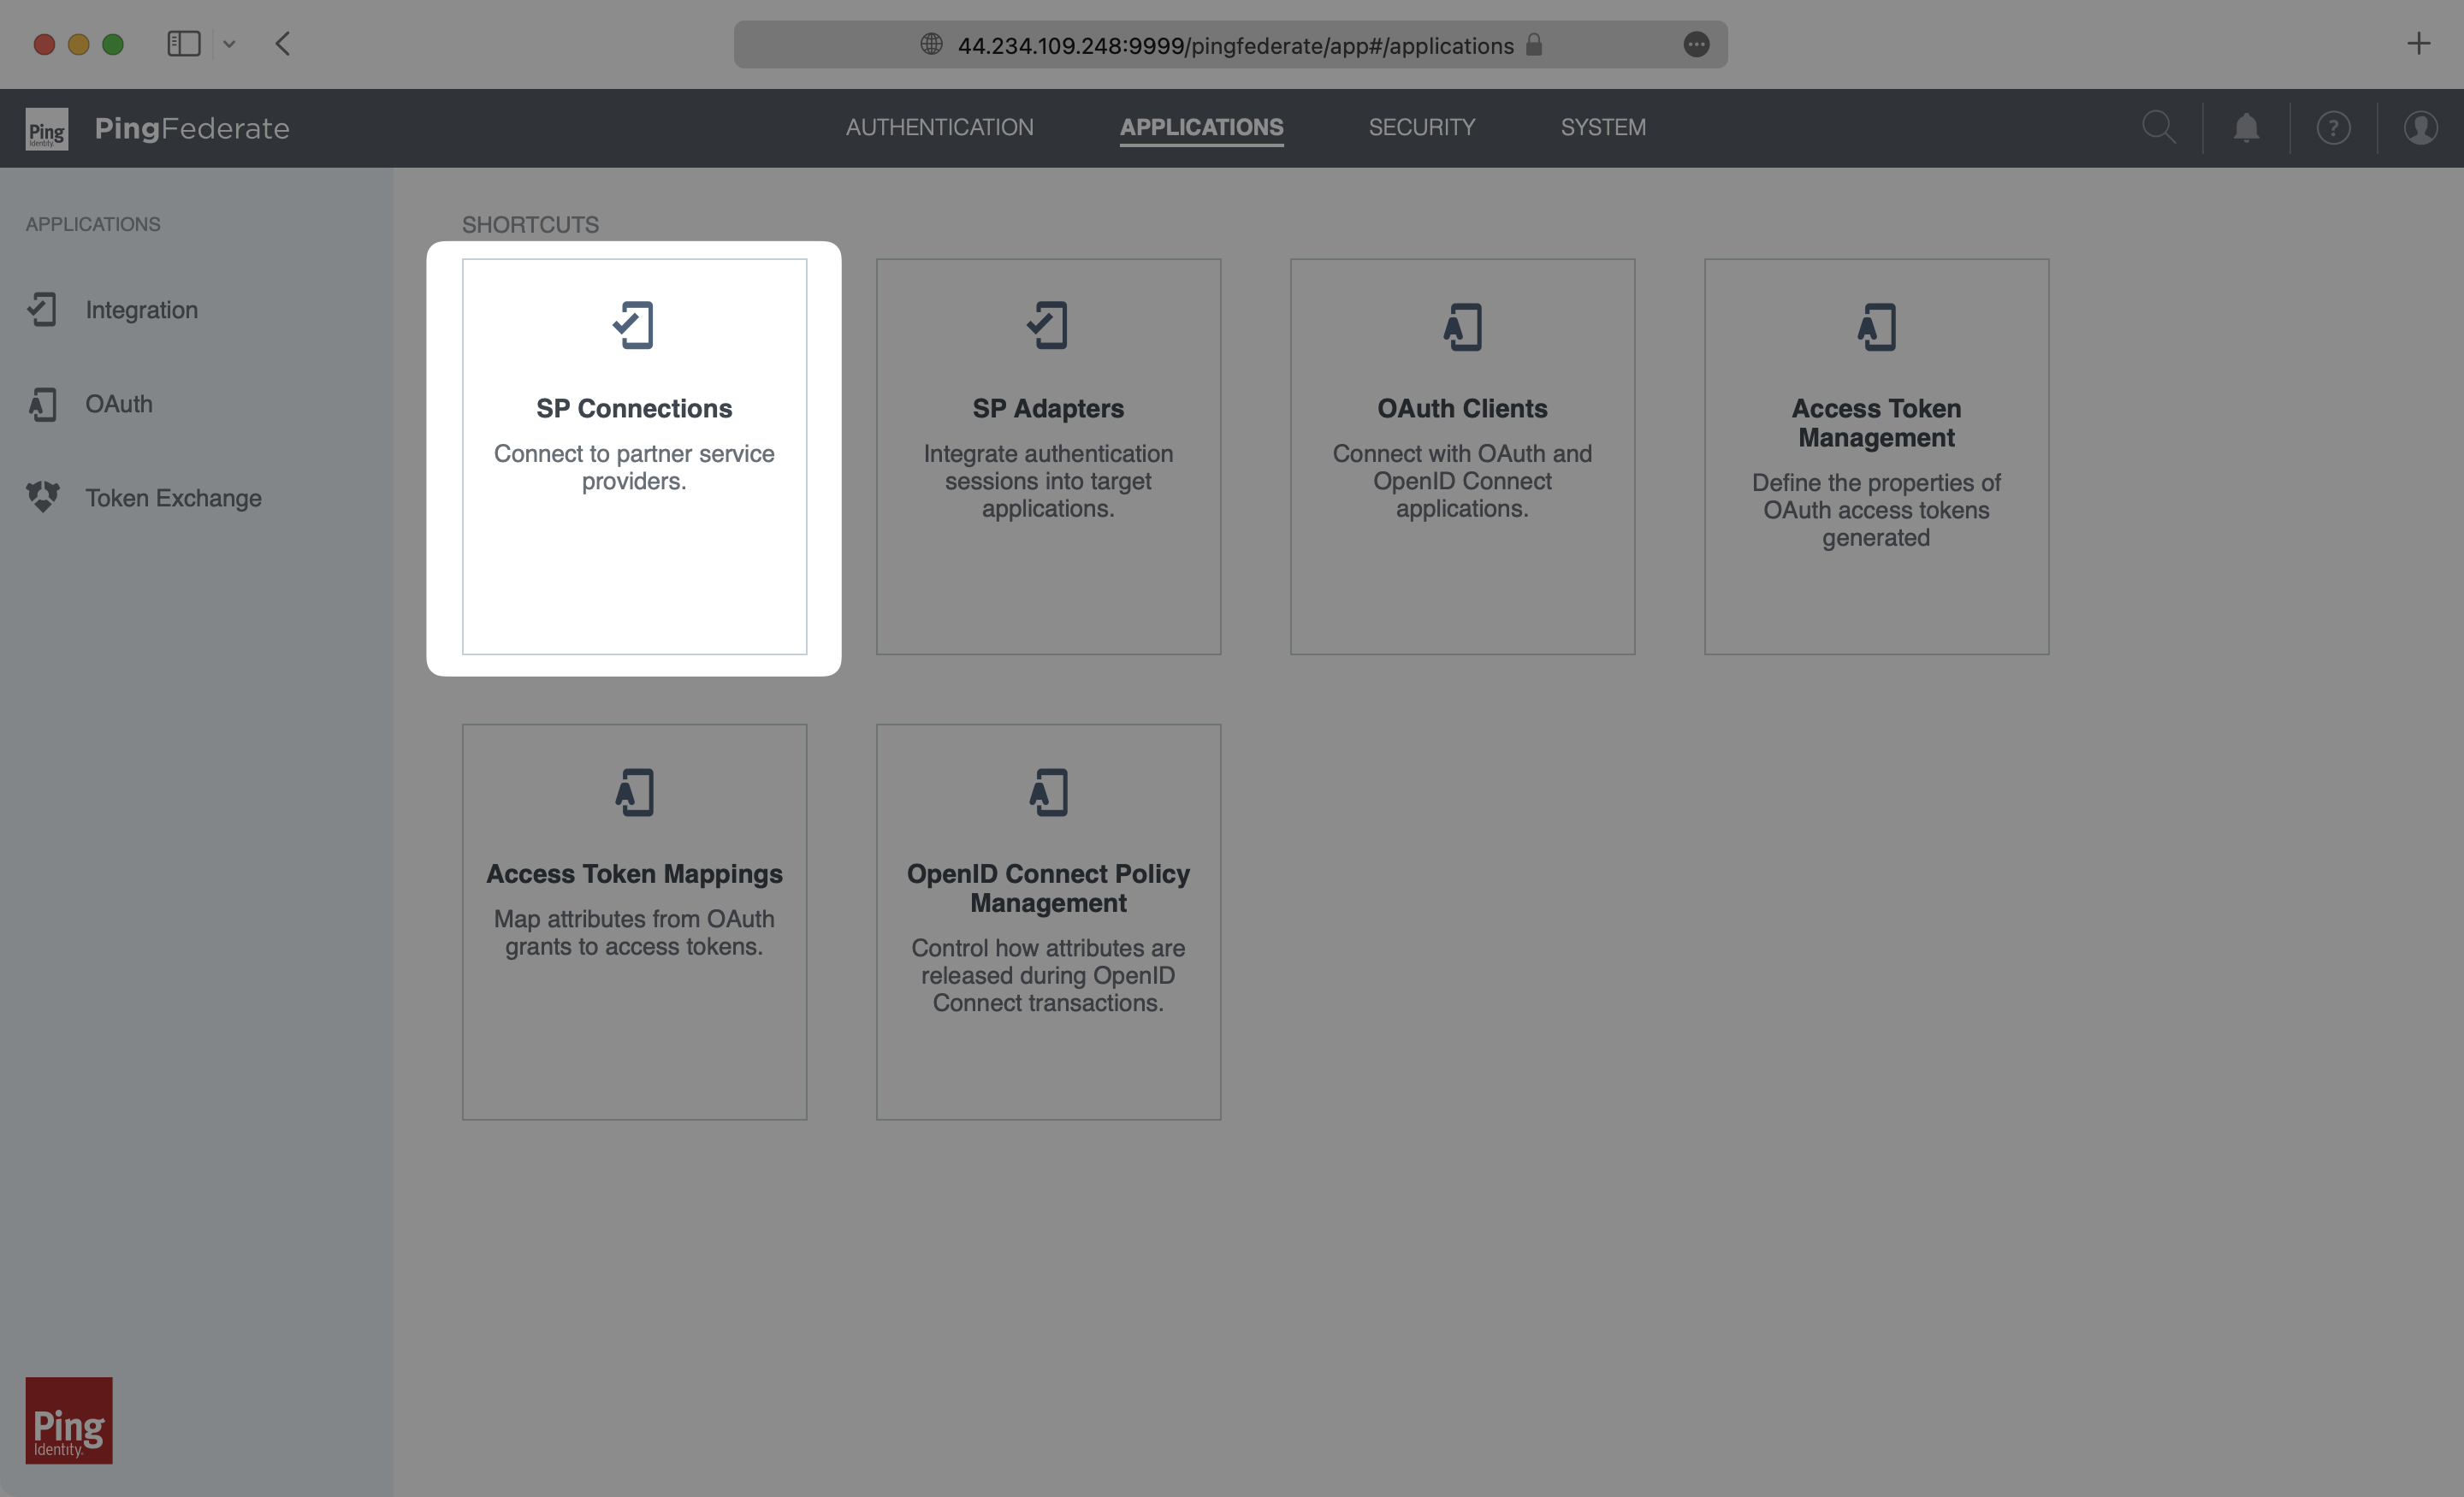
Log in to your PingFederate instance, go to the admin dashboard, select “Applications” at the top, and select the “SP Connections” menu option.
Once there, select "Create Connection".
Configure Connection Mapping
Once you've created the connection, you'll need to configure the various aspects of that connection. Let's walk through each page and what's required to set up the connection:
Connection Template: Select the default setting "DO NOT USE A TEMPLATE FOR THIS CONNECTION".
Connection Type: Select "Browser SSO Profiles" and "SAML 2.0" as the protocol.

Connection Options: Keep this as default "Browser SSO" connection.
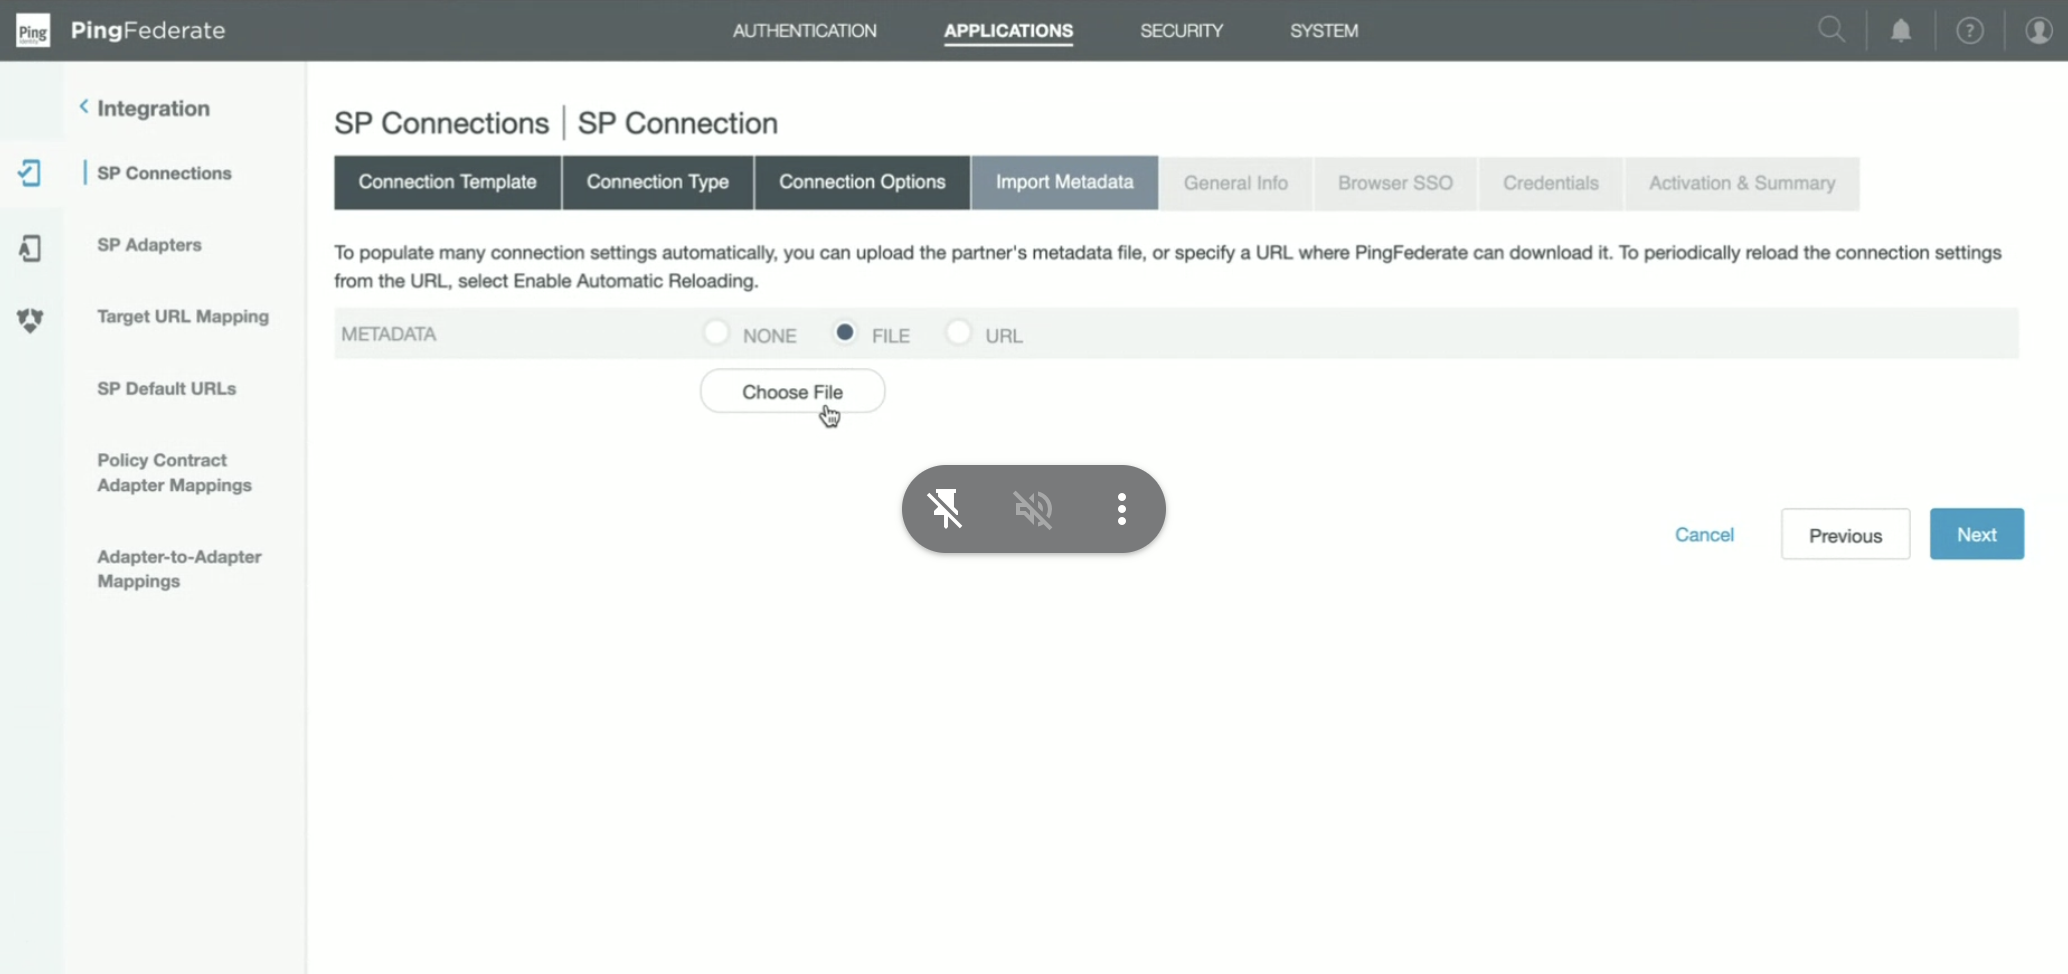
Import Metadata: Select "File" to upload the SP Metadata XML file obtained through the Admin->Single Sign On page within Writer (as shown in this guide).
Metadata Summary: No adjustments need to be made here.
General Info: This page will be populated with information from the metadata file you just uploaded, so no adjustments need to be made here.
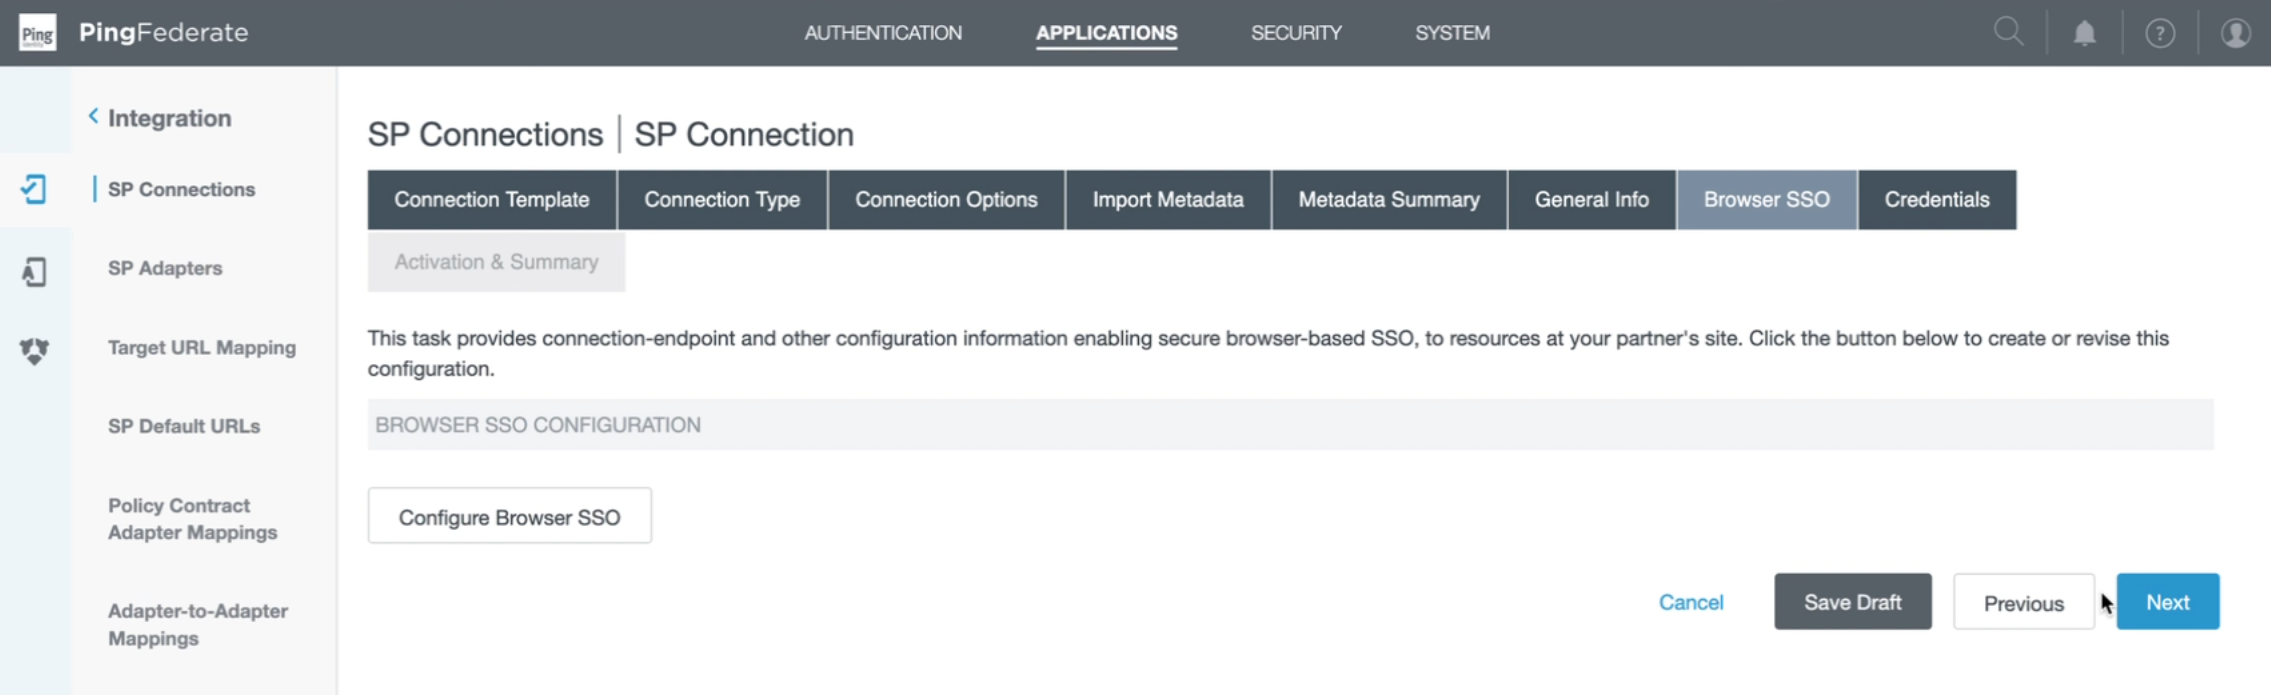
Once the above data is set, you'll be taken to the "Configure Browser SSO" page.
Configuring Browser SSO
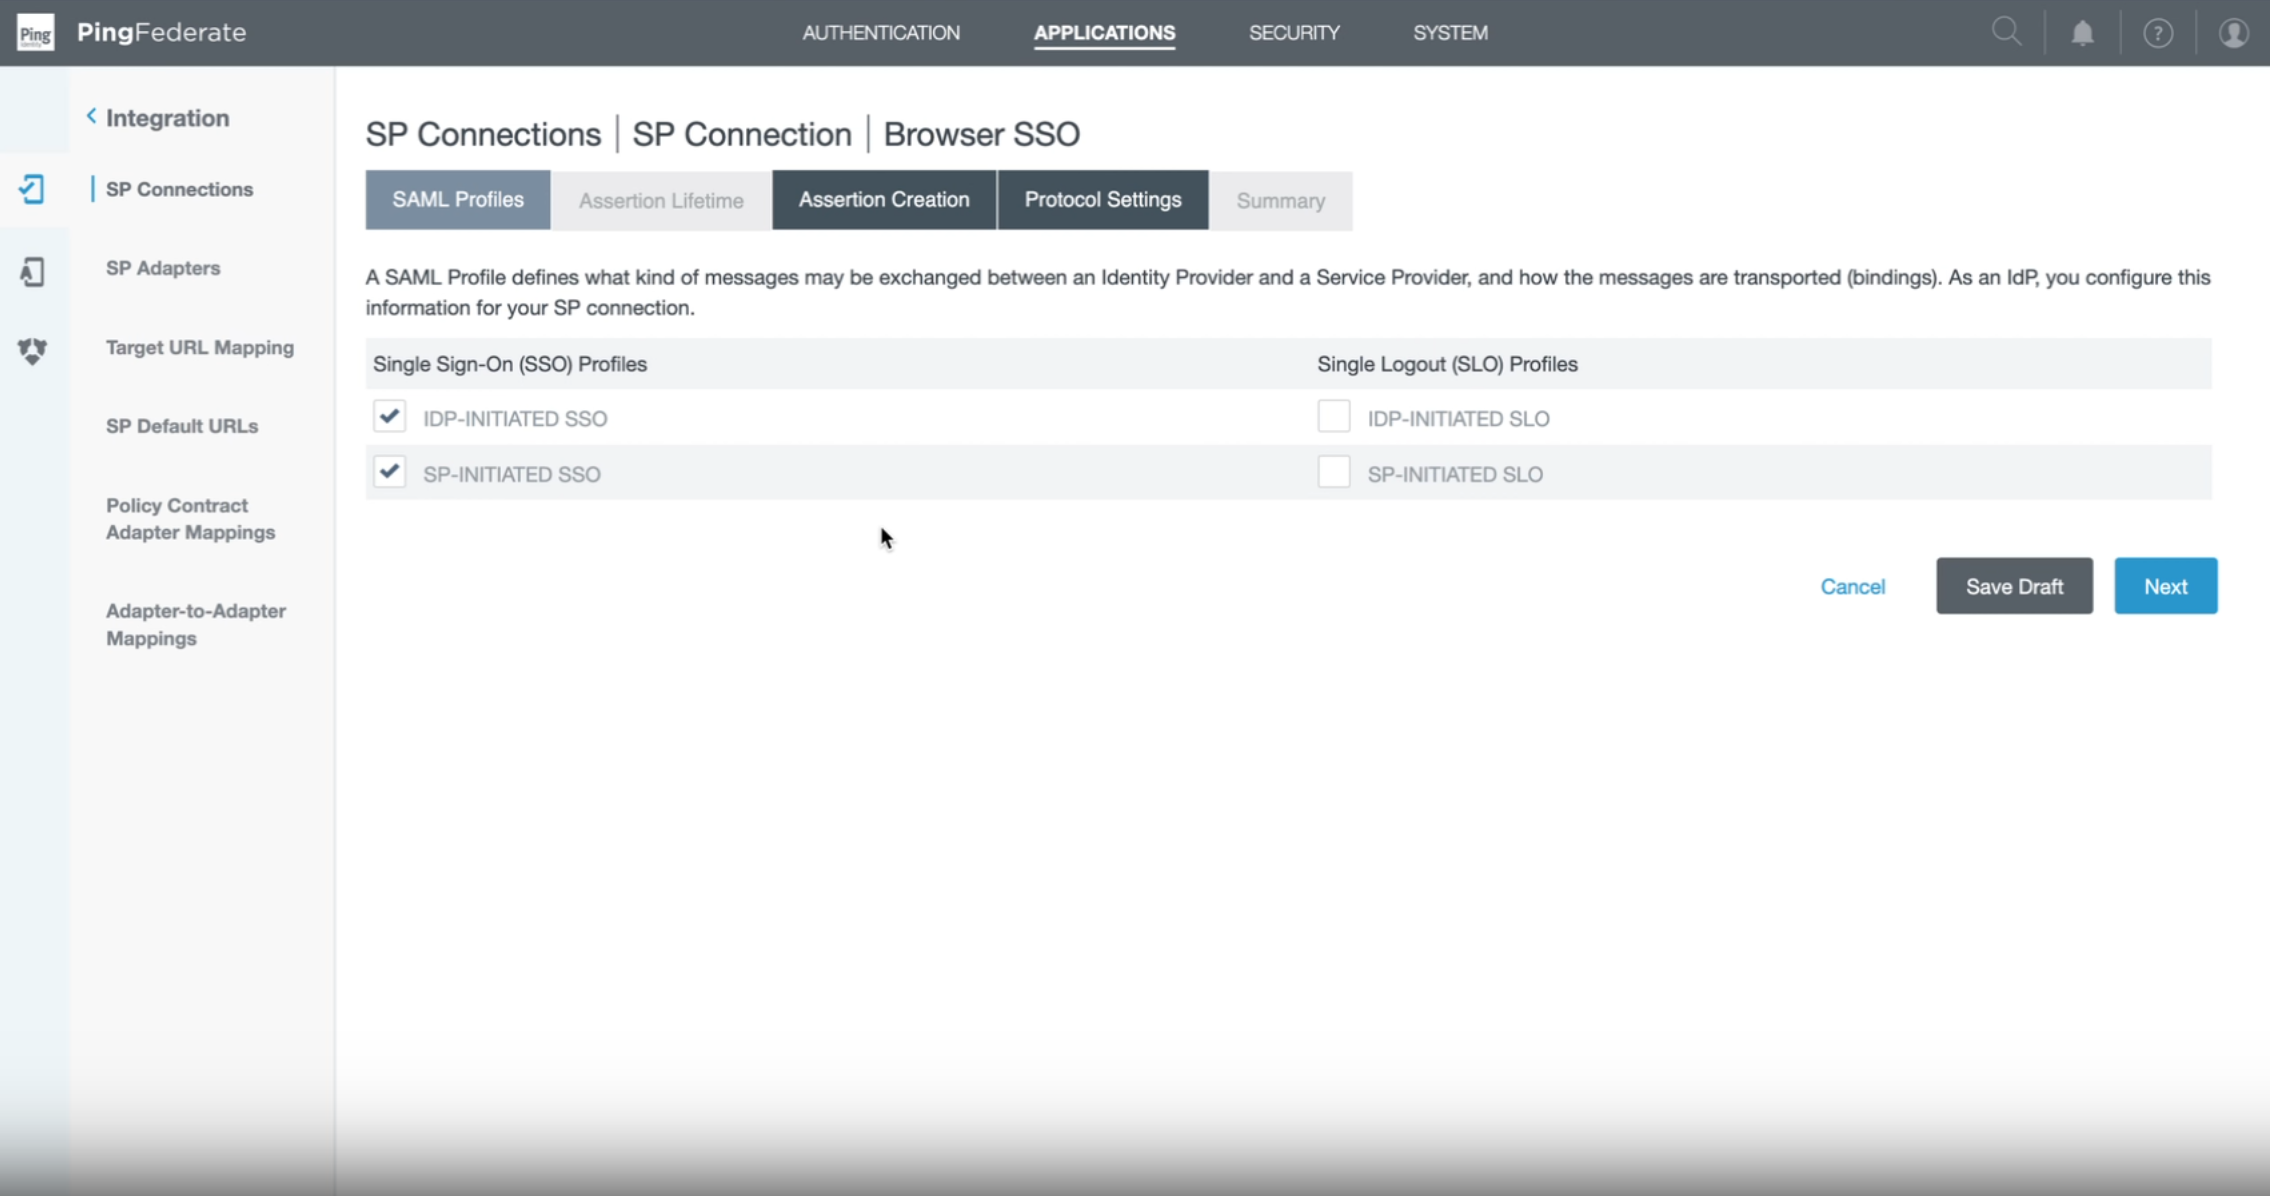
Click the "Configure Browser SSO" option, and then select both "IDP-Initiated SSO" and "SP-Initiated SSO" to configure the Browser SSO.
No changes need to be made on the "Attribute Contact" page. On the "Assertion Creation" page, click "Configure Assertion Creation" to begin the assertion creation workflow.

Assertion Creation
Make sure that the settings stay as "Standard" on the "Identity Mapping" page. On the ensuing "Attribute Contract" page, the Attribute Contract should be set to "SAML_SUBJECT" and the Subject Name Format should follow the format in the screenshot below:

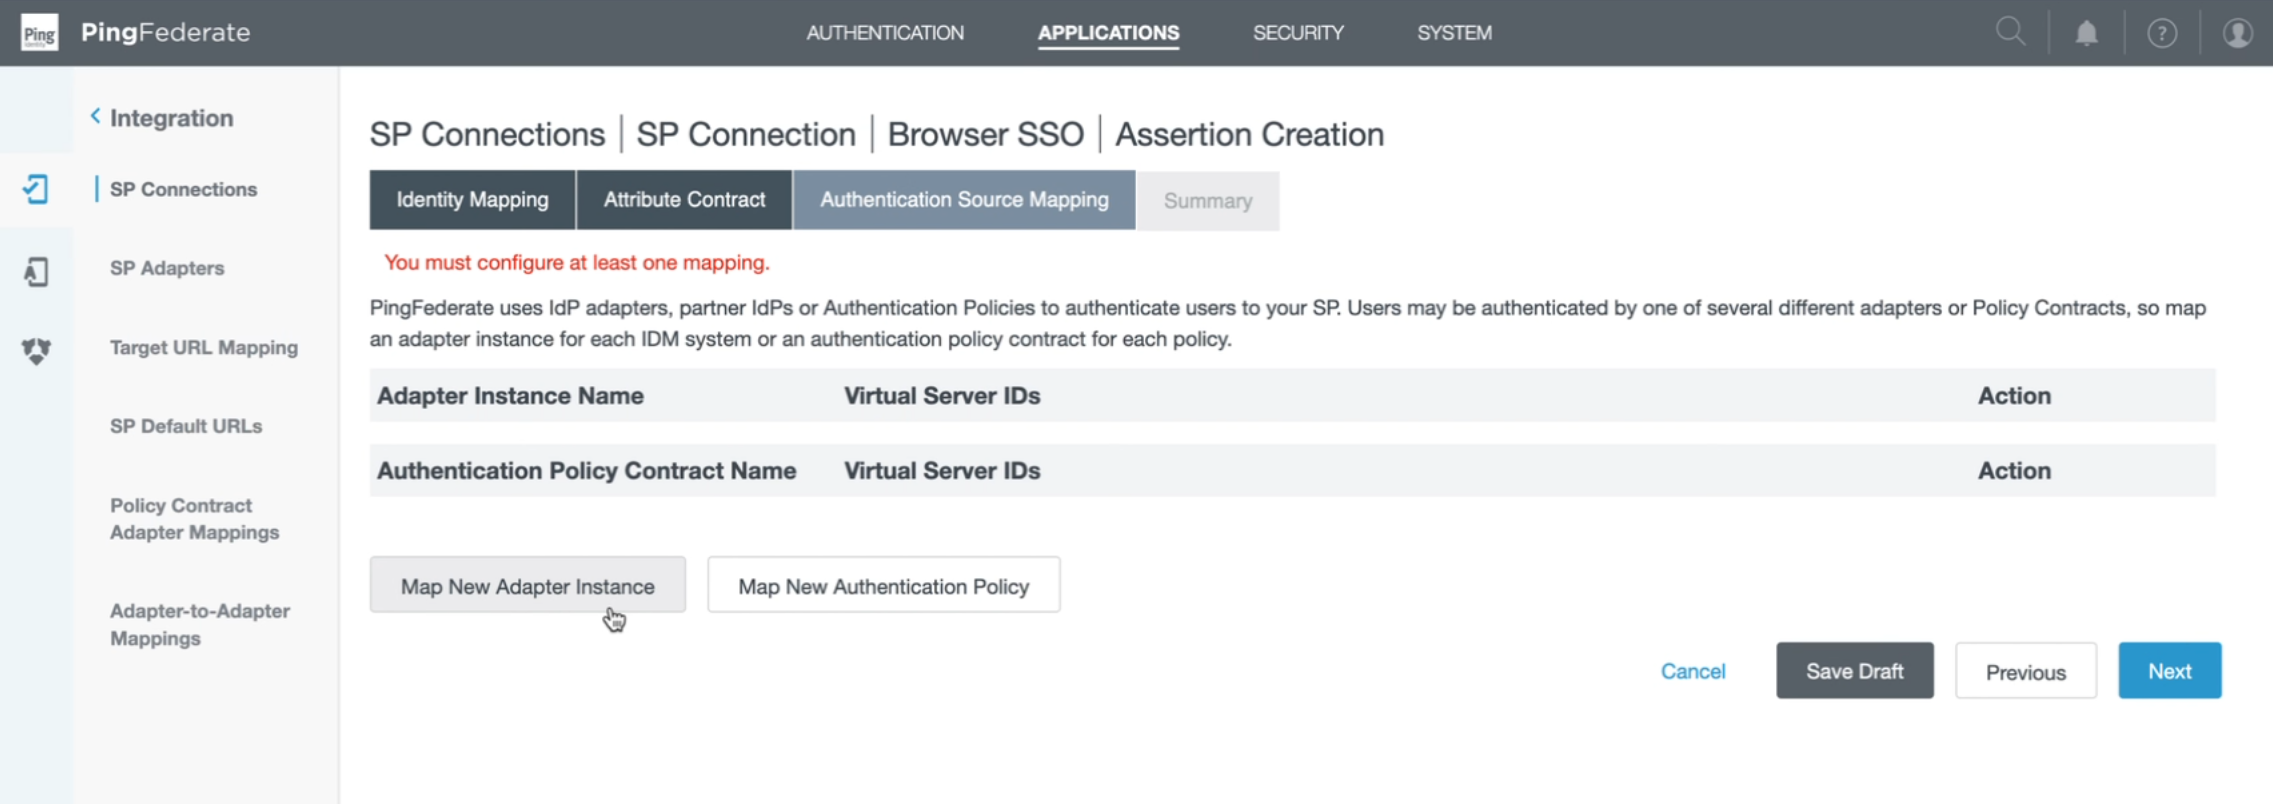
Once setup, the user's email address will function as the "nameid" in the subject name format. On the ensuing "Authentication Source Mapping" page, select "Map New Adapter Instance" to set up the adapter for this connection.
For the "Adapter Instance" value, select your desired adapter for your organization's use case. For demo purposes below, we've selected "htmlform".
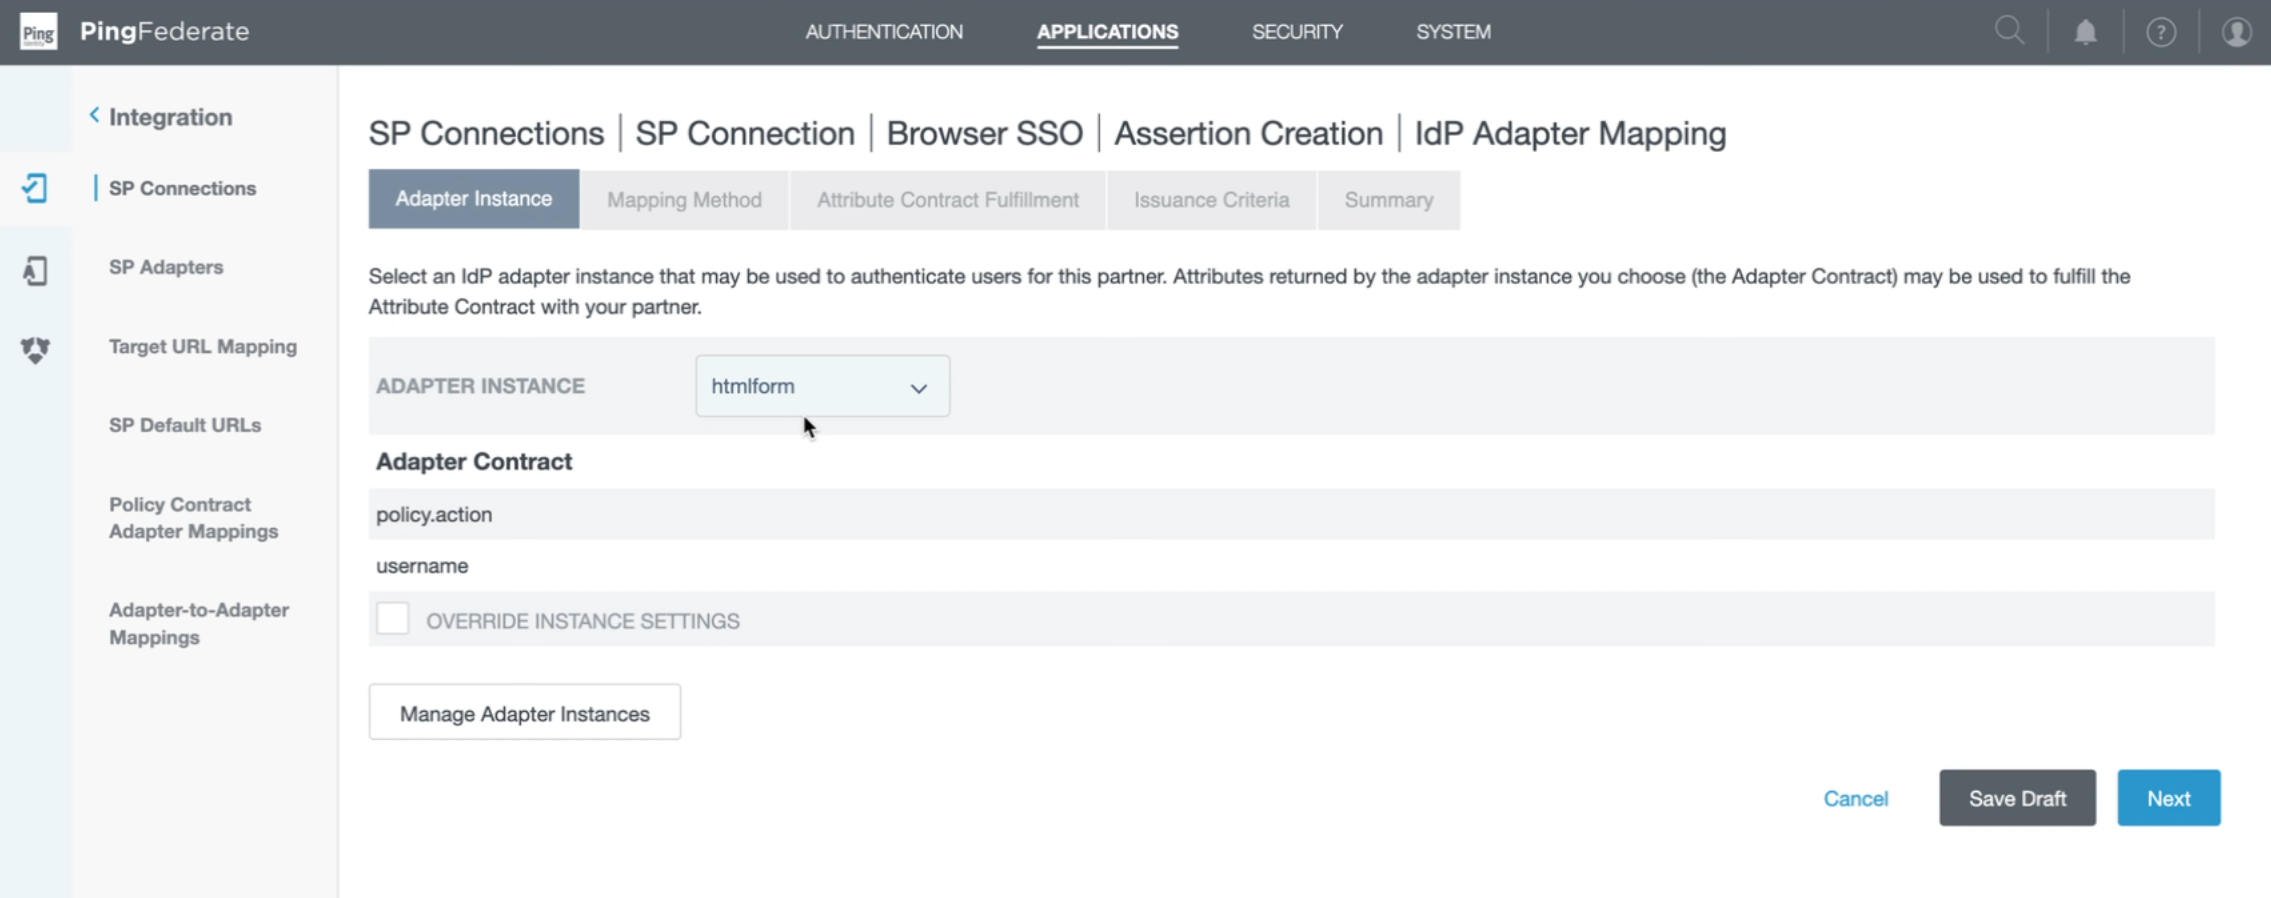
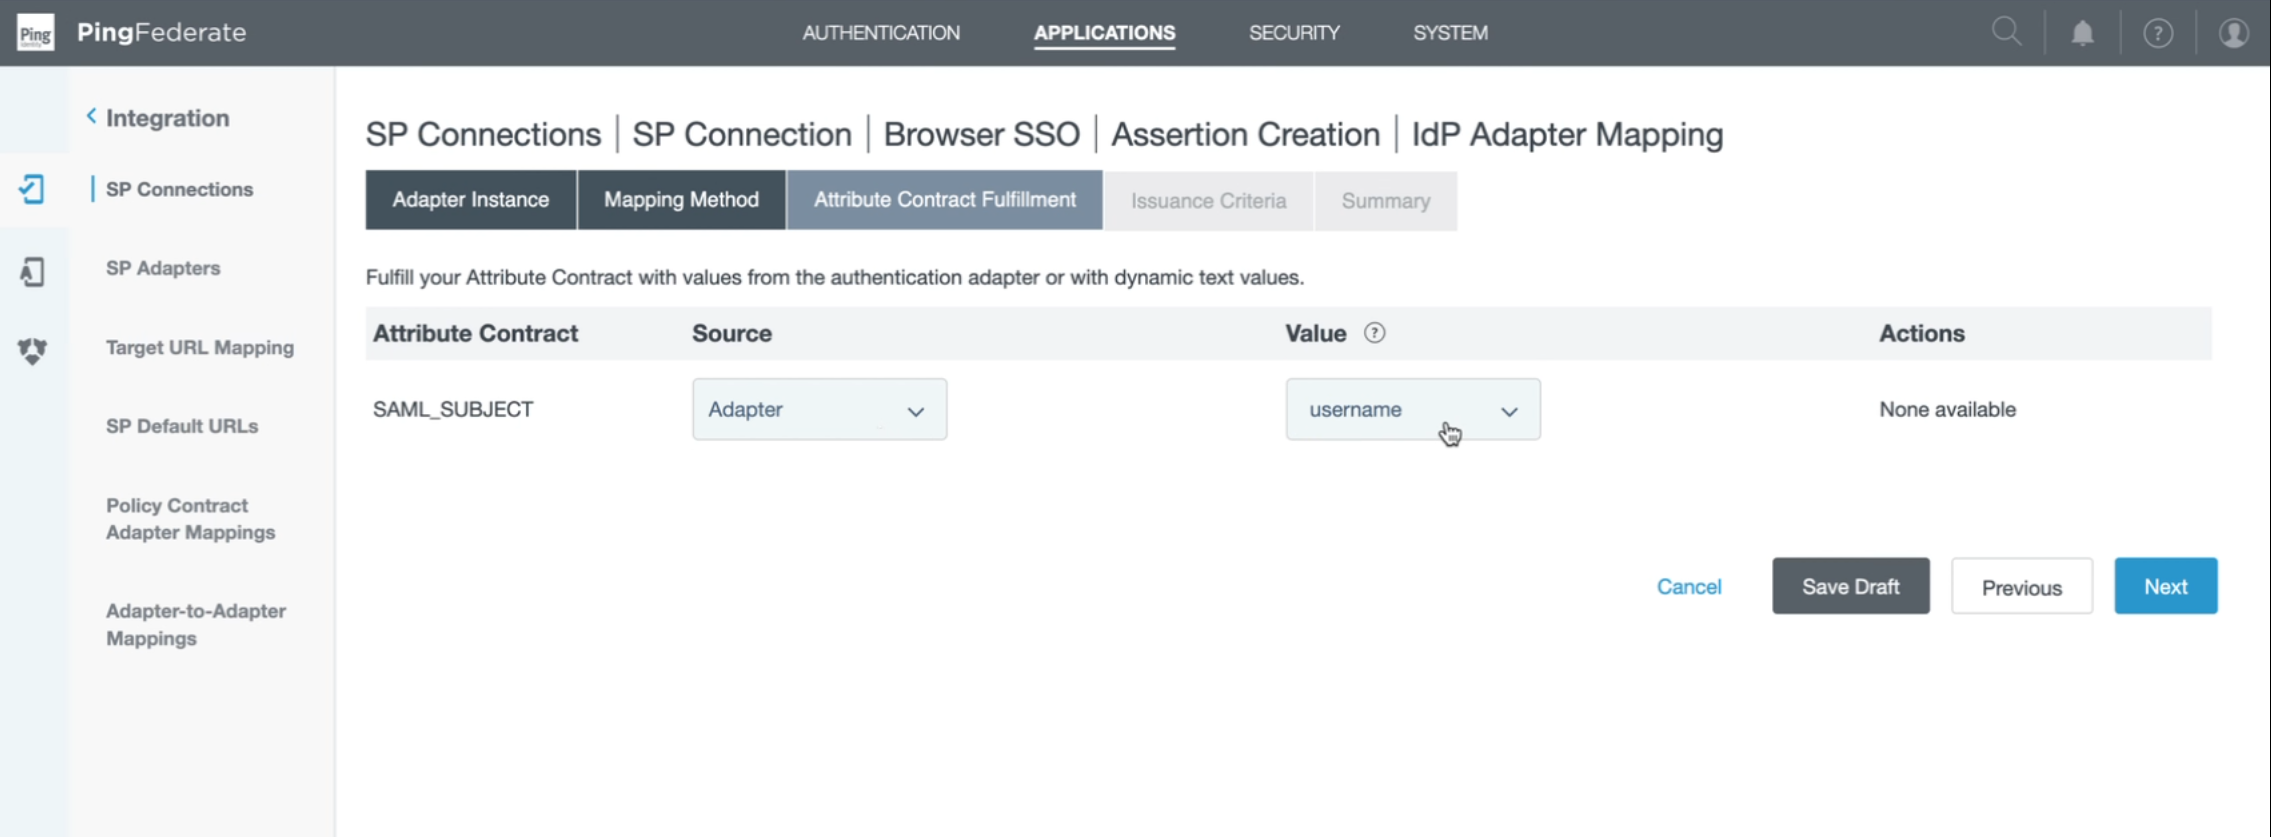
No changes need to be made to the "Mapping Method" page, but you'll want to enter specific values when setting up the "Attribute Contract Fulfillment" page: Set Source to "Adapter" and Value to whichever field parses email for your organization.
No additional changes need to be made on "Authentication Source Mapping" or "Summary". Once you click "Done" on the "Summary" page, you'll be taken back to "Assertion Creation" within the "Browser SSO" workflow.

Once back in the "Browser SSO" workflow, click "Configure Protocol Settings" on the "Protocol Settings" page.

Protocol Settings
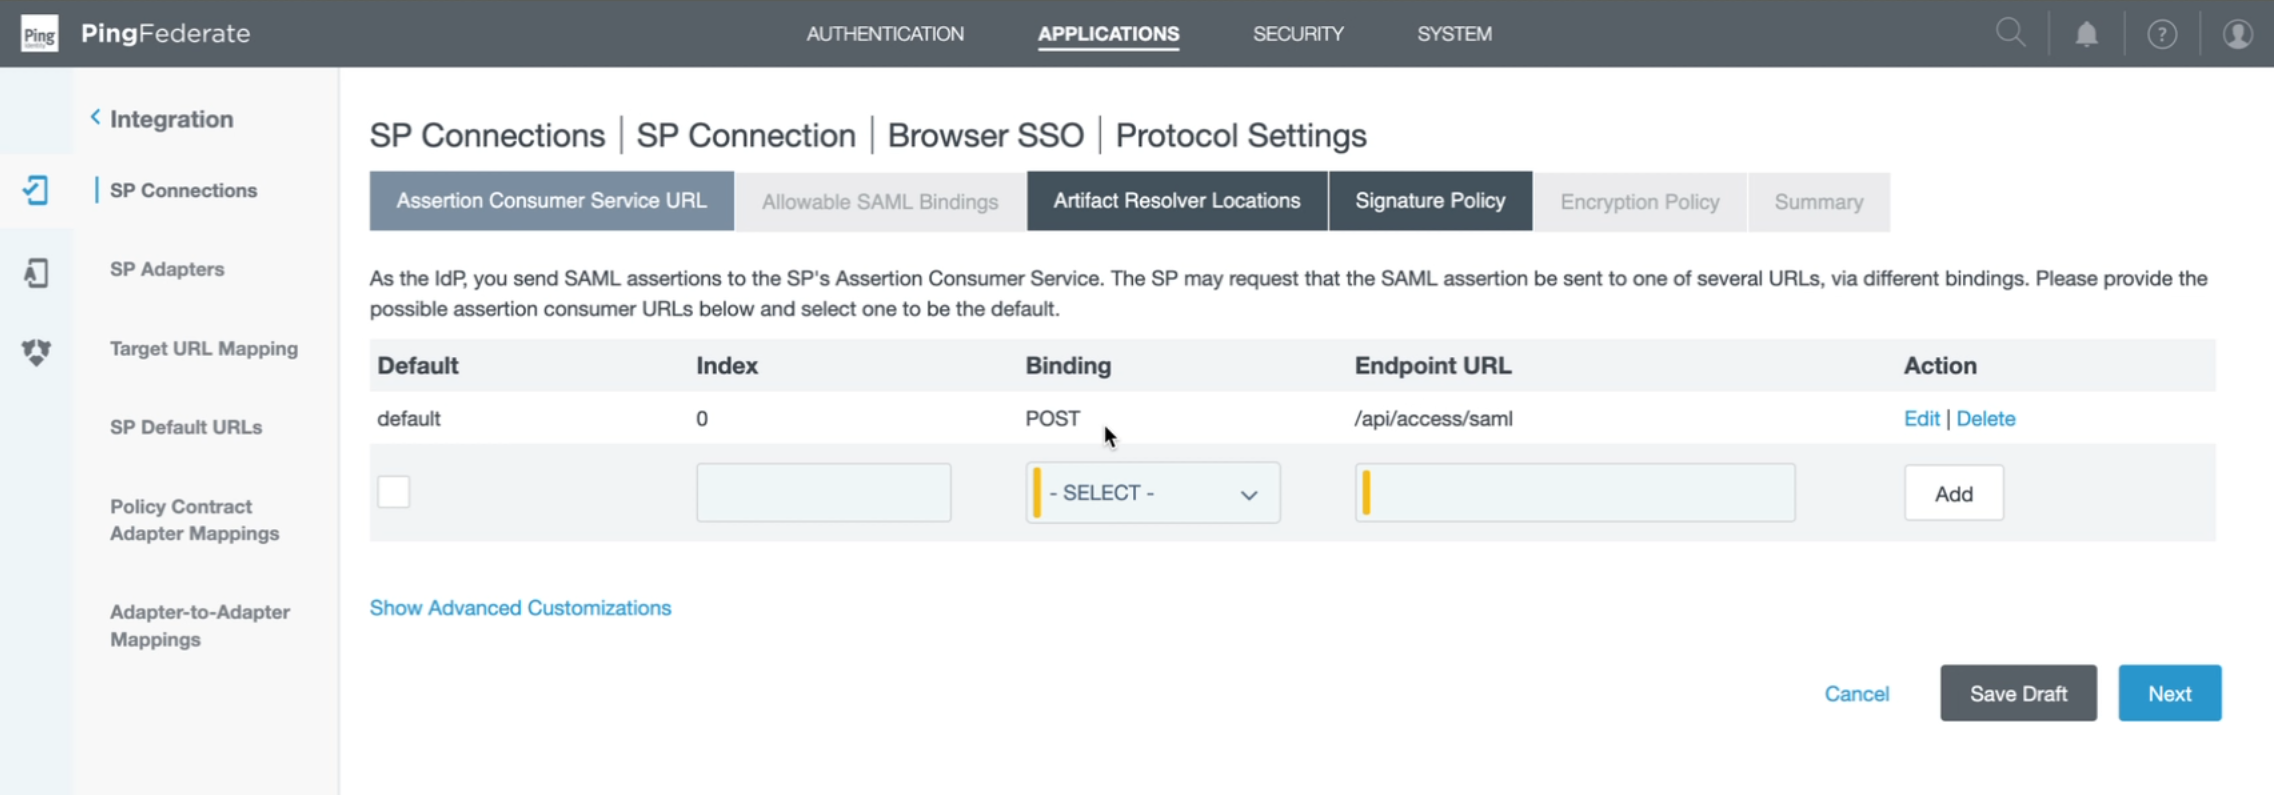
On the initial "Assertion Consumer Service URL" page, the only value that you need to check is that "Binding" is set to "POST". The endpoint URL will be set by the uploaded metadata, so no other changes need to be made.
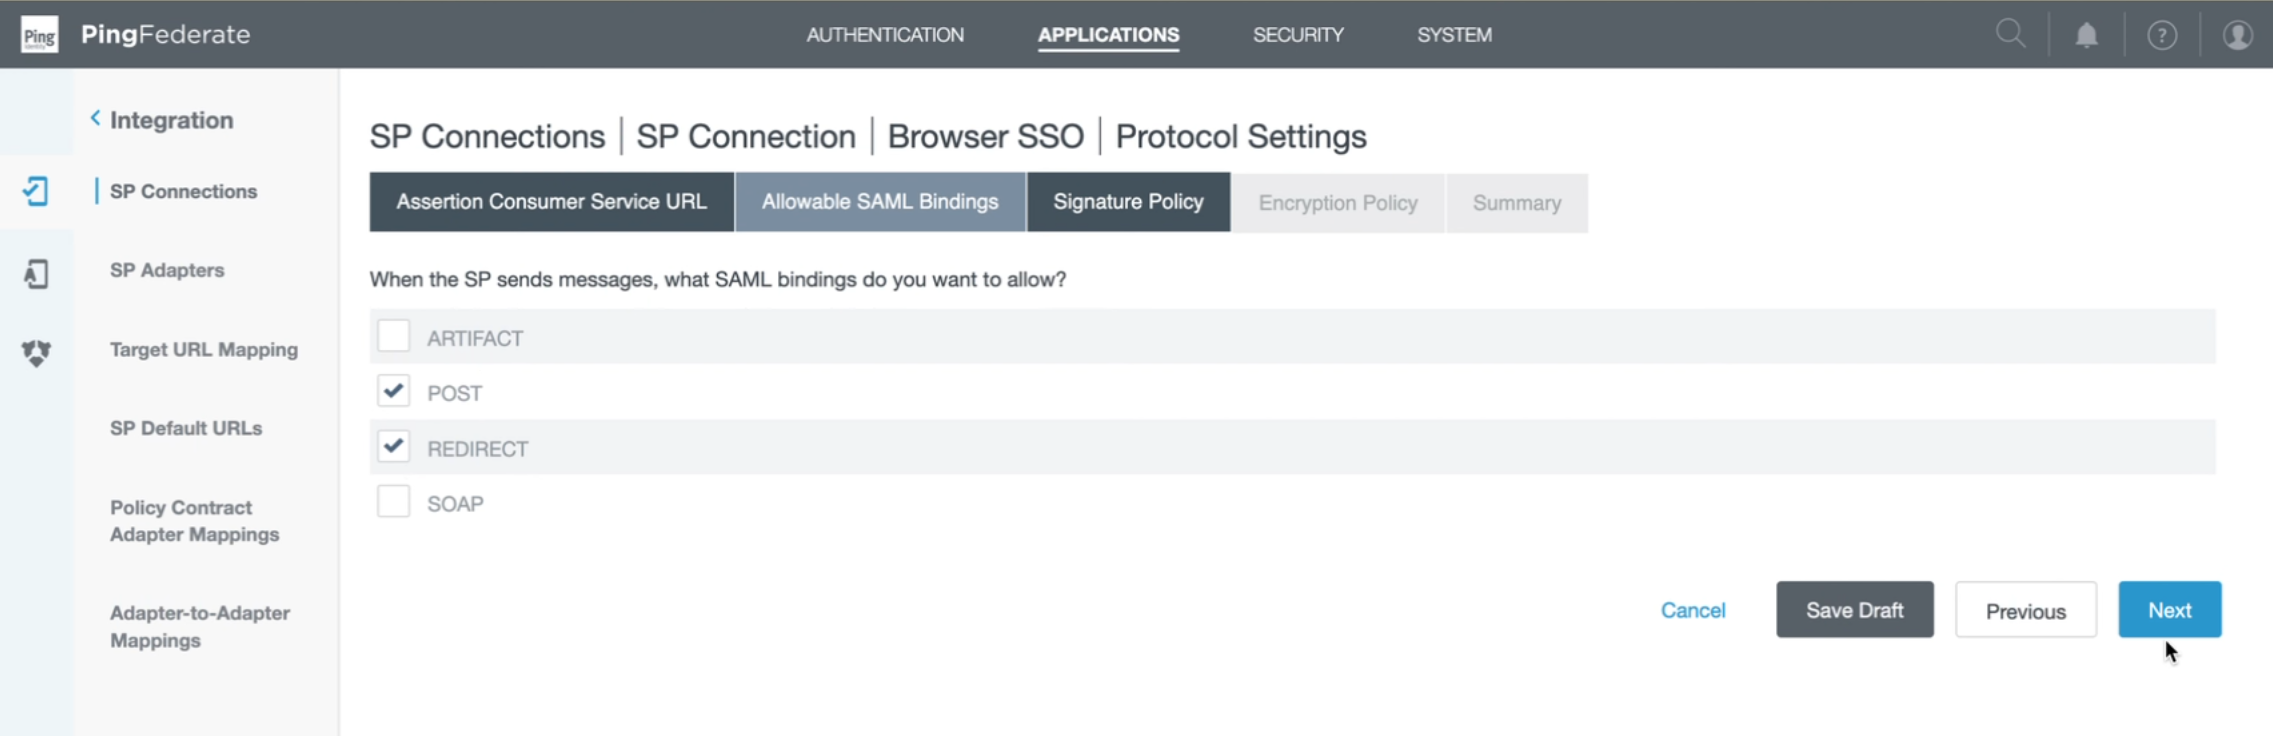
On "Allowable SAML Bindings", make sure that the only selected options are "POST" and "REDIRECT".
No changes need to be made on either the "Signature Policy" or the "Encryption Policy" page, and the final "Summary" page will show you the protocol settings you've just selected. Click "Next' to return to the "Browser SSO" workflow.
Back to "SP Connection" workflow
Once back in the "Browser SSO" workflow, click "Next" until you reach the "Summary" page for the workflow. This summary will show you the choices you've made for "Browser SSO", and clicking "Done" will take you all the way back out to the initial "Browser SSO" page in the "SP Connection" workflow.
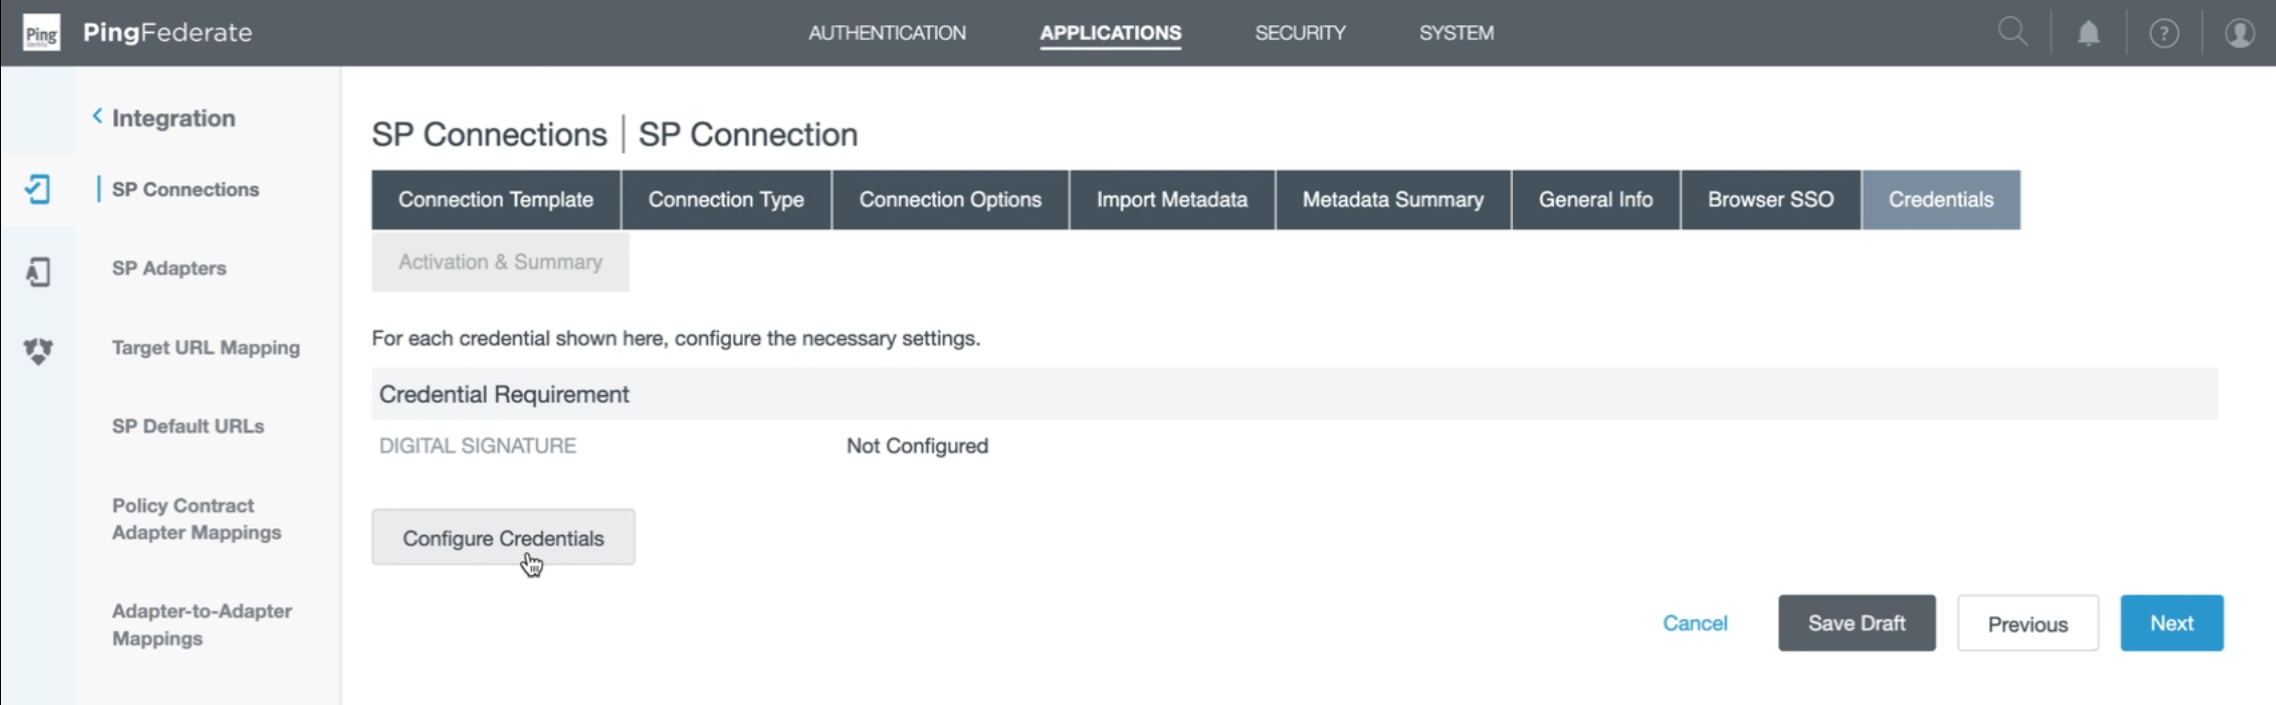
On the "Credentials" page, click "Configure Credentials" to setup the digital signature.
For the "Signing Certificate" field, select the certificate option provided by the IDP.
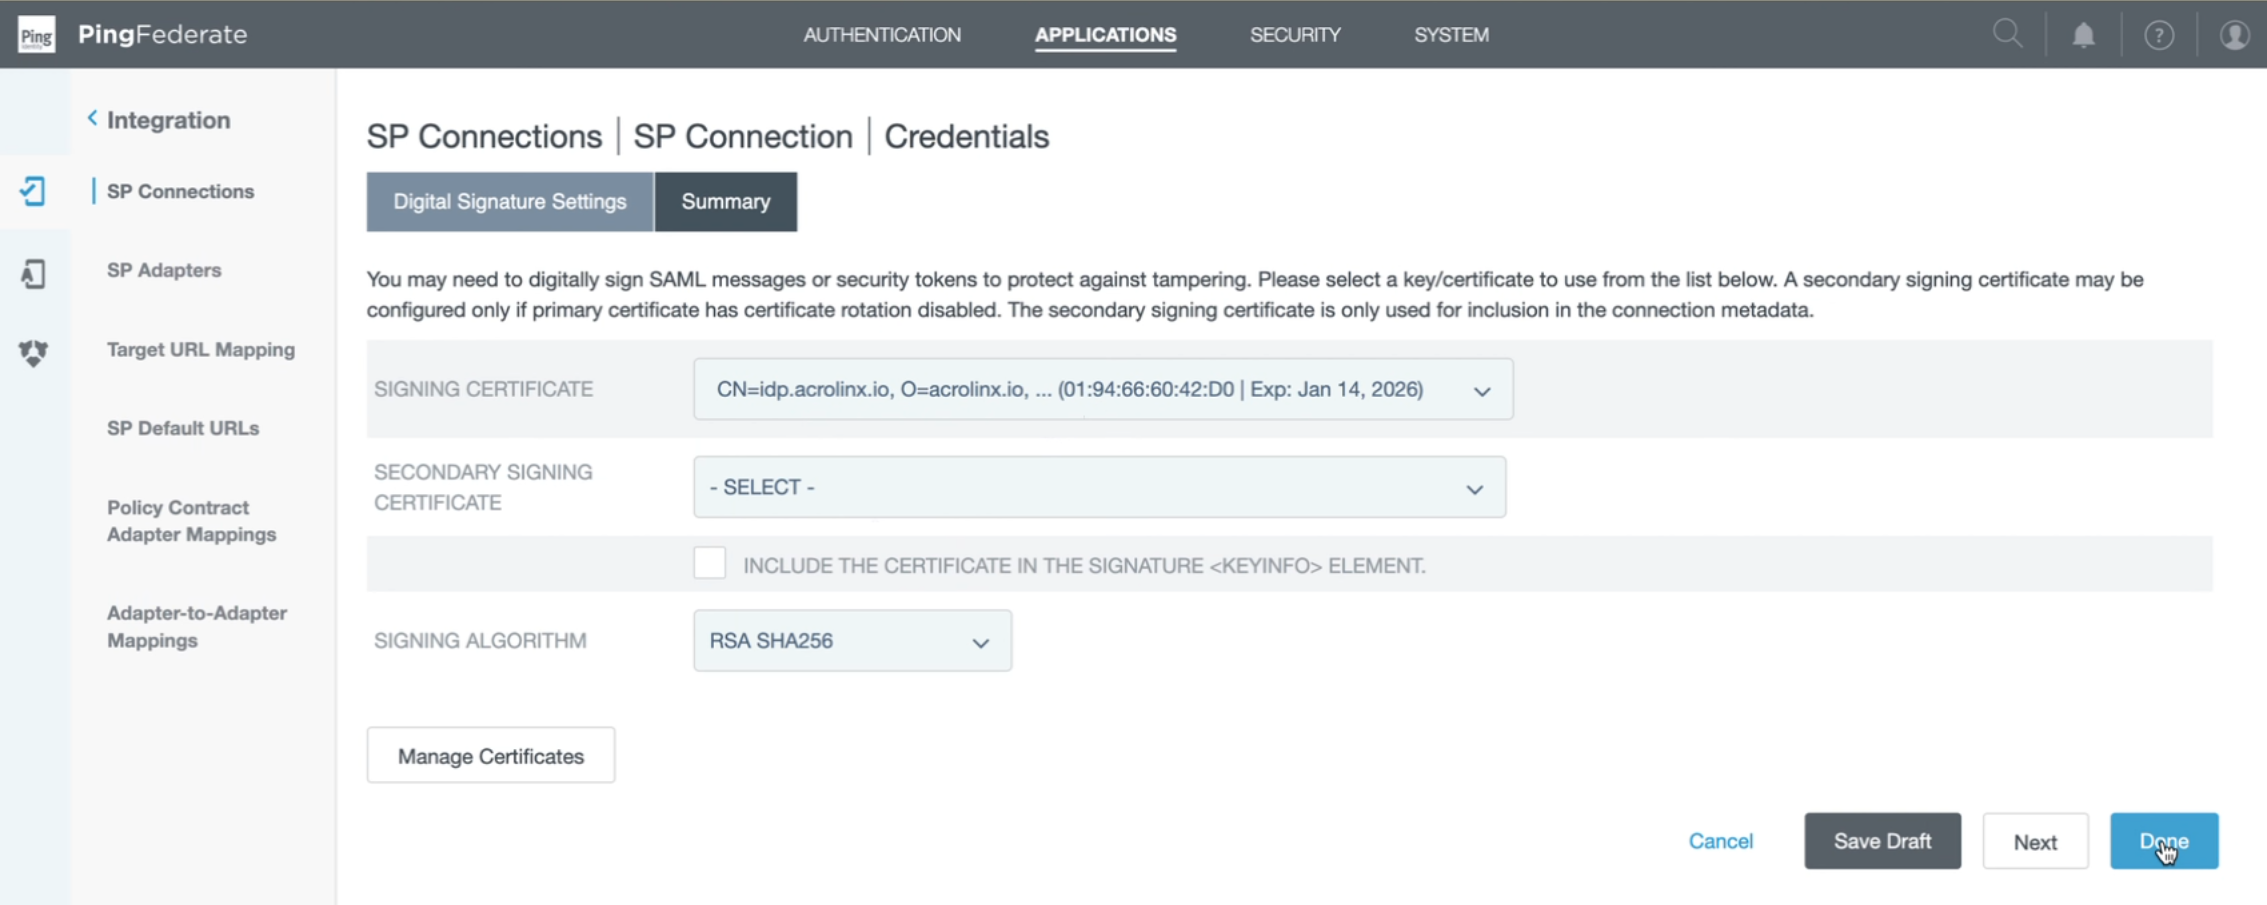
Click "Done" to return to the "SP Connection" workflow. Once you're happy with the configuration of your connection on the "Activation and Summary" page, click "Save" at the bottom of the page to save and activate the connection.
Finish the SAML SSO setup process
Return to Setting up SAML SSO to complete this process.