Setting up PingOne SSO
Last updated: July 16, 2026
Who can use this feature
Supported on Enterprise plans
Anyone with an org admin role can access and edit SSO settings
This article shows how to retrieve key pieces of information from PingOne to complete the SAML SSO setup process. For the rest of the SSO setup process, see our article Setting up SAML SSO.
Before you begin
Collect key data from WRITER to share with PingOne, as explained here.
Configure SSO in PingOne
Create WRITER SAML app
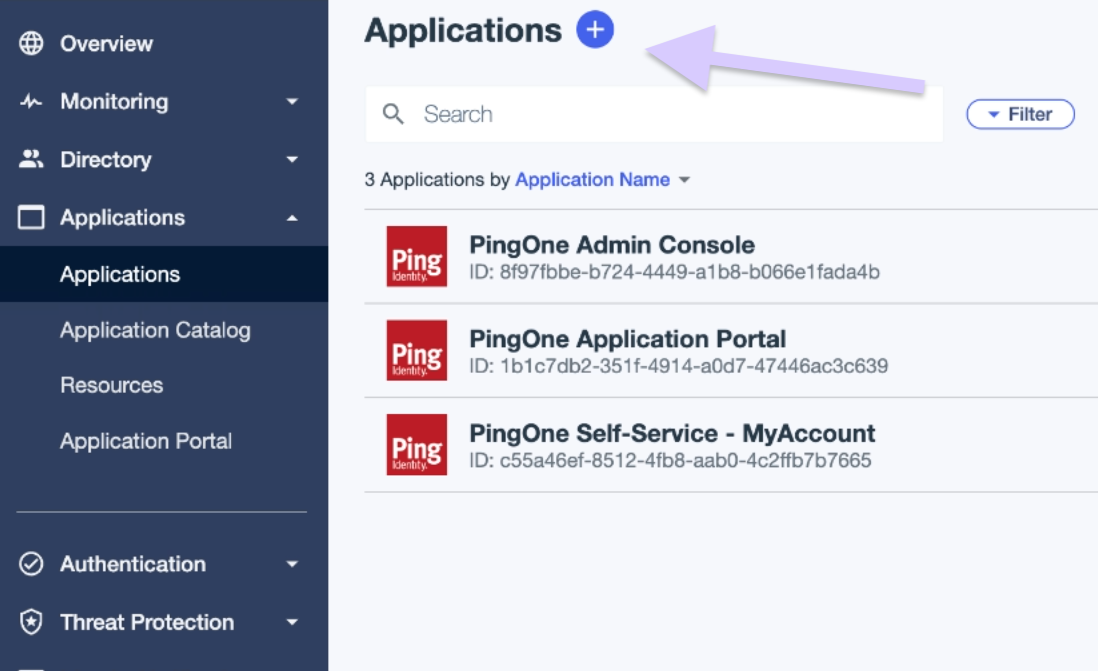
Go to the Applications page in PingOne and select the plus (+) sign at the top of the page to add an application.
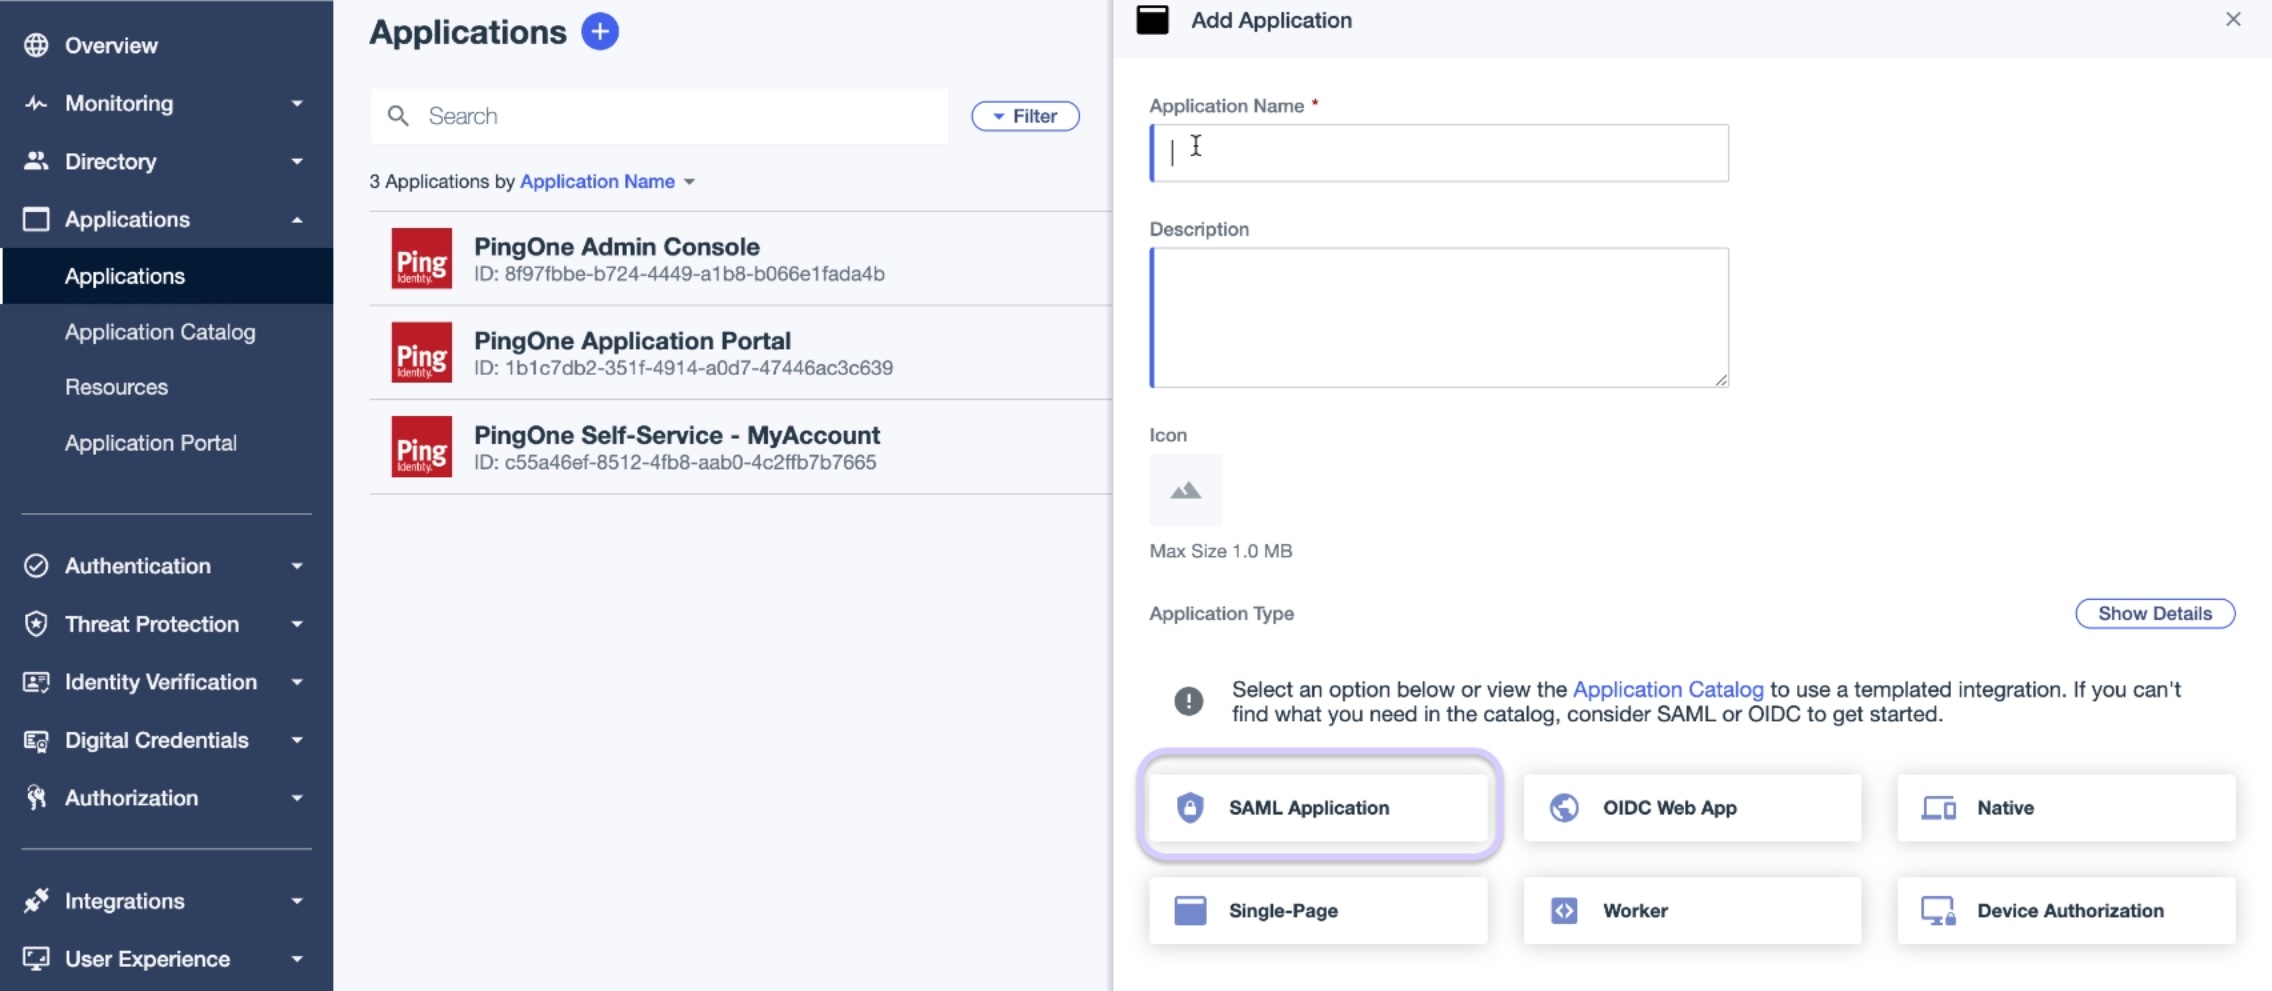
Give your application a name, a description, and then select SAML Application as your application type. Select Configure to continue.
Import Metadata for SAML Configuration
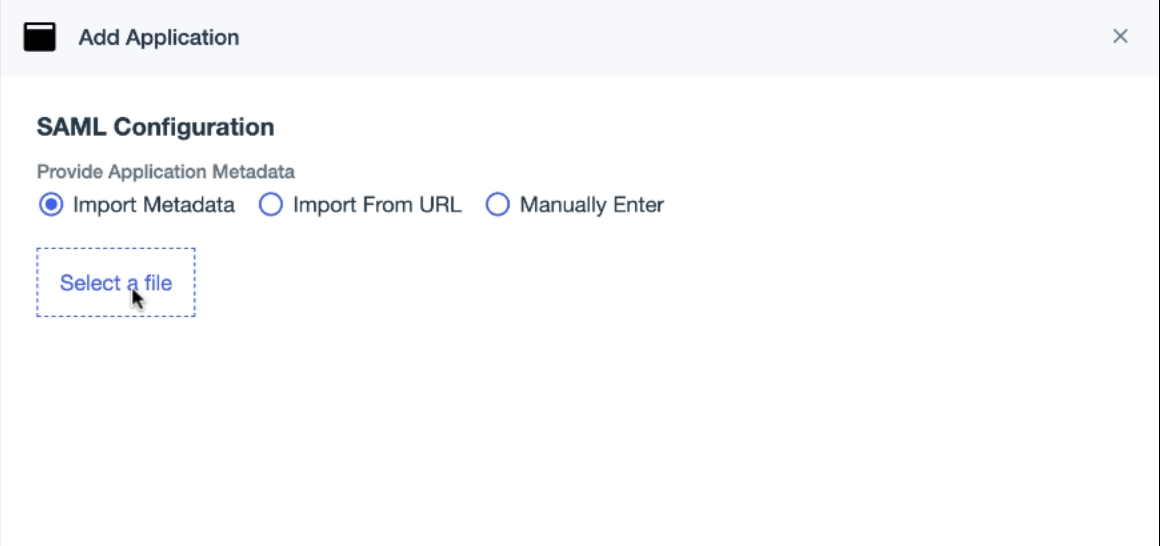
On the SAML Configuration page, select Import Metadata. Select your .xml WRITERmetadata file. (For instructions about retrieving your .xml WRITER metadata file, see here.)
The ACS URL and Entity ID fields should populate with the correct data once the file has been uploaded.
Configuration Overview and Attribute Mapping
After uploading the metadata file, you’ll be taken to an Overview of the SAML configuration for your application.
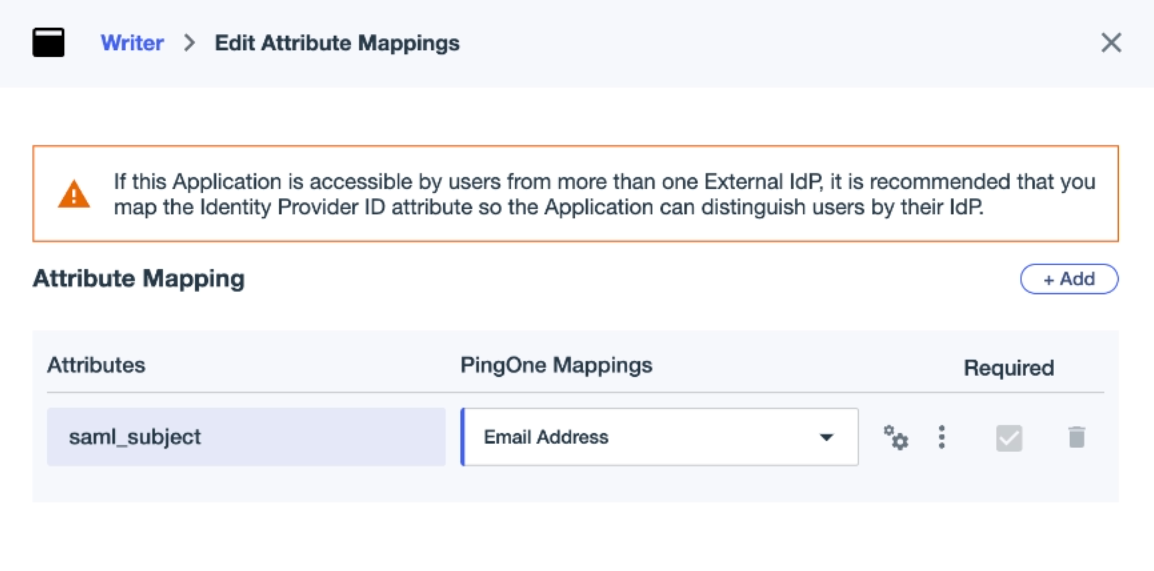
Find the listed attribute "saml_subject". Under the column PingOne Mappings, select "Email address".
Activating App and Downloading Metadata
Return to the Overview section of the app and activate the app using the toggle in the top right corner. Once activated, click "Download Metadata" at the bottom of the Overview section.
Finish the SAML SSO setup process
Return to Setting up SAML SSO to complete this process.