Setting up Okta SSO
Last updated: July 16, 2026
Who can use this feature
Supported on Enterprise plans
Anyone with an org admin role can access and edit SSO settings
This article shows how to retrieve key pieces of information from Okta to complete the SAML SSO setup process. For the rest of the SSO setup process, see our article Setting up SAML SSO.
Before you begin
Collect key data from Writer to share with Okta, as explained here.
Configure SSO in Okta
Create Writer SAML app

Go to the Applications page in Okta, select Create App Integration.
Don’t select Browse app catalog, as you should create a new app instead of using the catalog version.

Select Create New App, then select SAML 2.0 as the sign-on method for this app. Select Next.
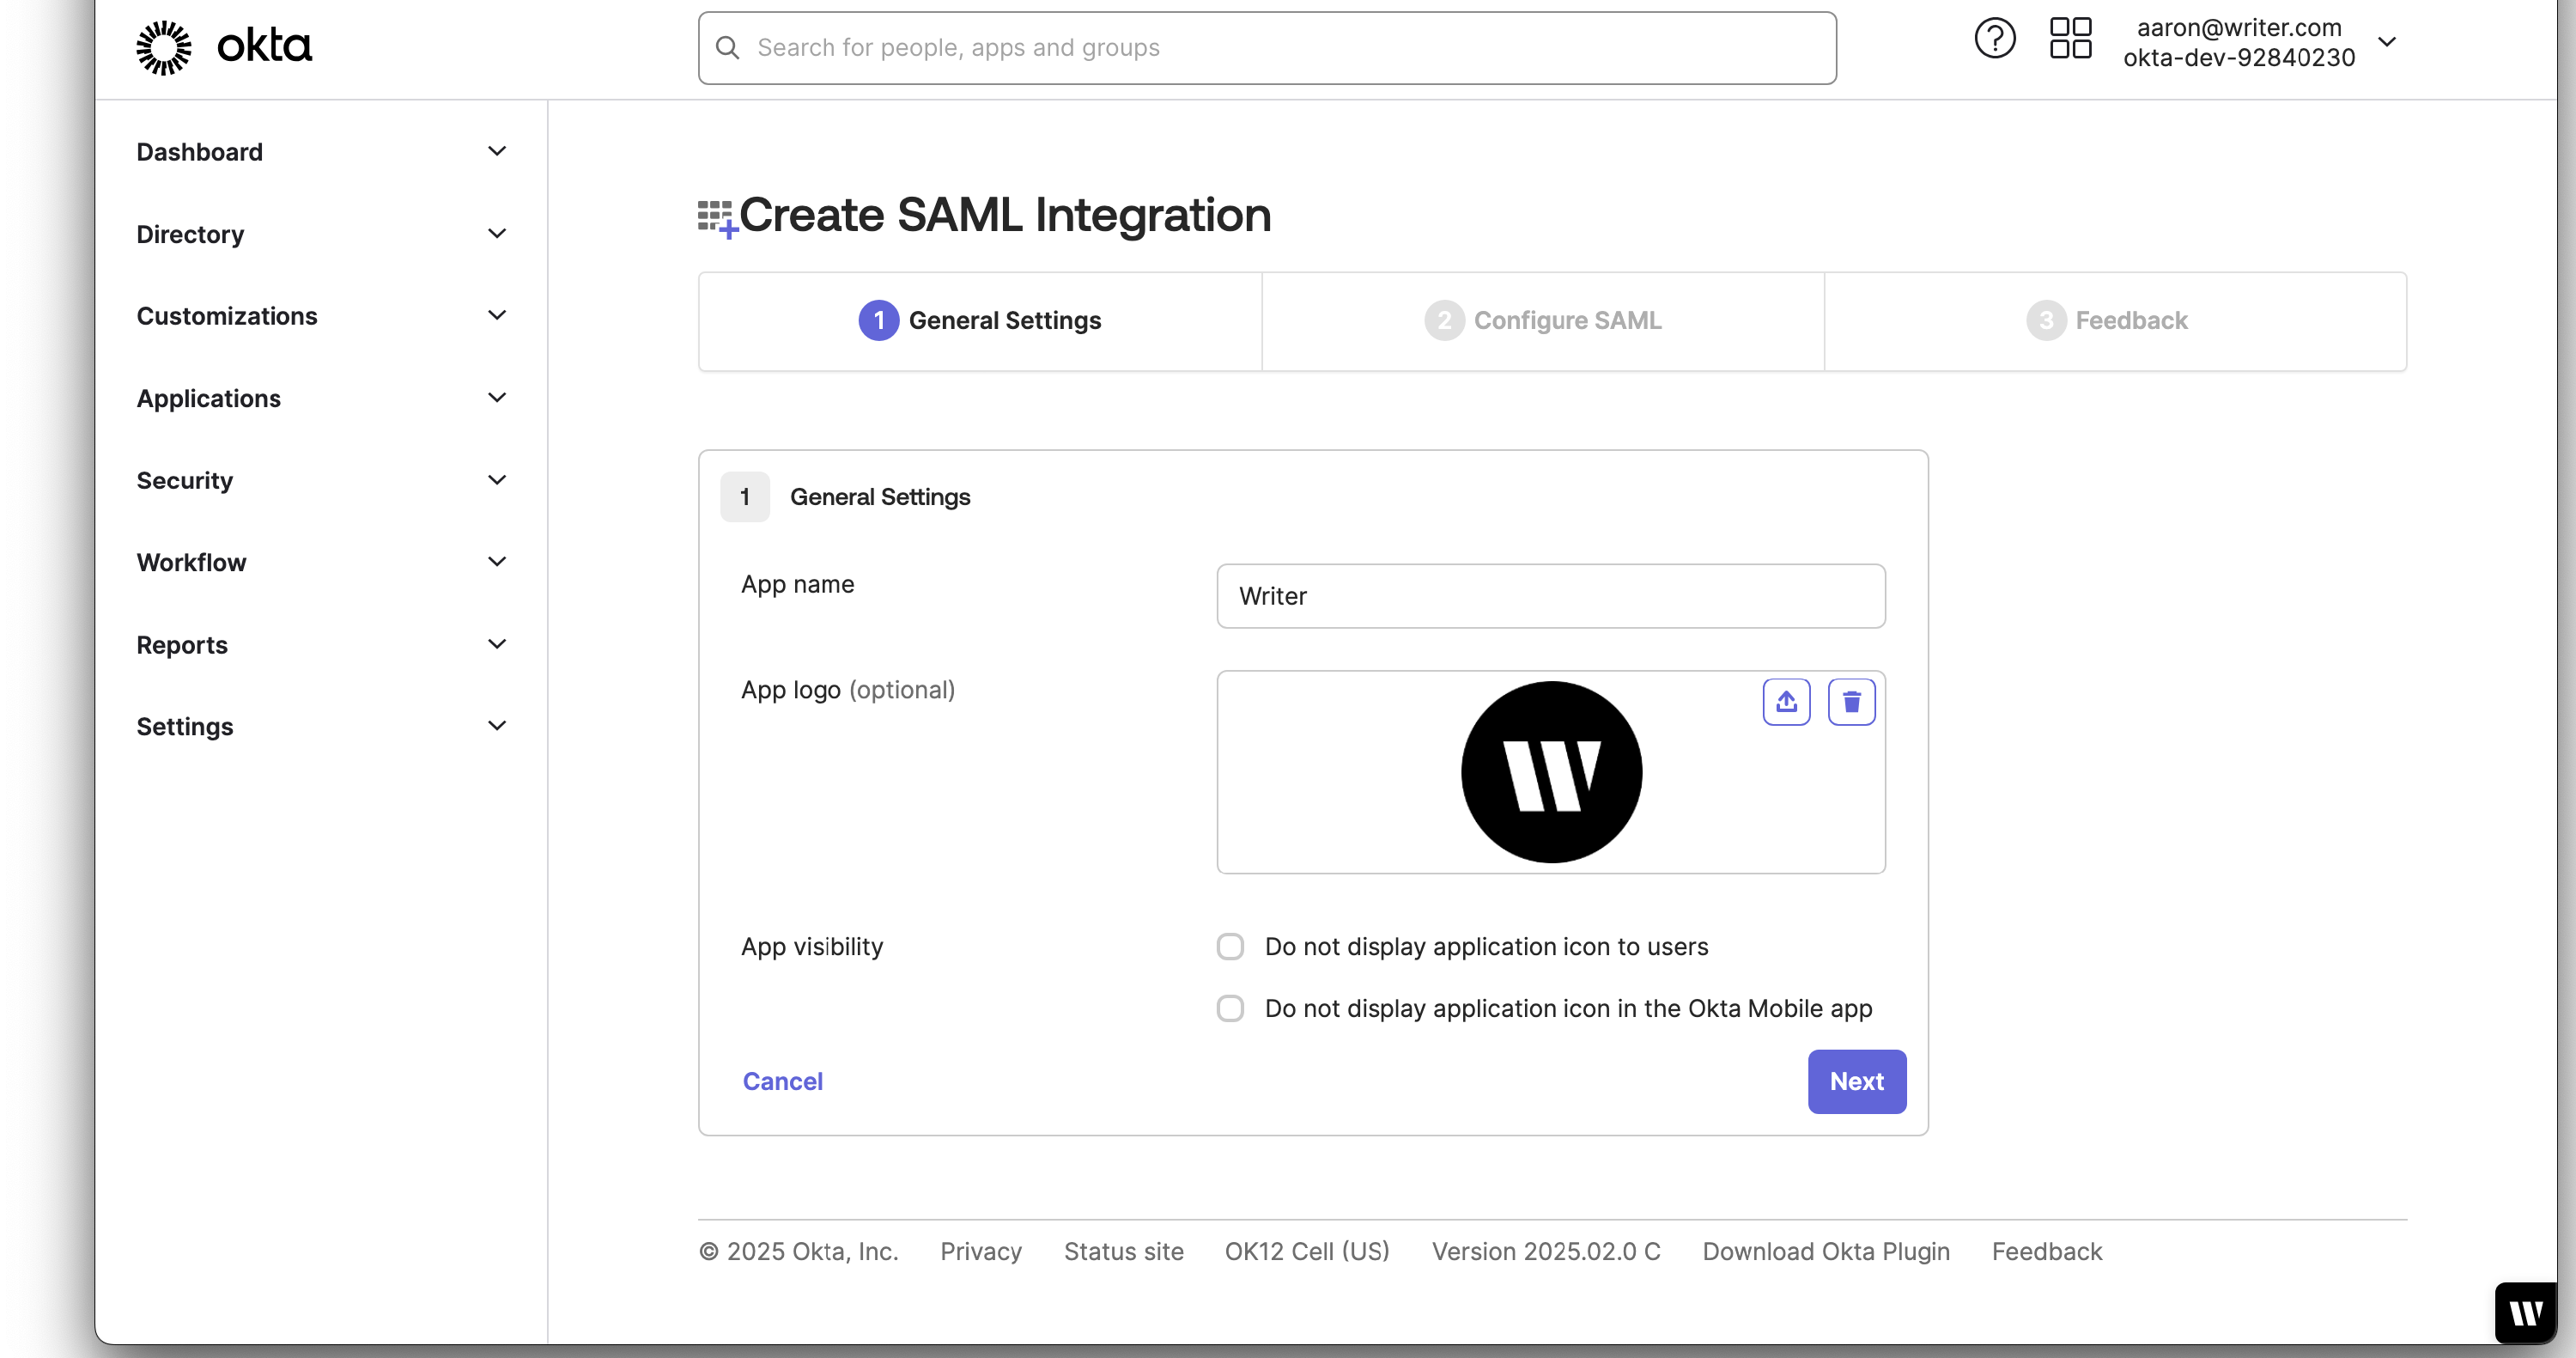
Give your app a name, then select Next.

You can right-click to download the logo above to use as an optional app logo.
Configure Writer SAML app
Add the below values to the Configure SAML tab:
Single sign-on URL: https://app.writer.com/api/access/saml
Audience URI (SP Entity ID): app.writer.com
Review attributes (optional)
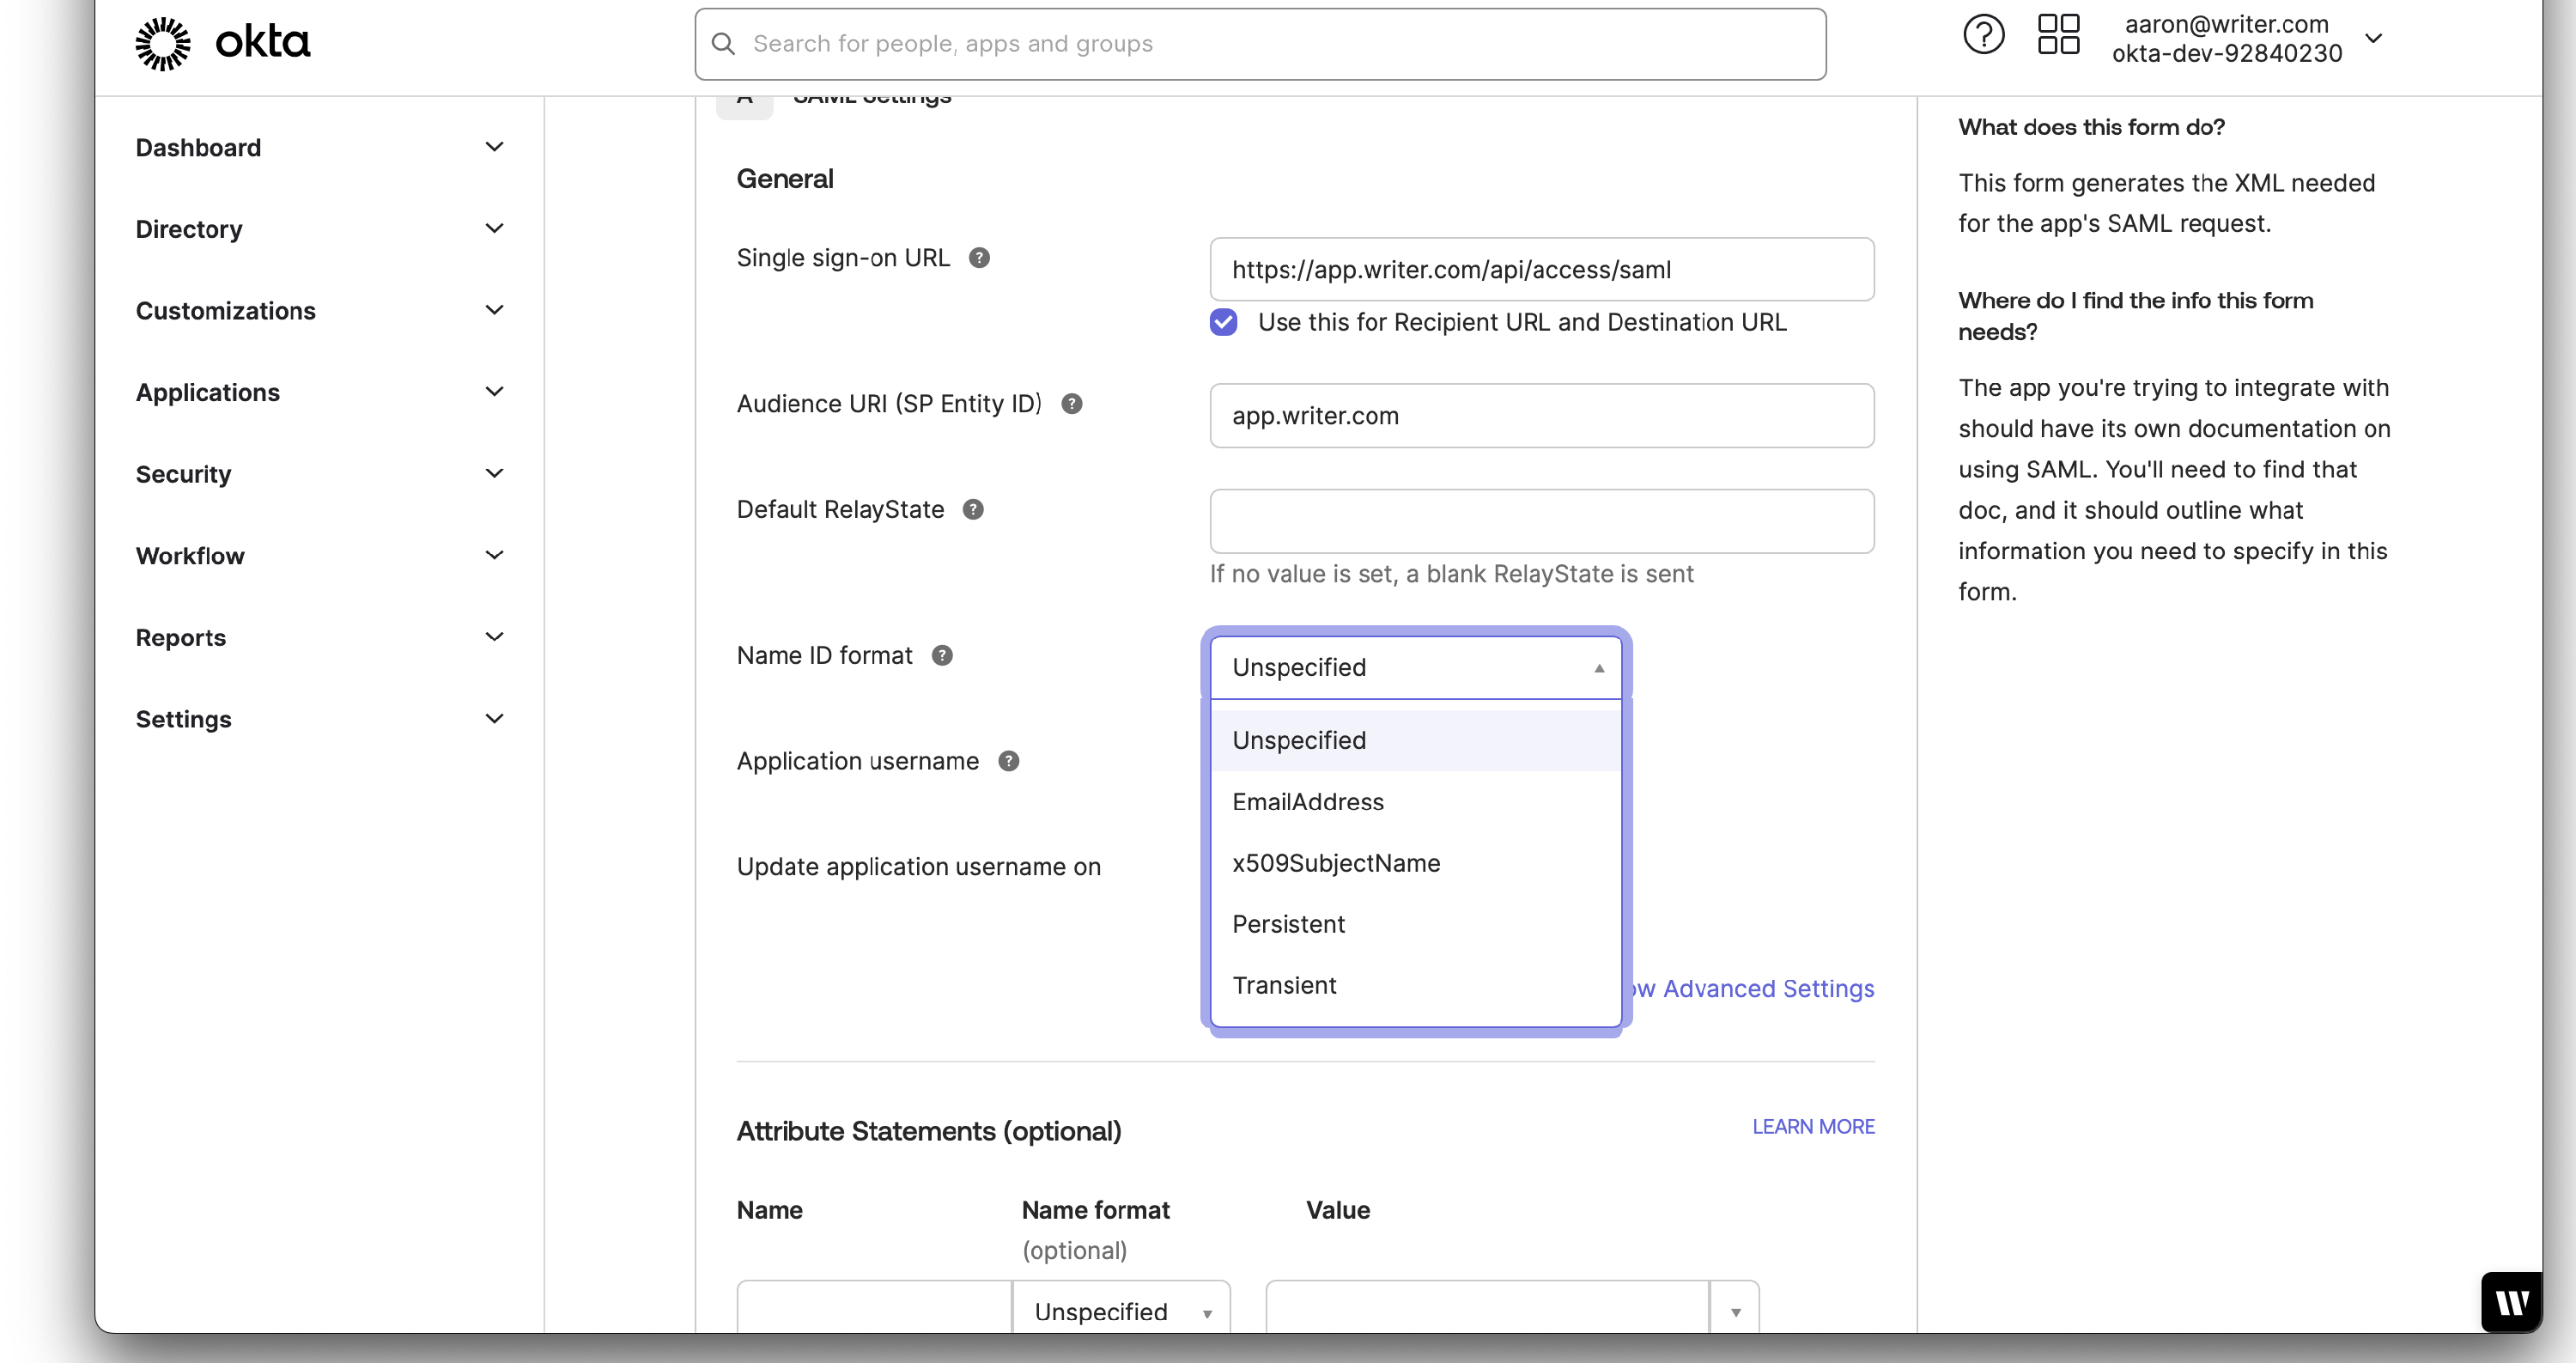
You can use the default user attributes, or modify them, as long as emailaddress or another form of the email profile attribute is defined and being passed to Writer. The Name ID format being passed must match the email address associated with your user’s Writer accounts.
Complete Writer SAML app
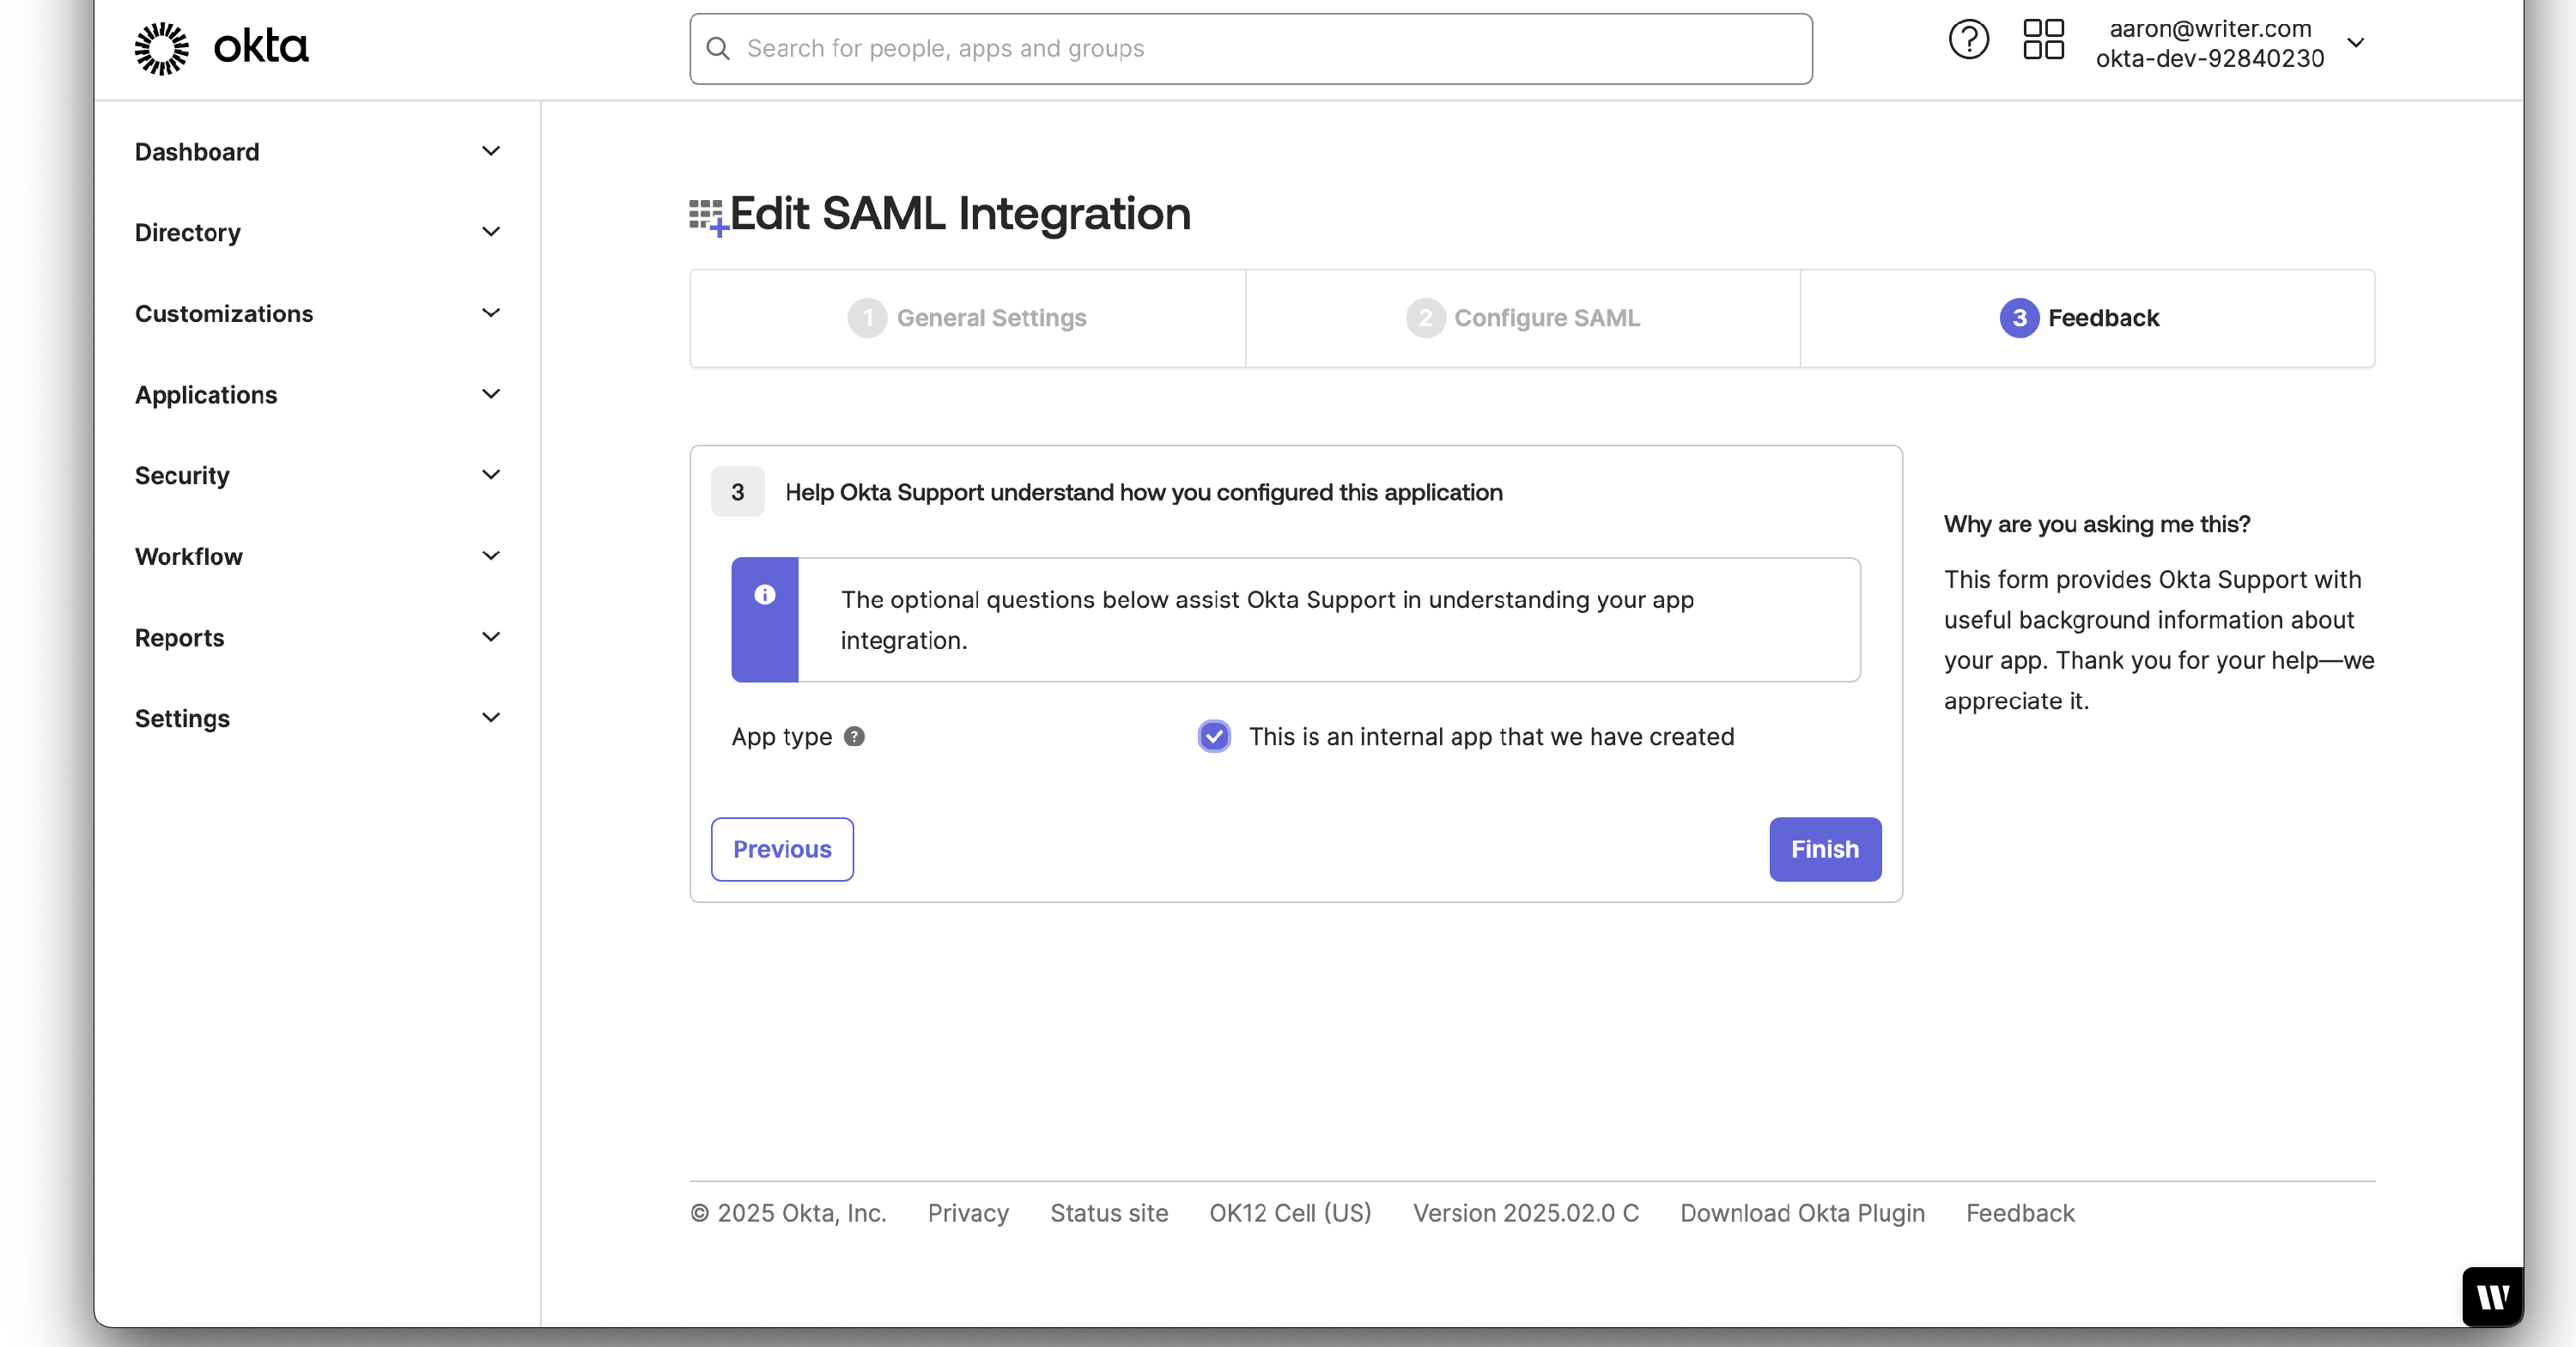
On the Feedback tab, select This is an internal app that we have created from the options. Select Finish.
Download Metadata XML
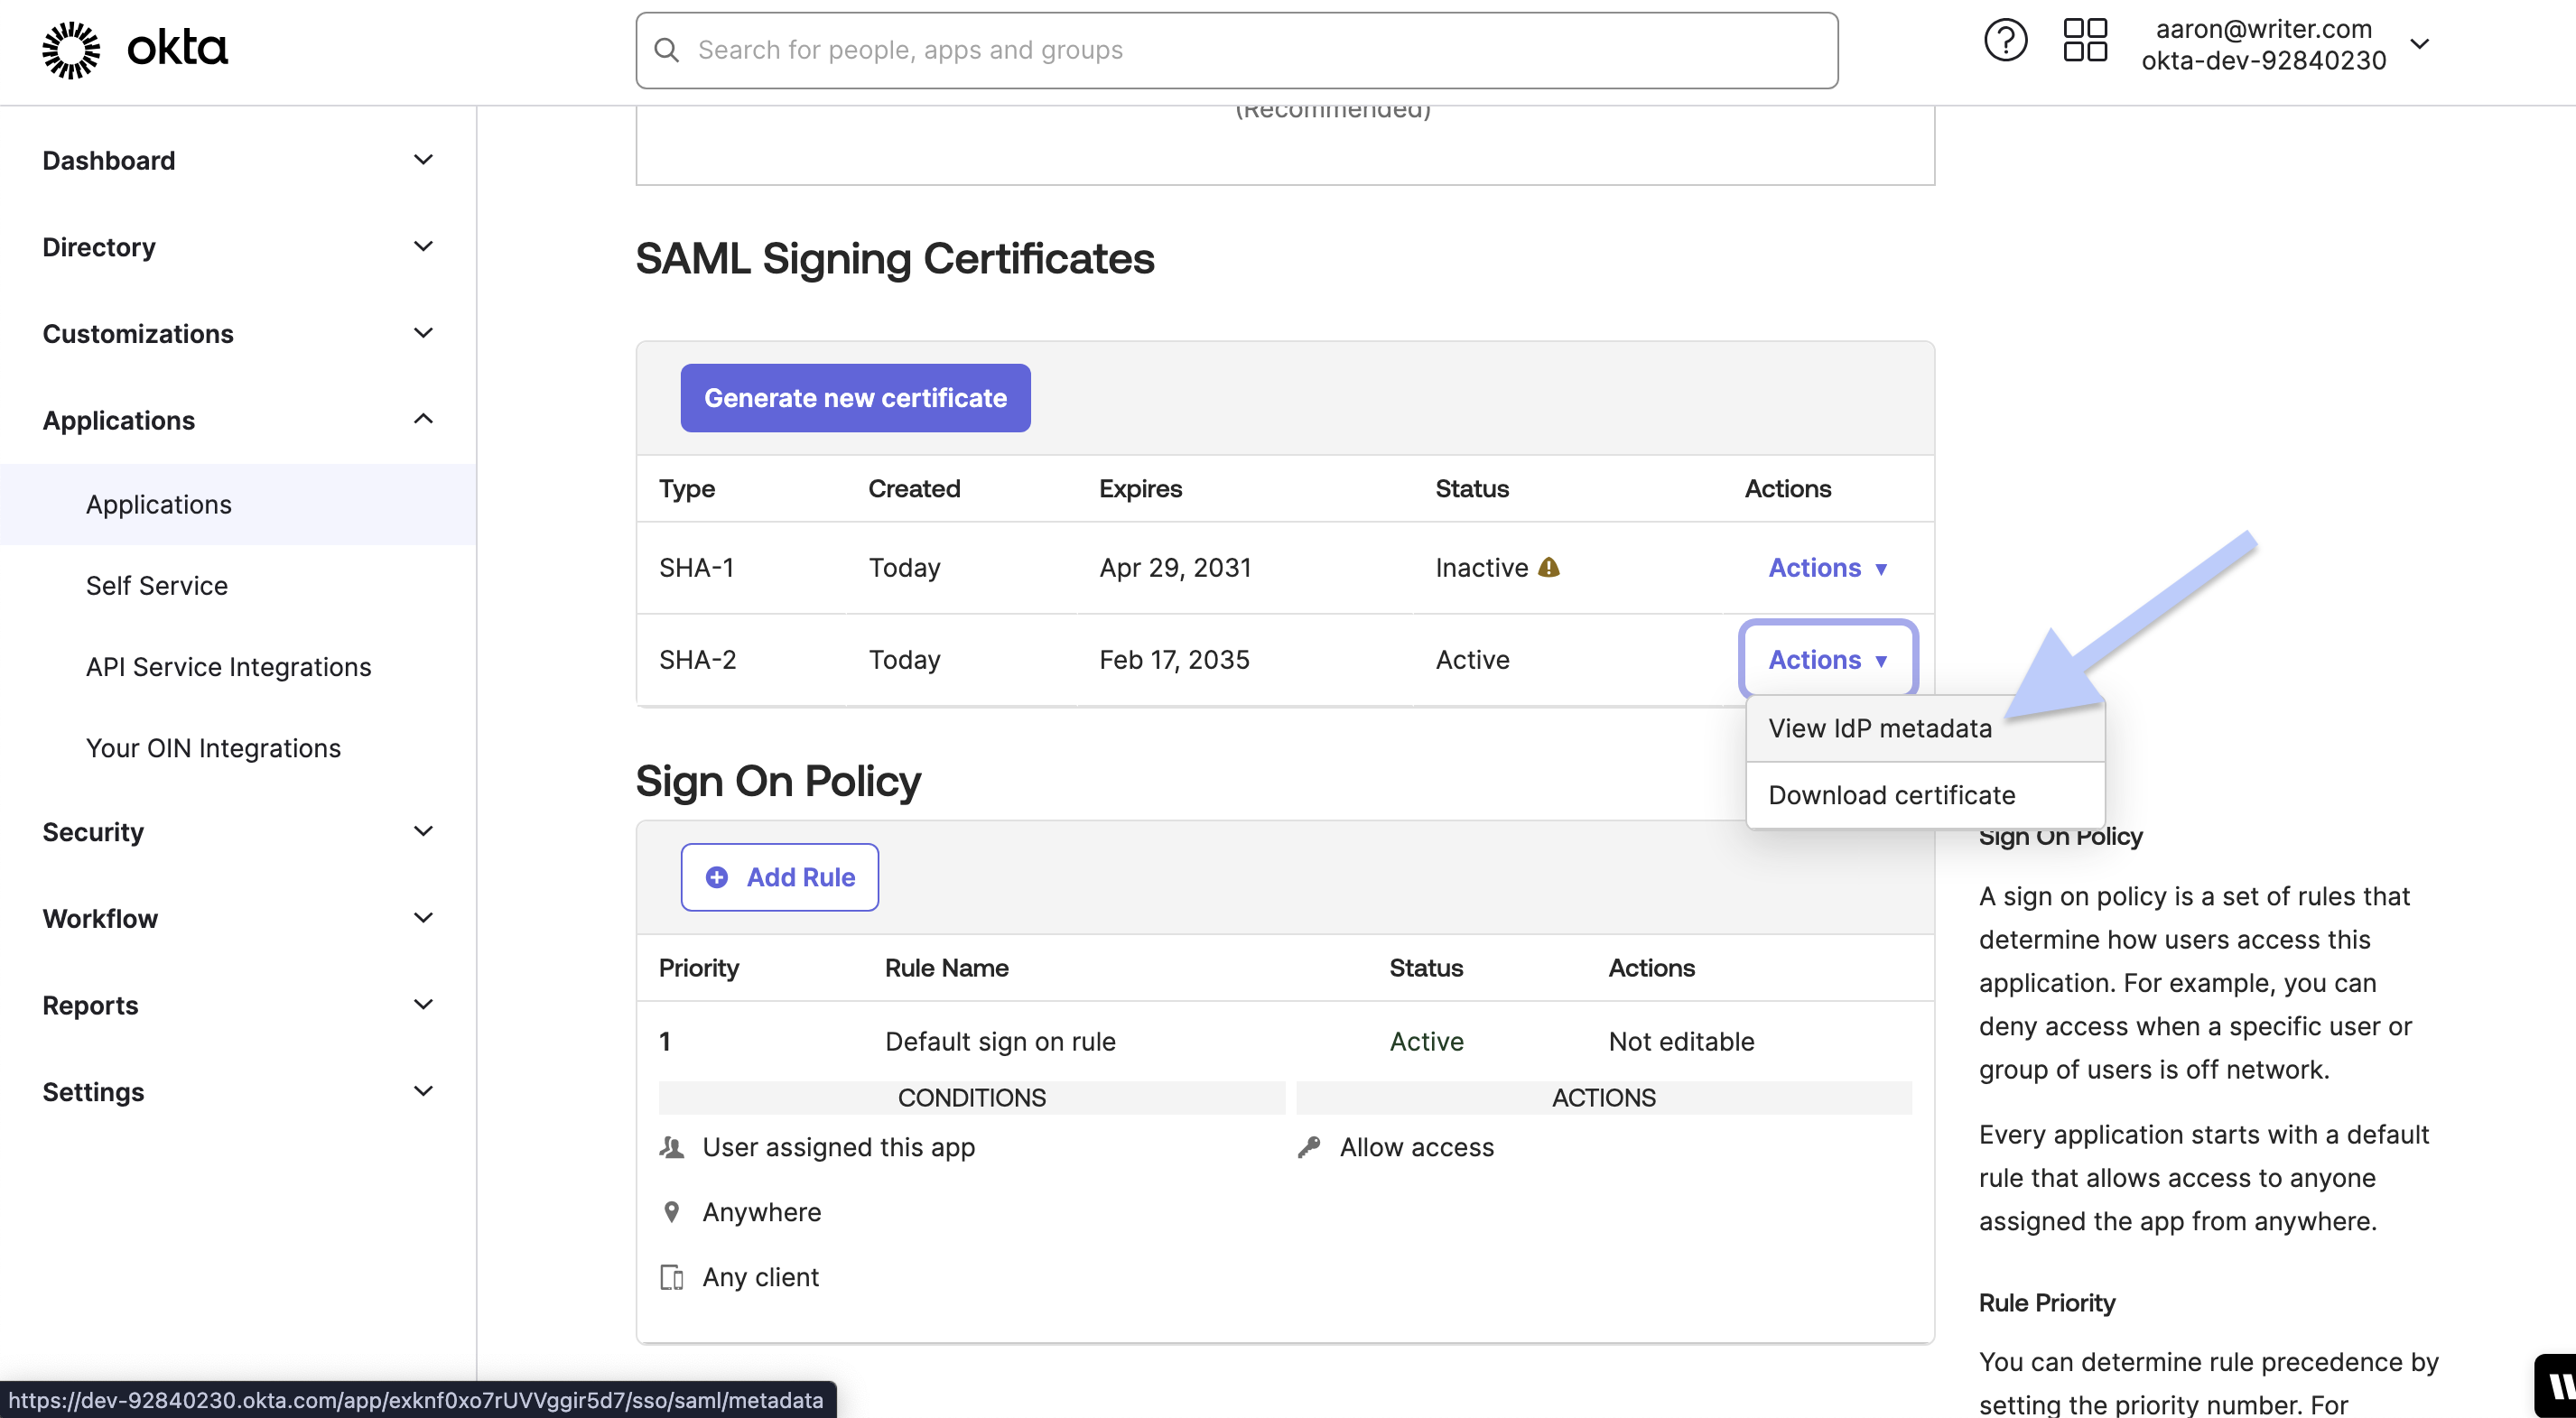
Go to Applications >Applications>Sign On and scroll down to the Sign On Policy section. Select the Actions dropdown for your SAML certificate, and select View IdP Metadata.
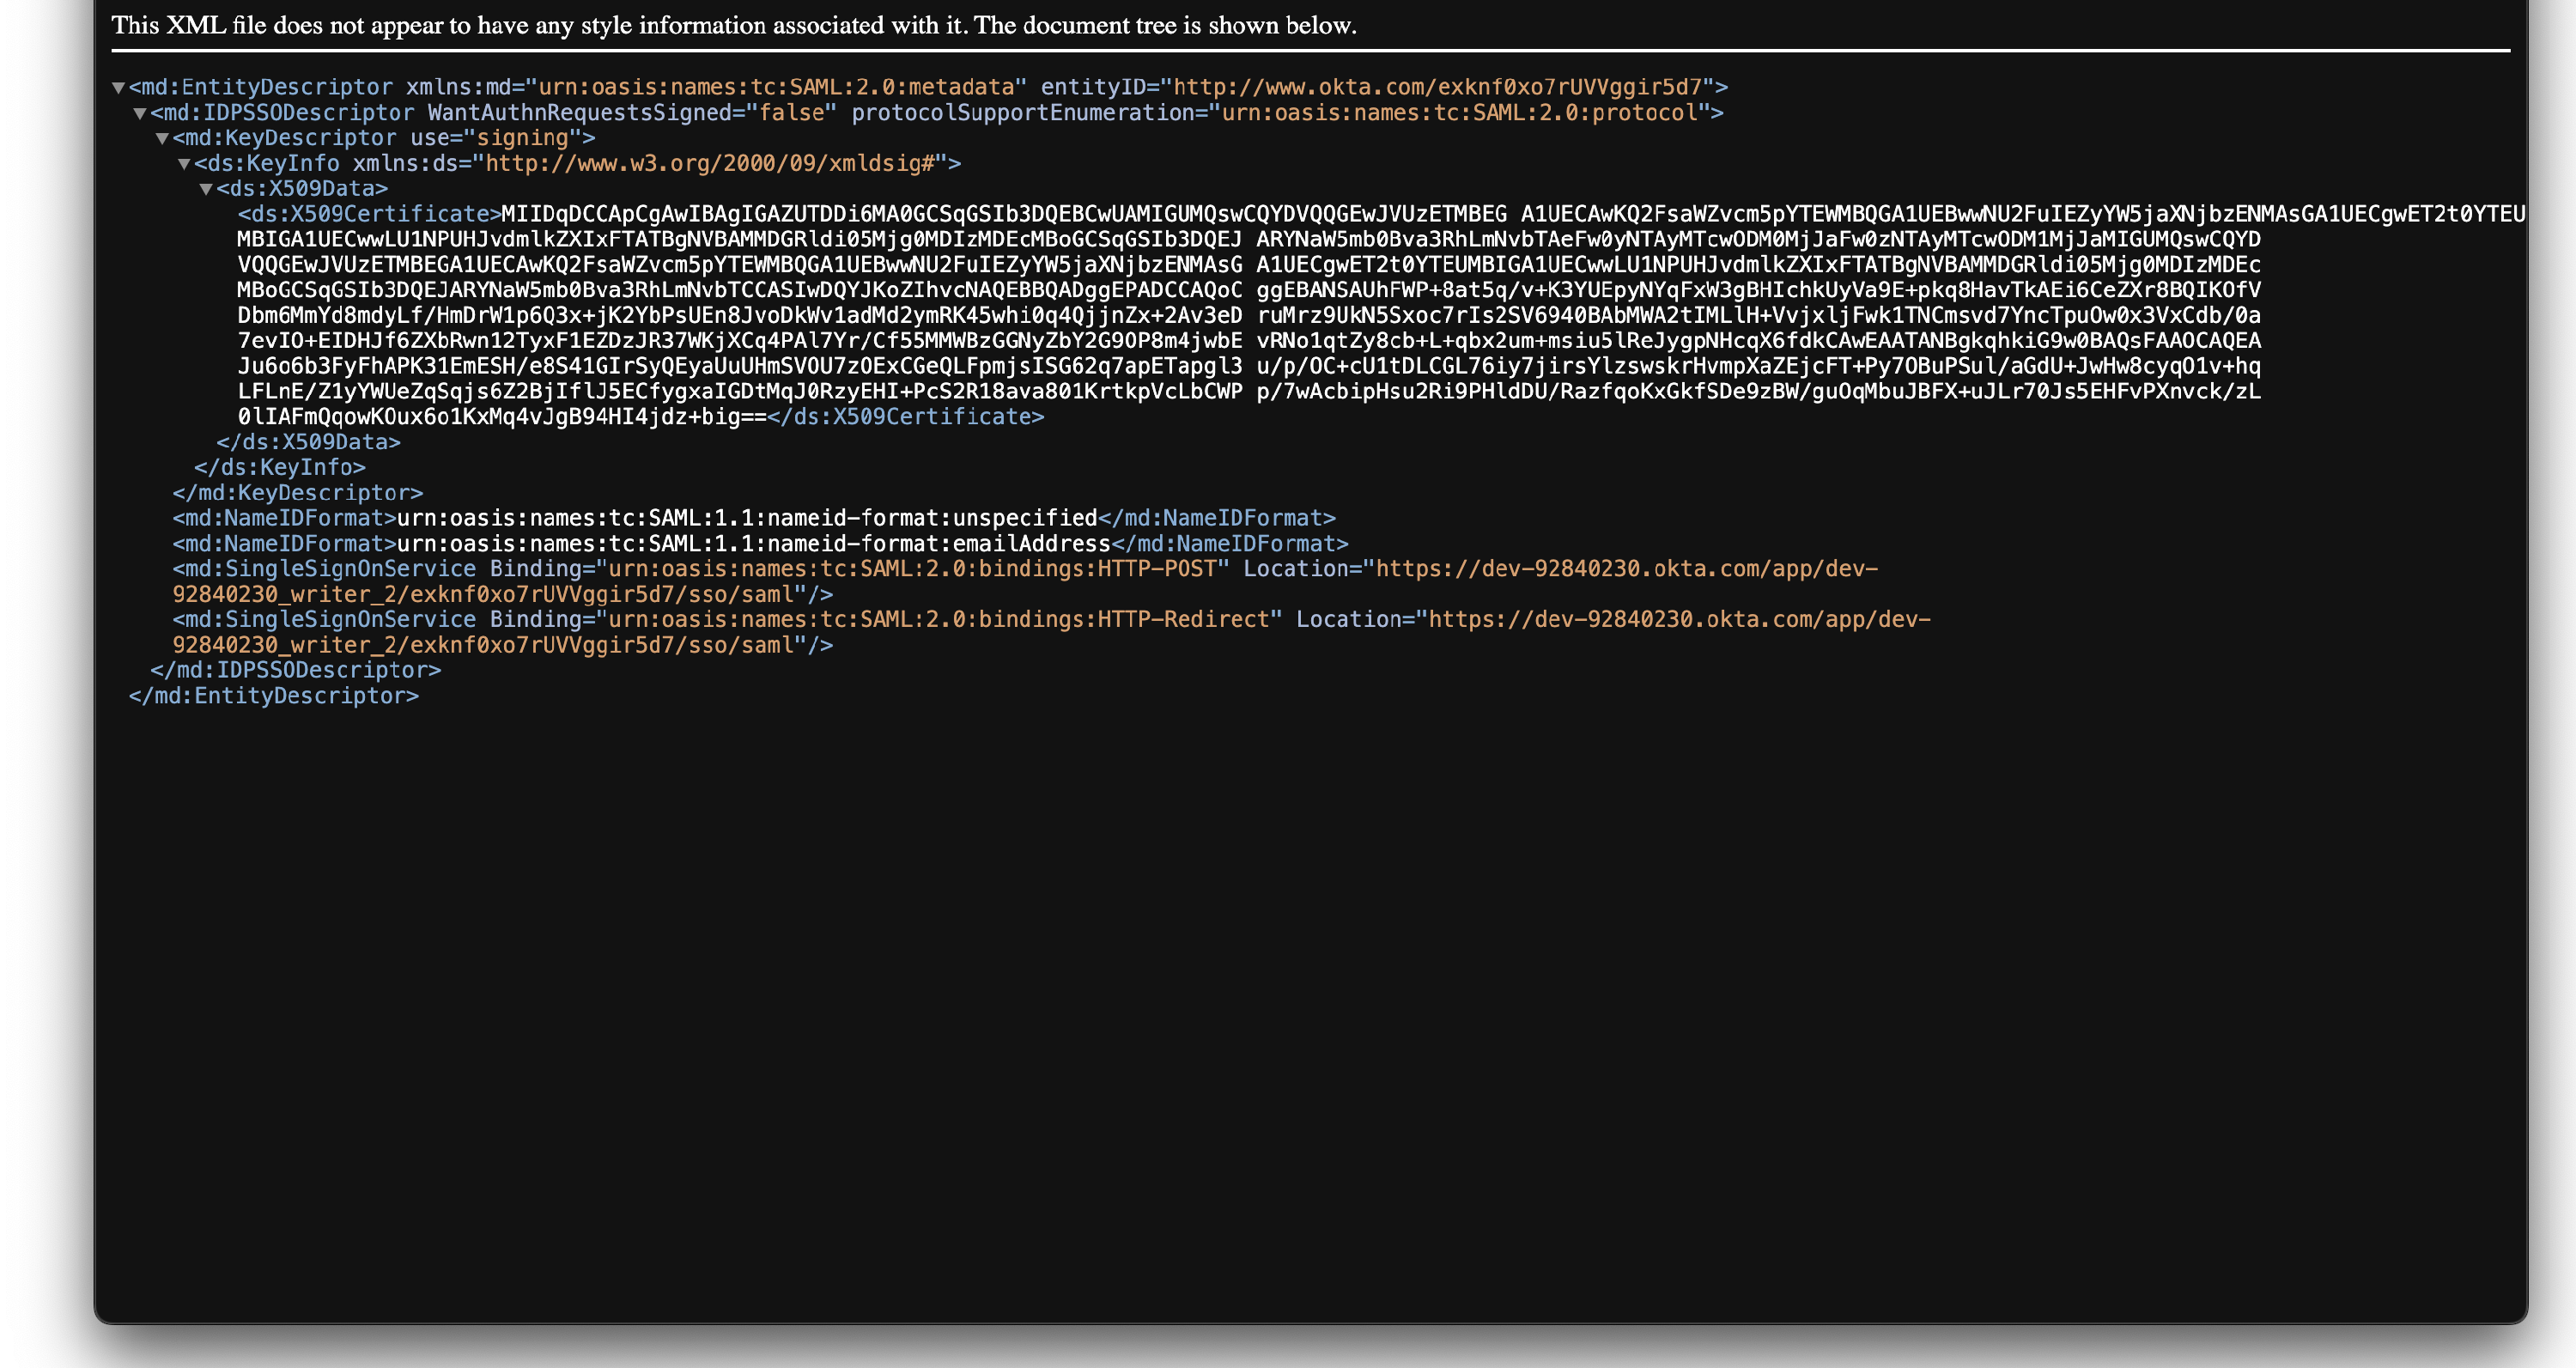
Your SAML certificate will open in a new tab. Save this page as an XML file, which you can then upload to Writer.
Finish the SAML SSO setup process
Return to Setting up SAML SSO to complete this process.