Importing snippets
Last updated: July 17, 2026
Who can use this feature
Supported on Starter, Team and Enterprise plans
Introduction

Either select AI Studio from the left menu, or select the settings icon (⚙) from the profile menu to access your team settings.
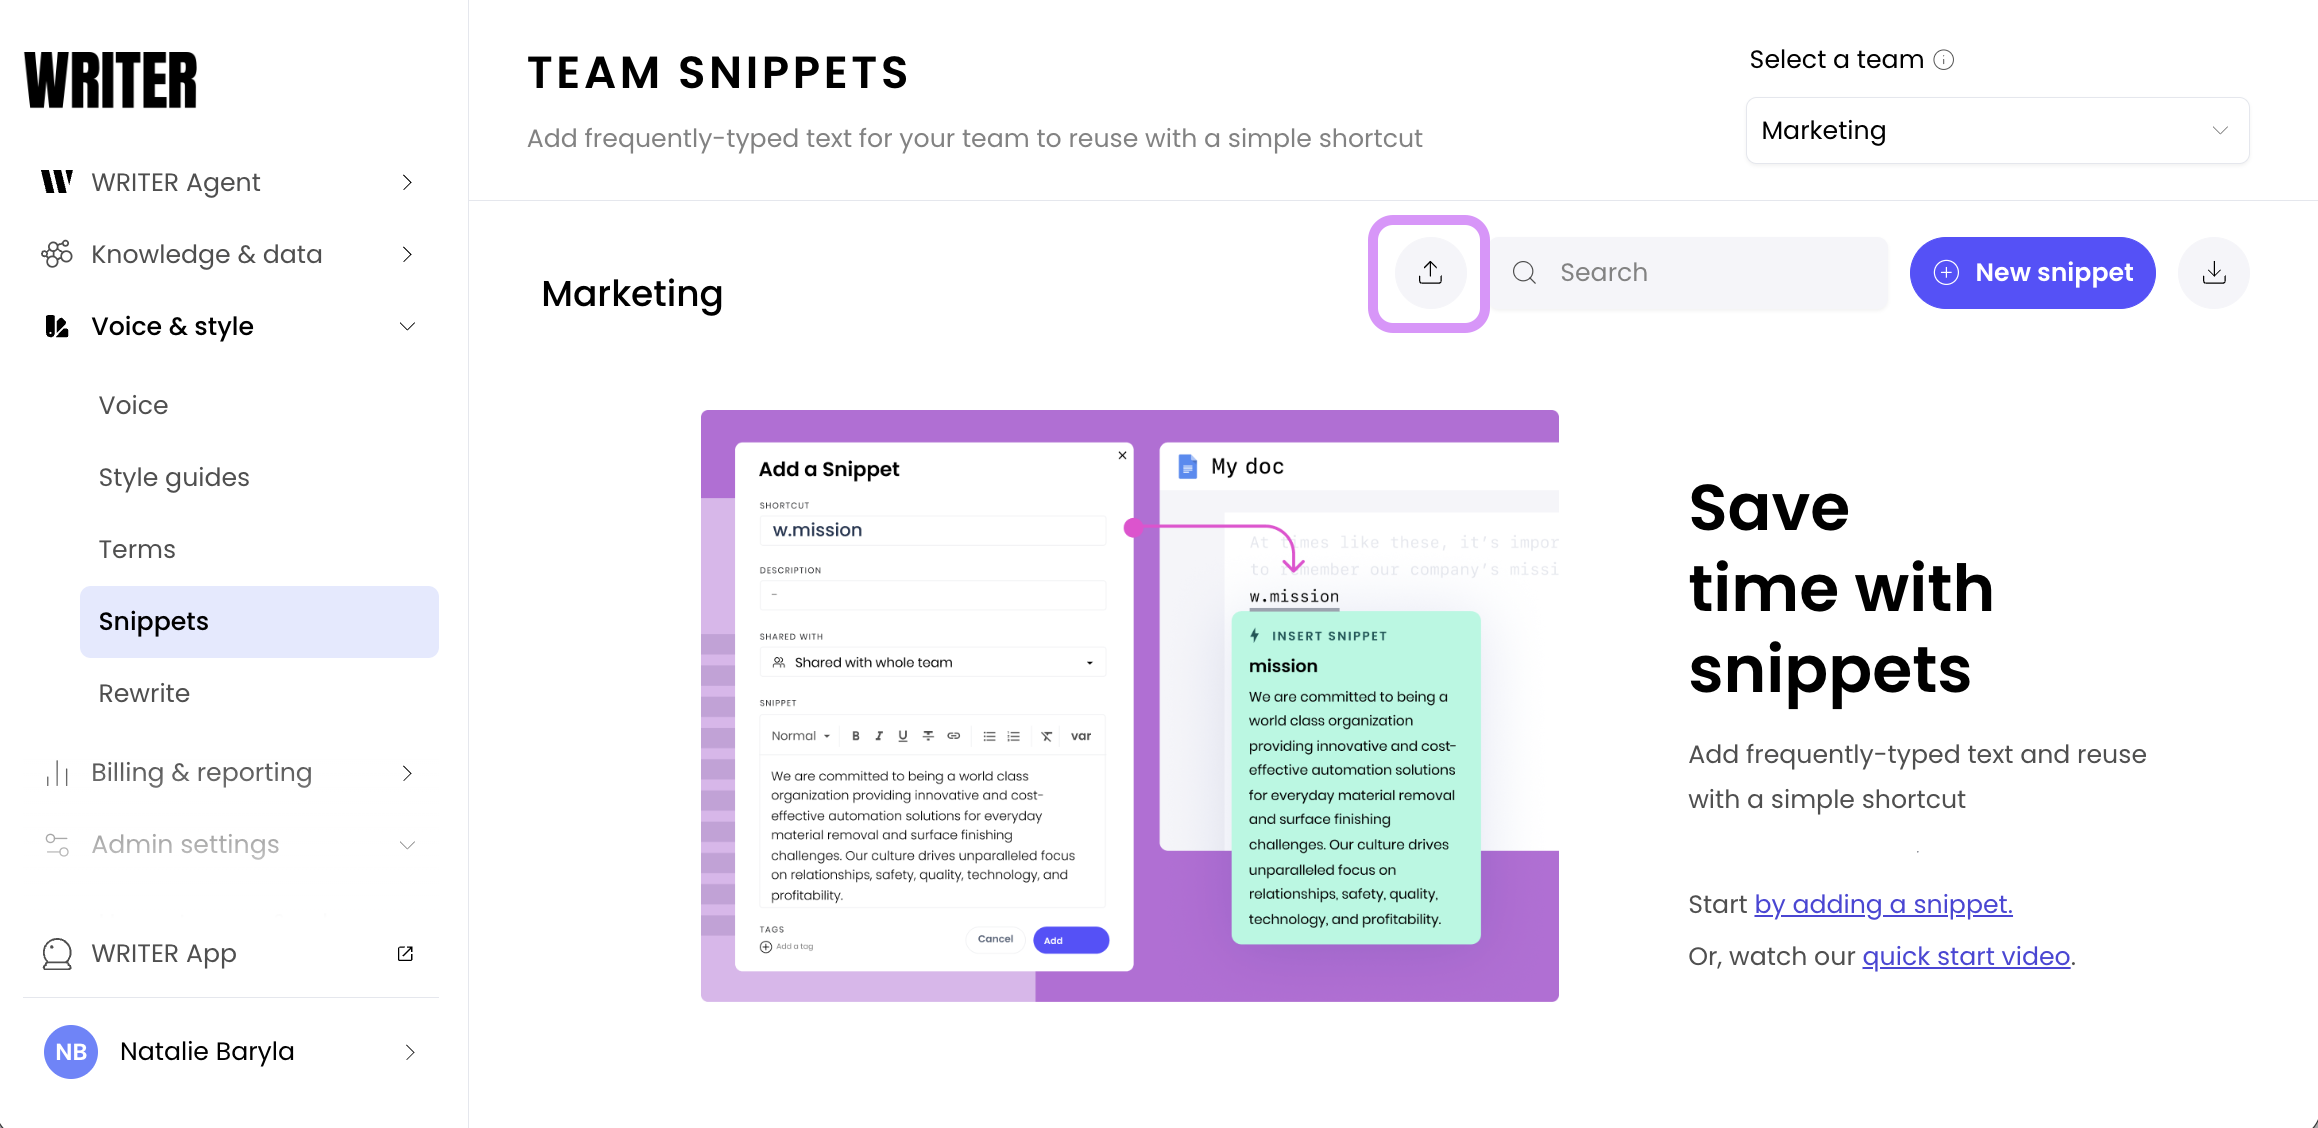
Next select Snippets from the Voice & style menu on the left. On the Snippets page you will see the upload icon located at the top right next to the search bar.
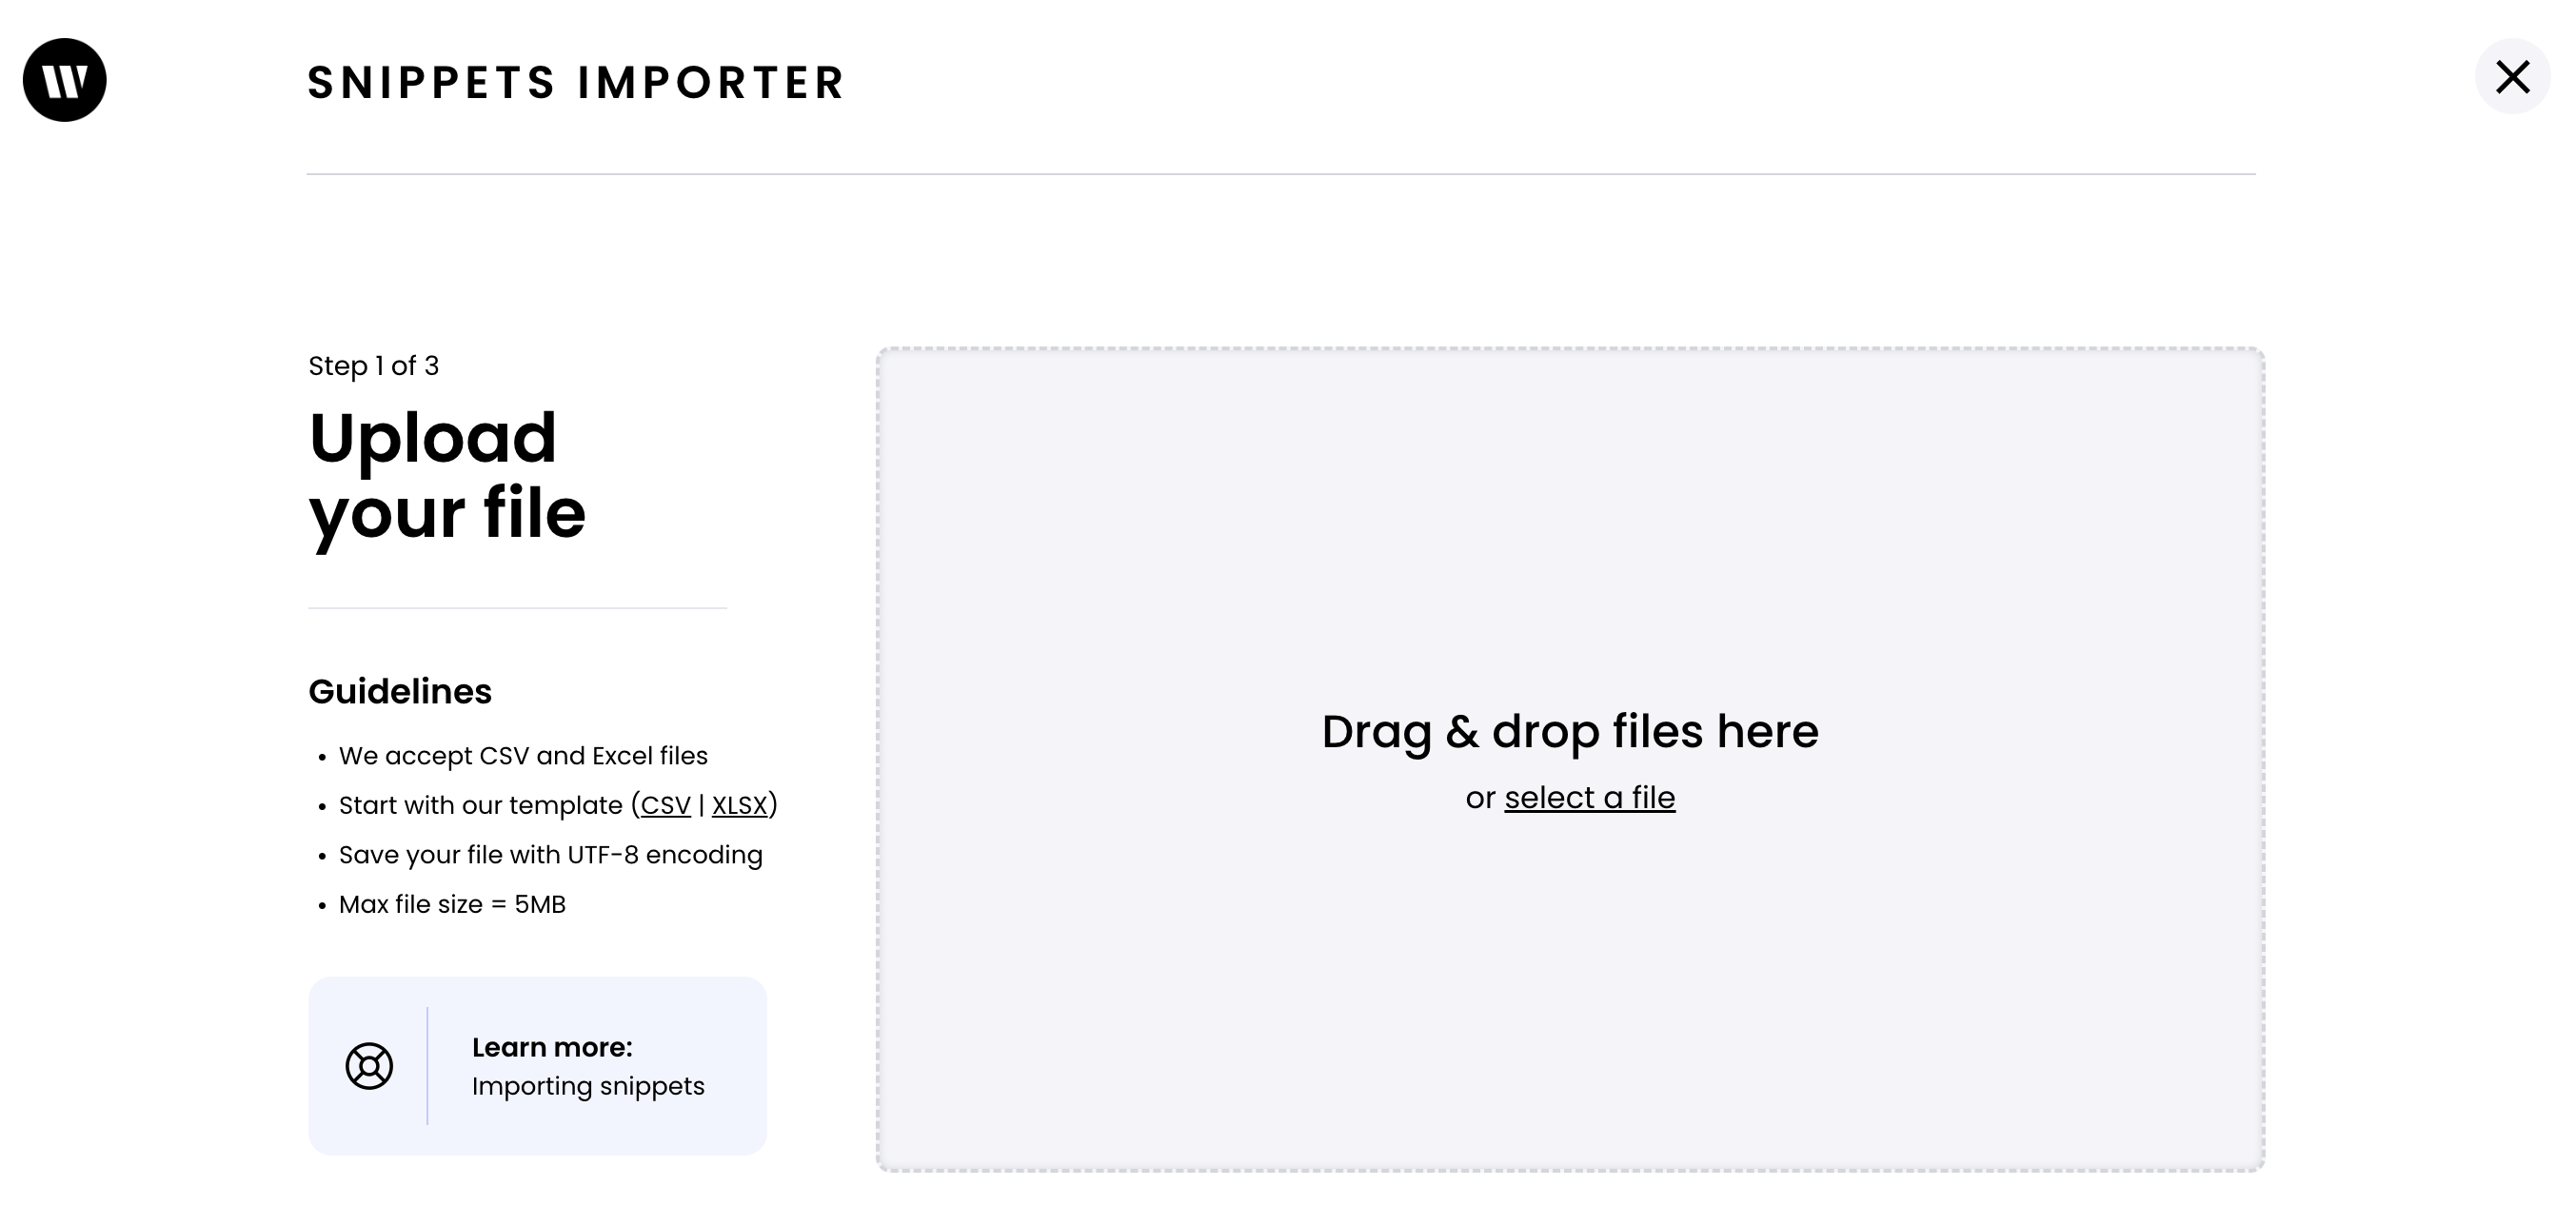
Step 1: Preparing your import file
First, you'll need to prepare an import file. We accept either CSV or XLSX files, up to a size of 5MB.
Start with a template
Templates: CSV template | XLSX template
When using these templates, keep the headers as they are written to help us auto-match data from your import file to our snippet fields.
However, be sure to delete the first row of instructions and the example data. You can also remove any columns you won't be importing. At minimum, you need to include the snippet text field.
First time using snippets? Read about what they can be used for here.
Tips on formatting your columns
Snippet shortcut
By default, all snippets shortcuts start with a “w.” prefix. This is so you don’t accidentally insert snippets while writing normally. Make these topical and easy to remember.
Tags
Multiple tags can be added via the same column as long as they are comma-separated
Step 2: Matching columns
Once you upload your file, we'll auto-match the headers from your file to our snippet fields. Below is a screenshot of an import where all columns were auto-matched.
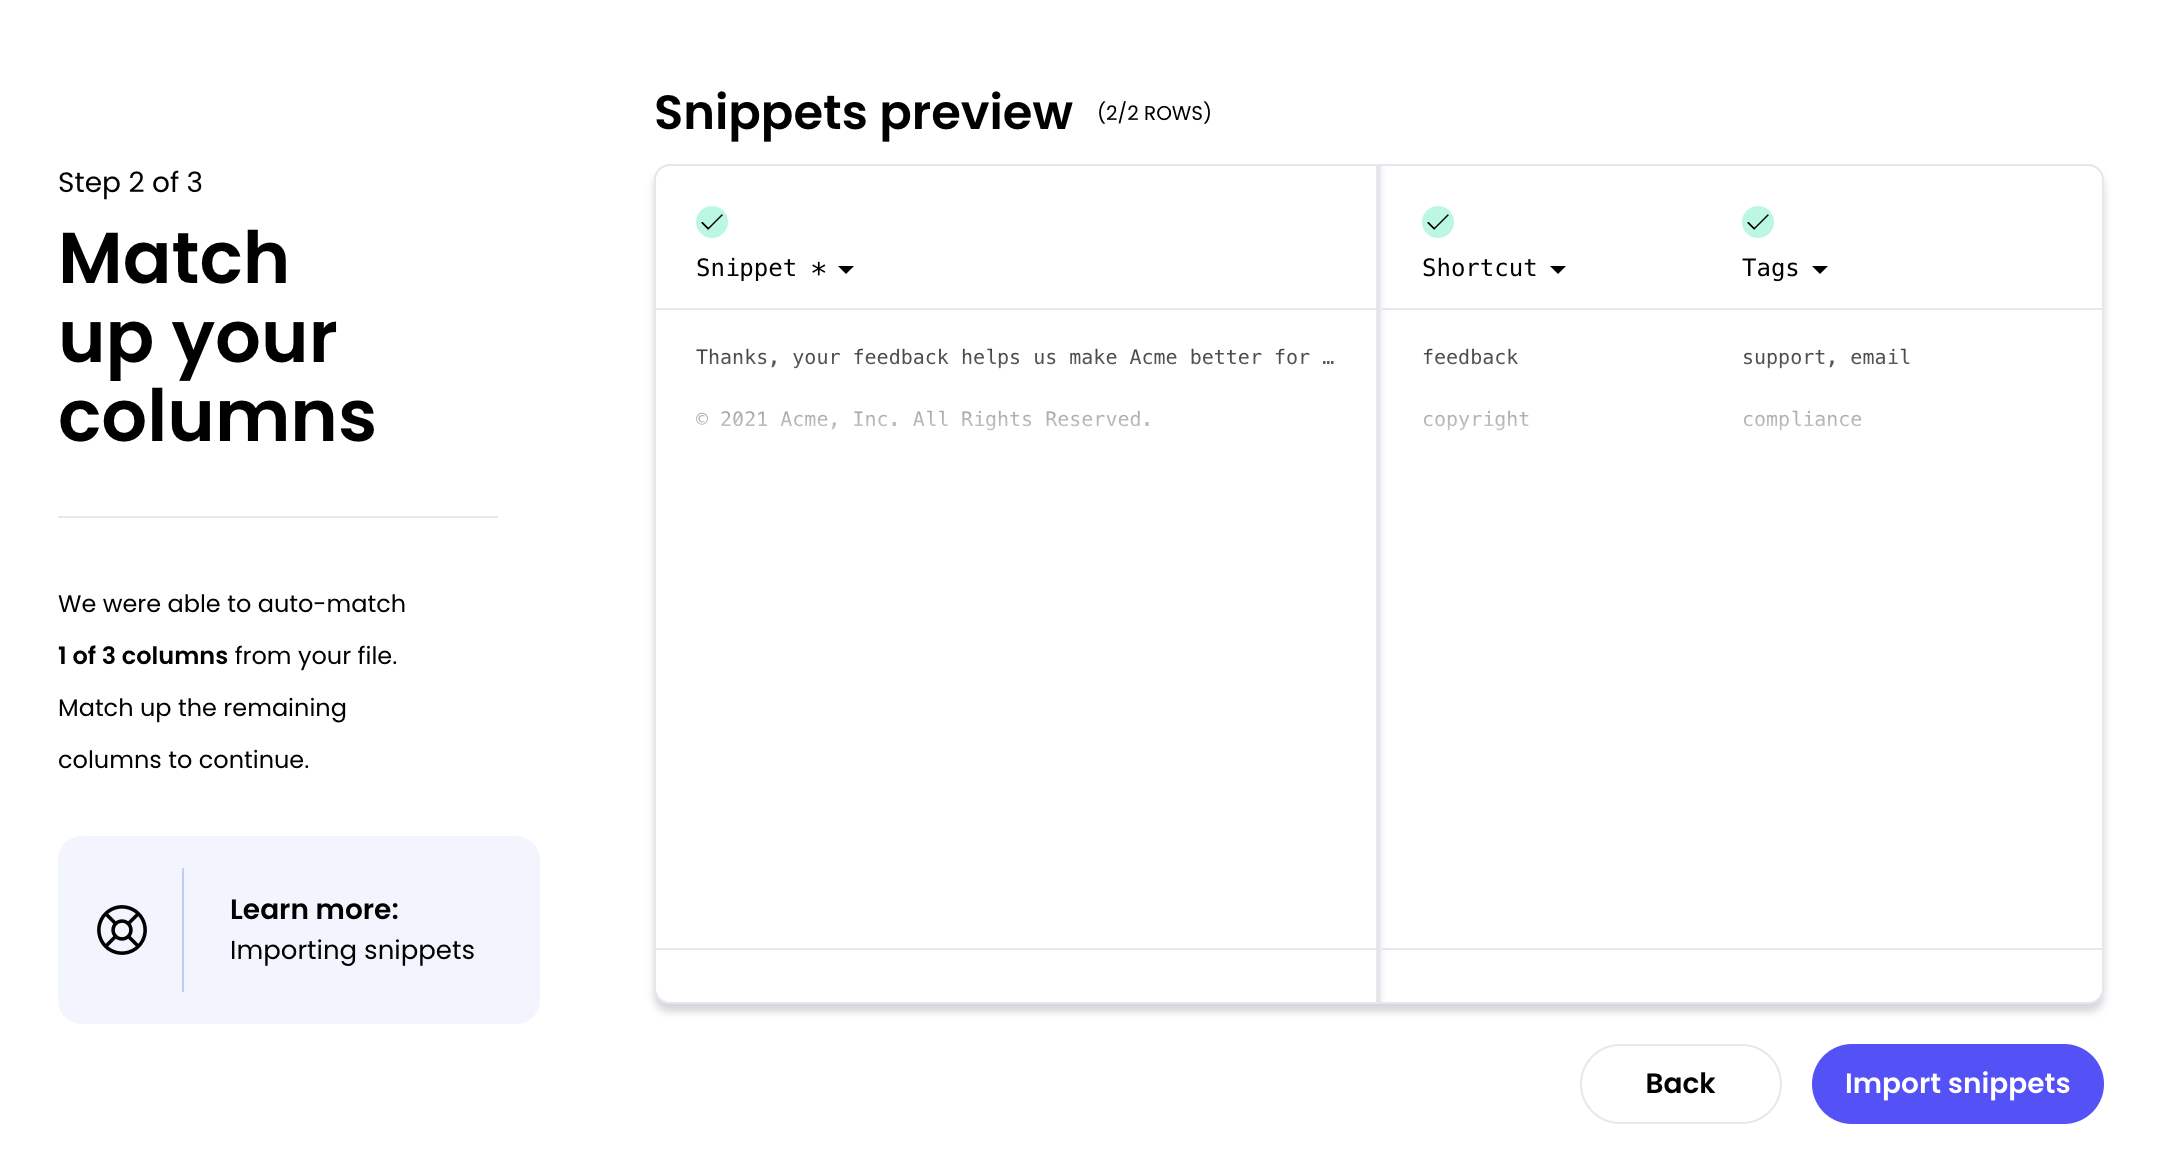
If we can't match all the columns, it's usually because the column headers are written differently than in the template. However, you can still manually match the column yourself.
Unmatched columns will show up in red. As long as the Snippets column is matched, you can continue the import without matching other columns. If a column is unmatched, we won't import the data in that column.
To match a column, select the column dropdown menu and choose which Snippet field your column should be matched to.

When you're done matching columns, select the Import snippets button to begin your import.
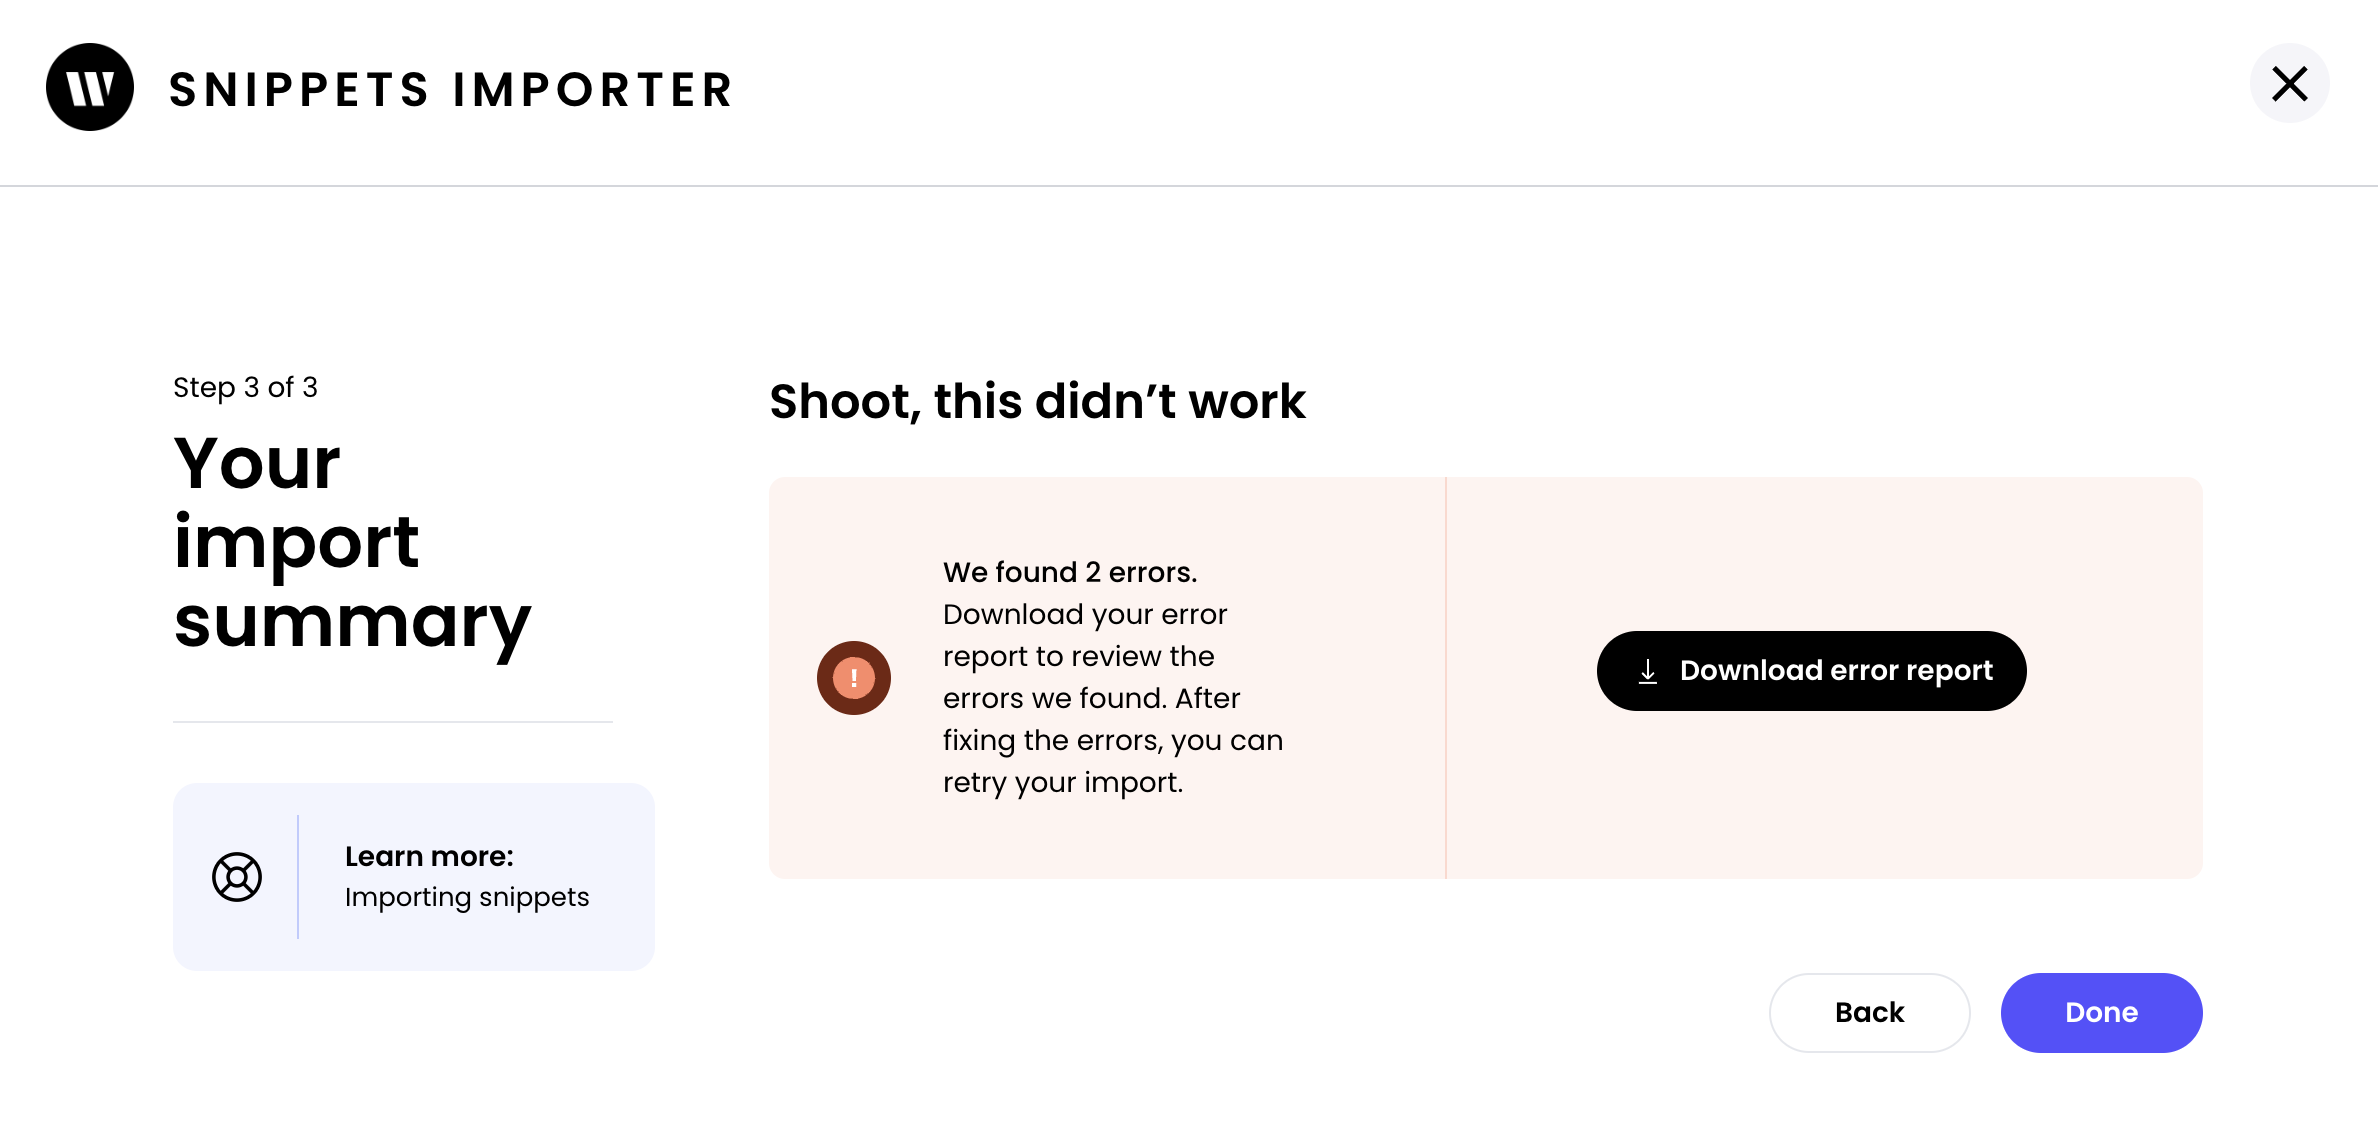
Step 3: Reviewing any errors
With a successful import, you'll be taken back to your Snippets page and your imported snippets will be ready for you.
In some cases, your import may run into errors. When that happens, we'll provide a CSV error report that'll let you know which snippets ran into errors and how to resolve them.
You can adjust your import file to fix the errors, then re-run the import for the remaining snippets.