Configuring authentication values for Confluence
Last updated: July 17, 2026
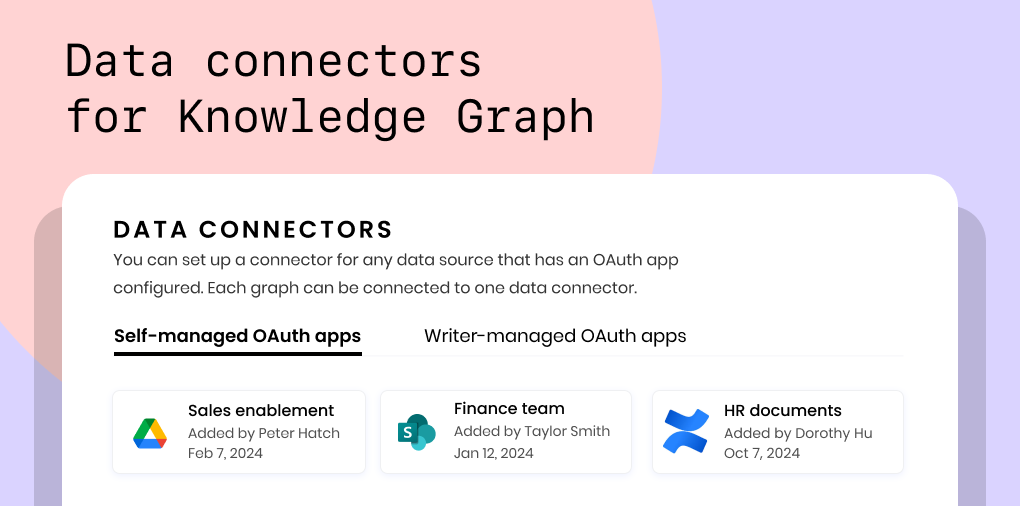
Learn how to set up a self-managed Confluence OAuth application in the WRITER web app to enable a data sync with Knowledge Graph.
NOTE: You'll need the ability to create and manage OAuth applications in Confluence in order to set up this application.
Create your OAuth app in Confluence
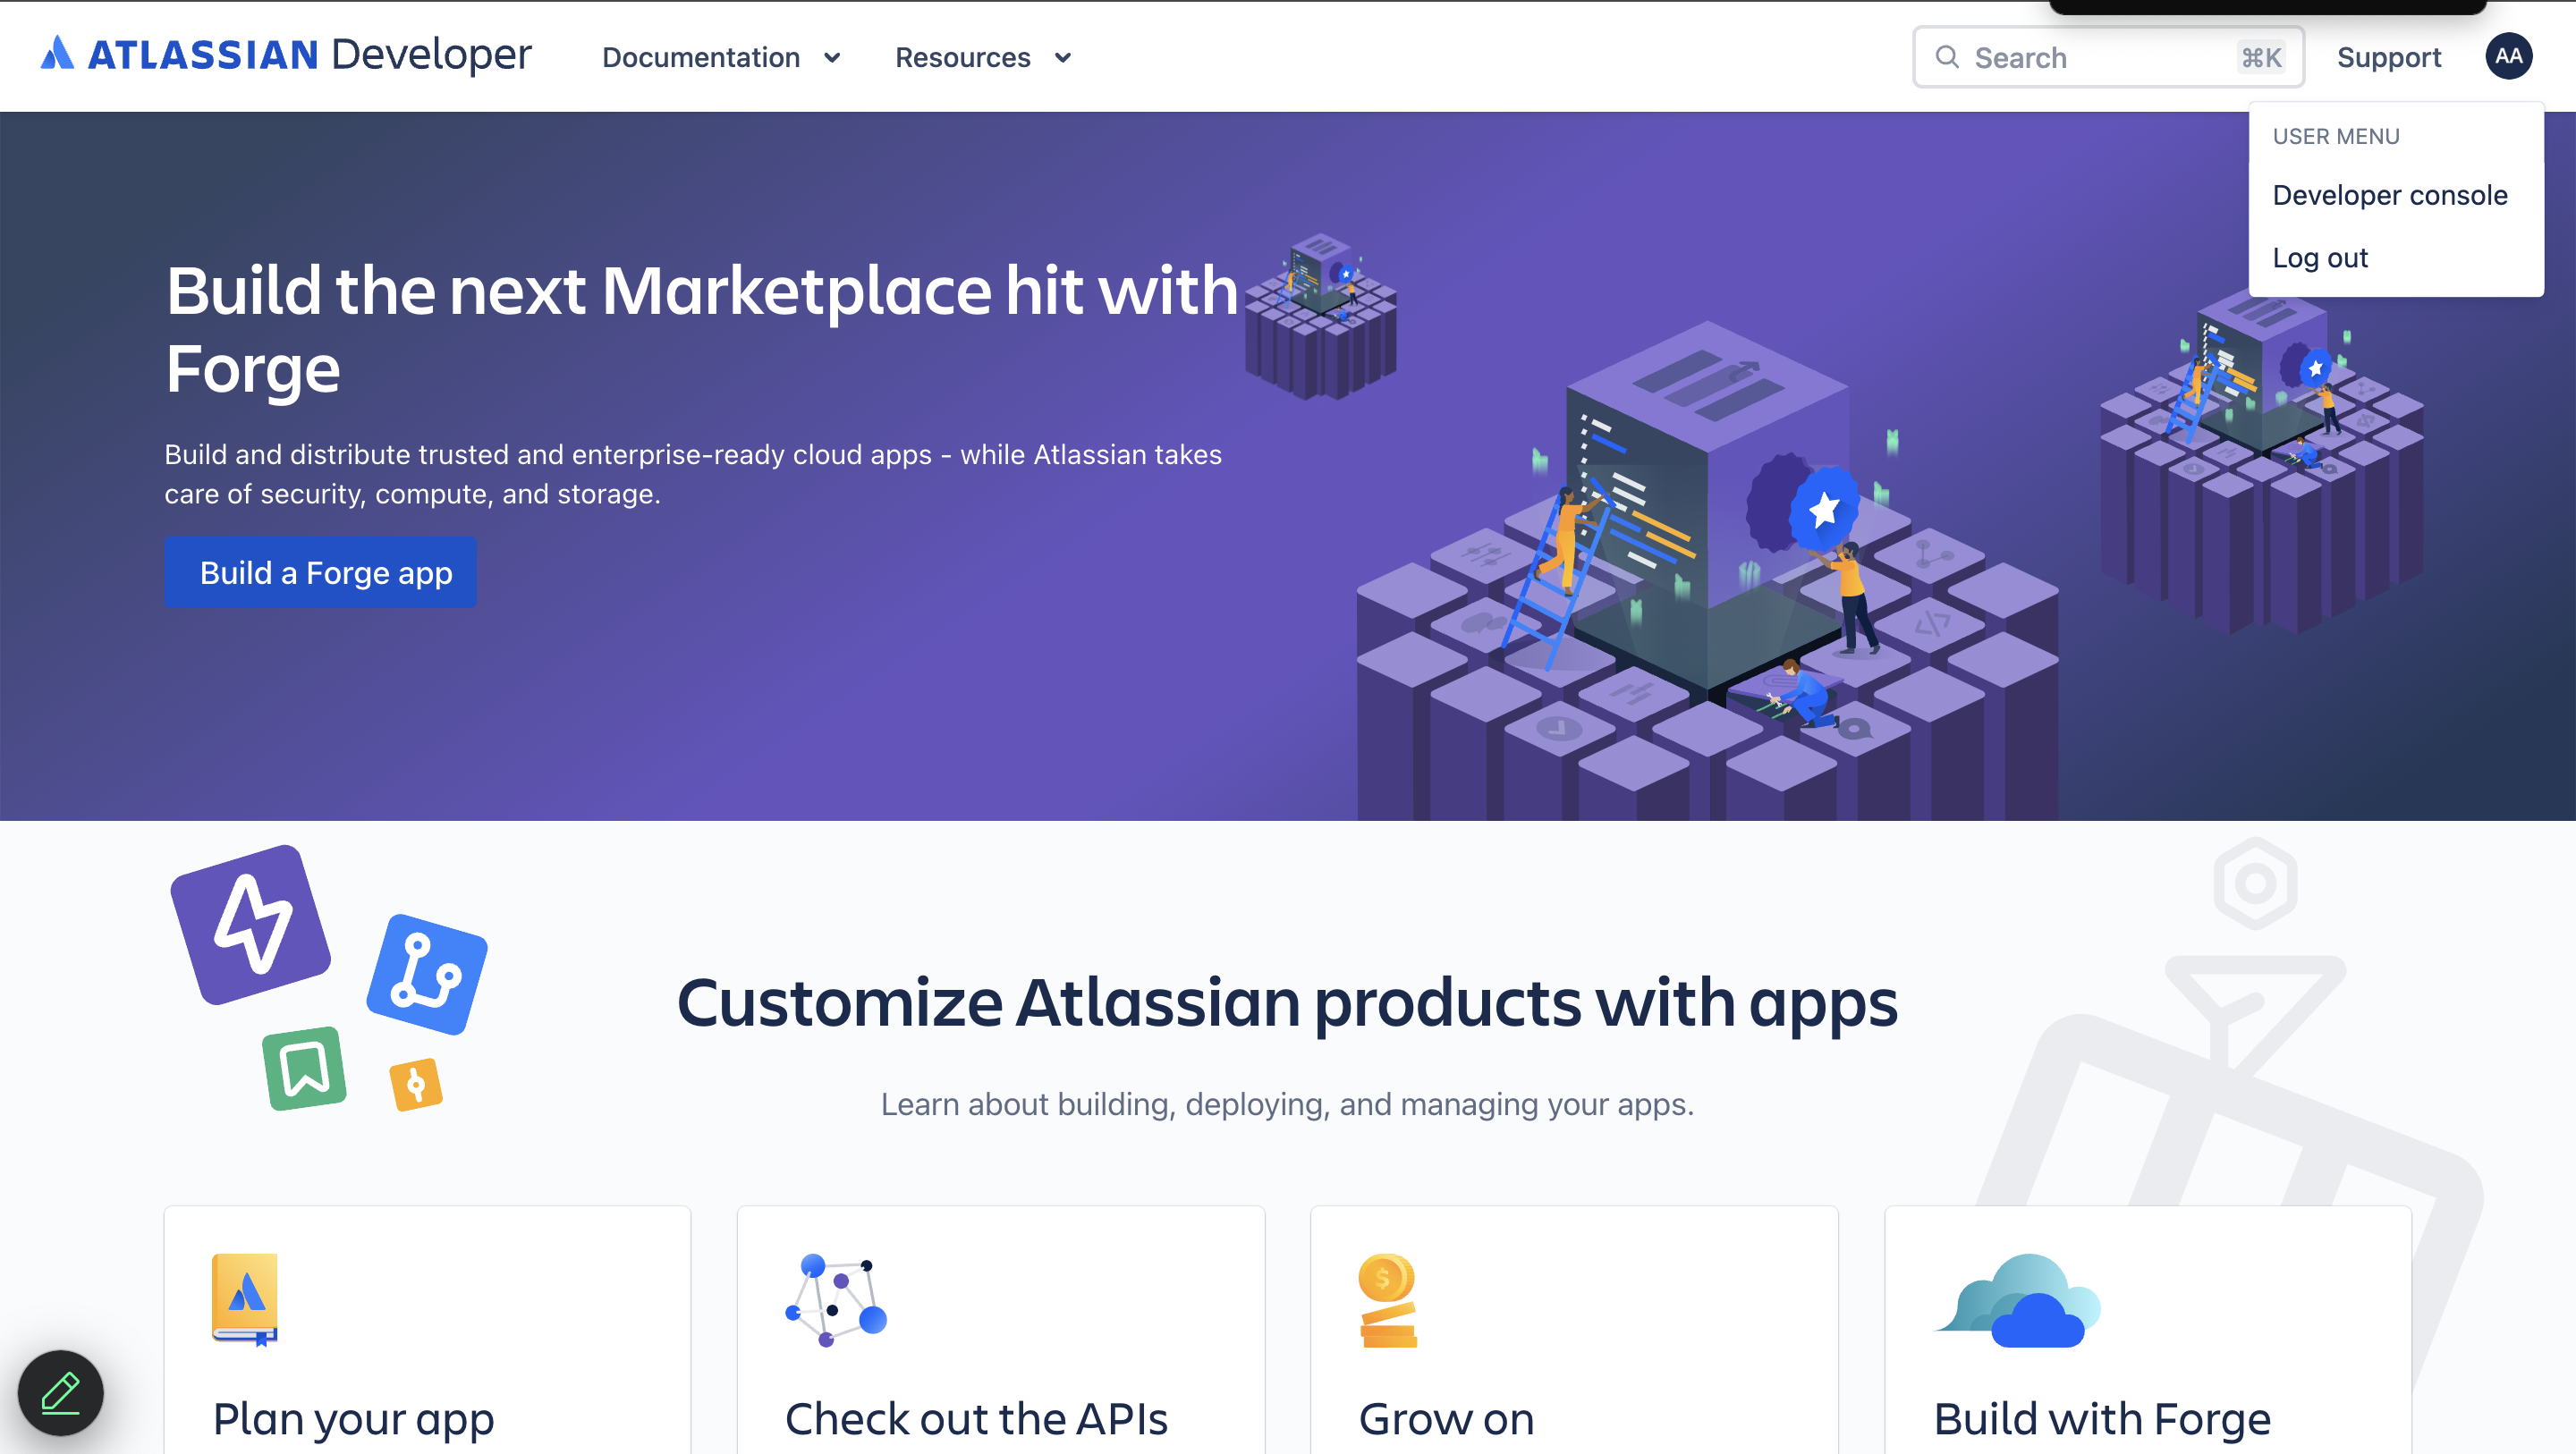
Start by logging into the Atlassian Developer console.
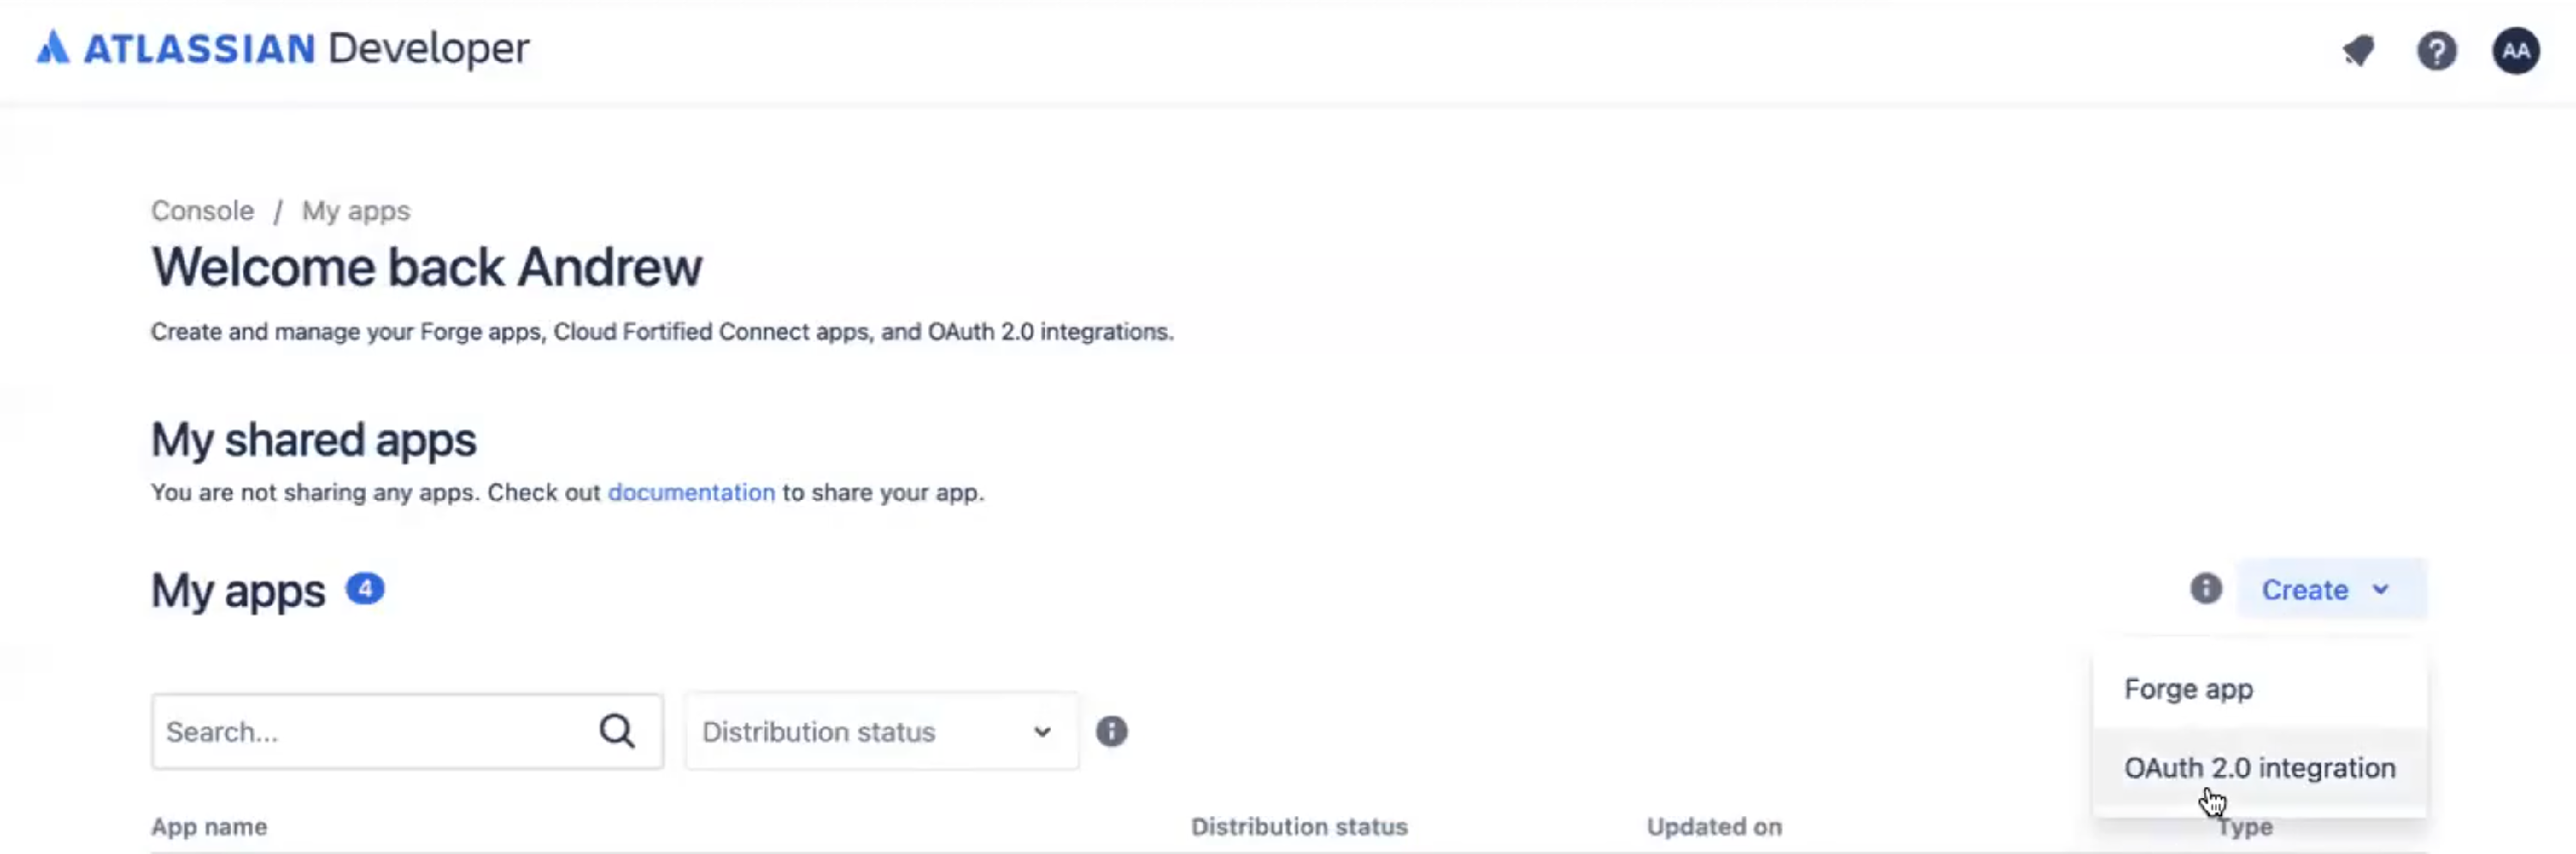
Under My apps select Create then select OAuth 2.0 integration.
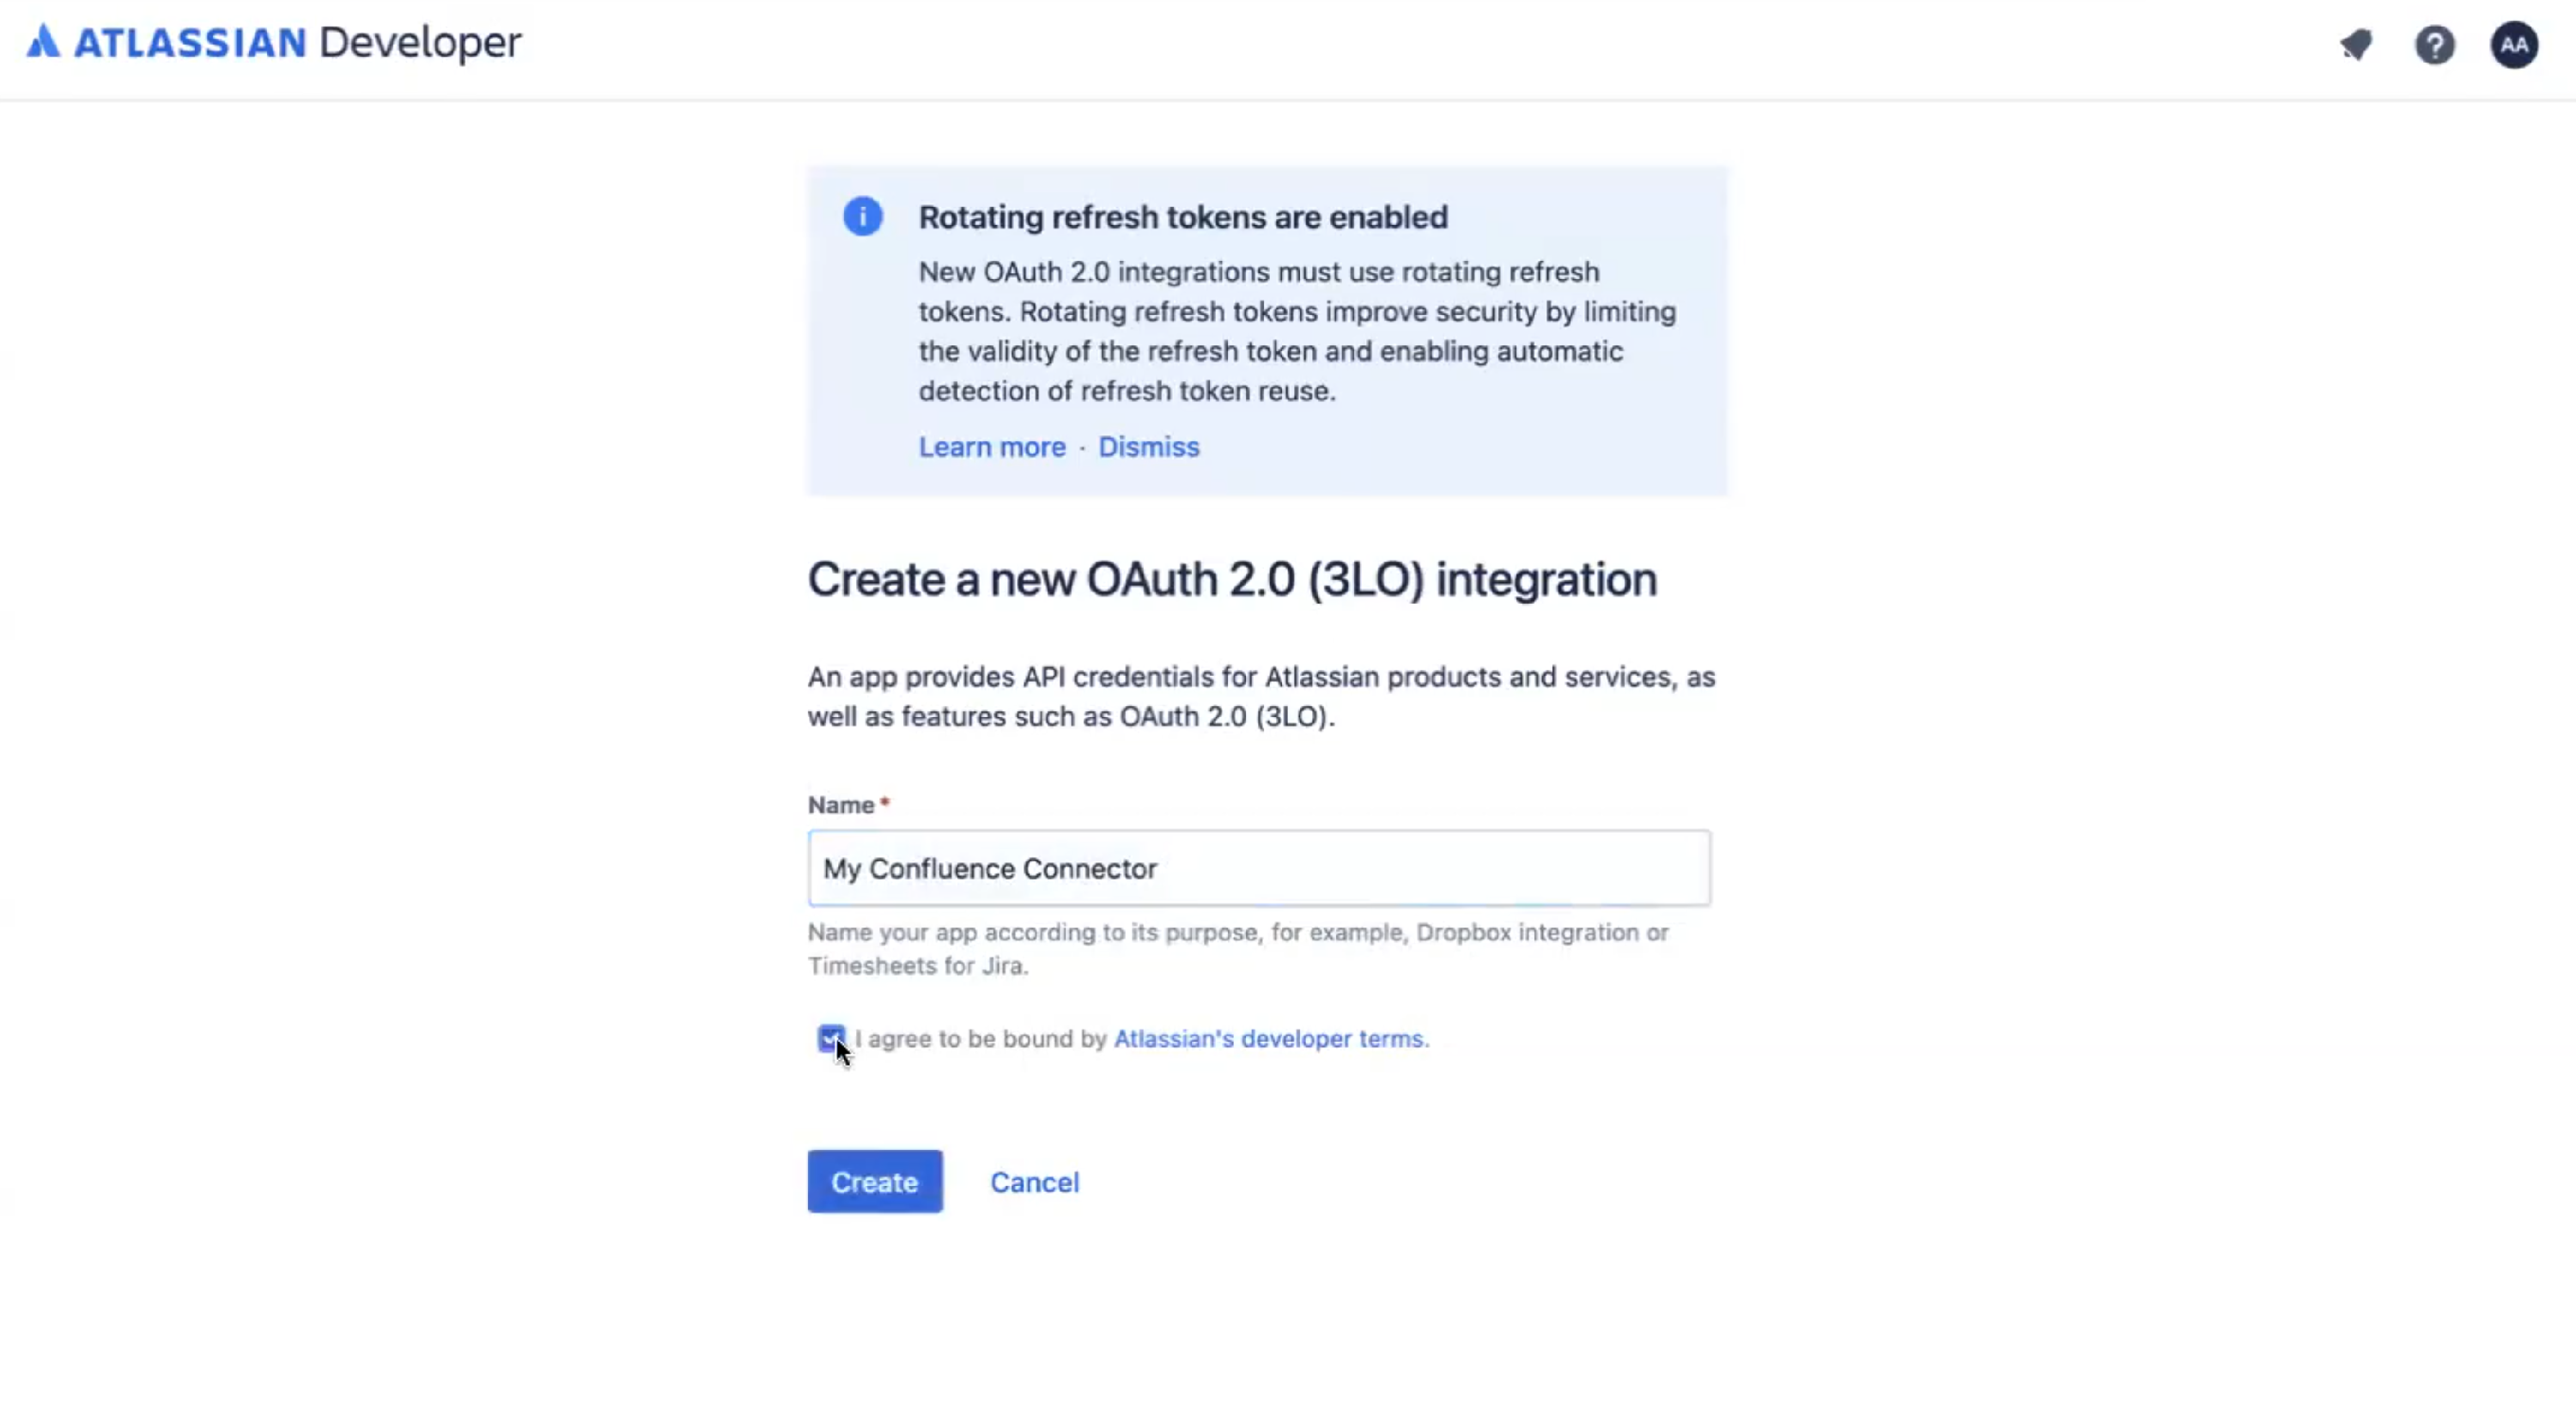
Give your new OAuth app a name and check the box agreeing to Atlassian's developer terms.
Configure scopes for your new OAuth app
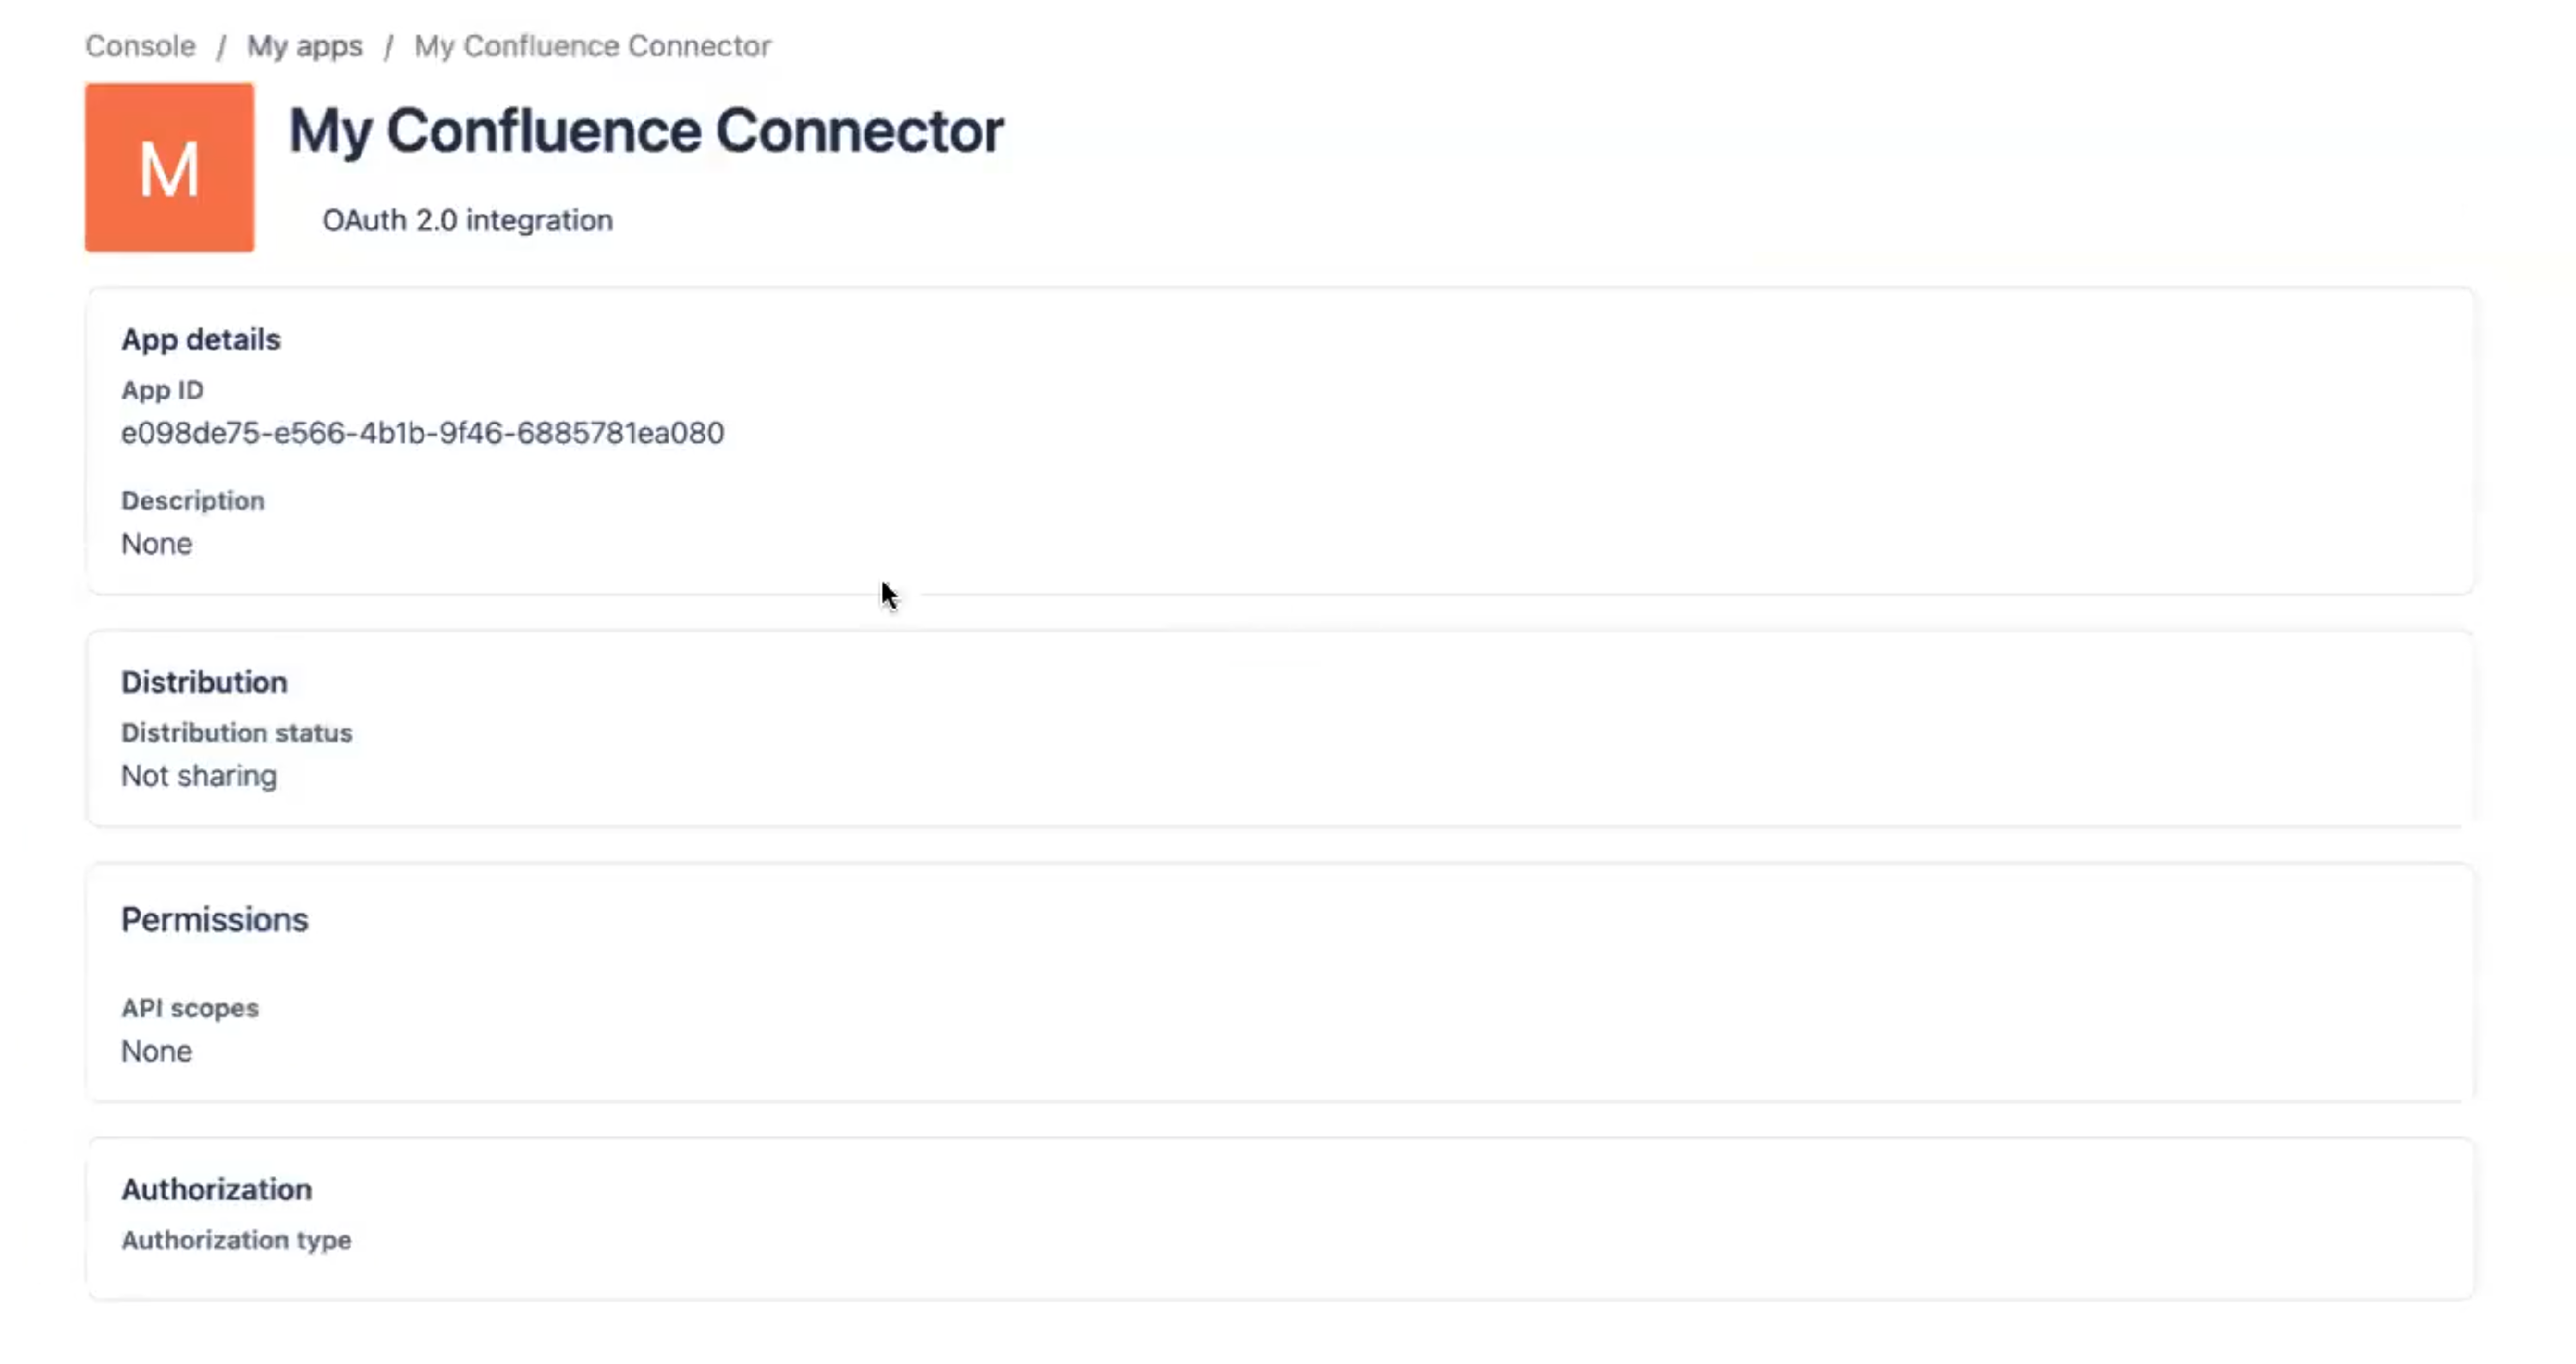
Once you've created your new OAuth app, you'll be taken to a details screen. Select Permissions.
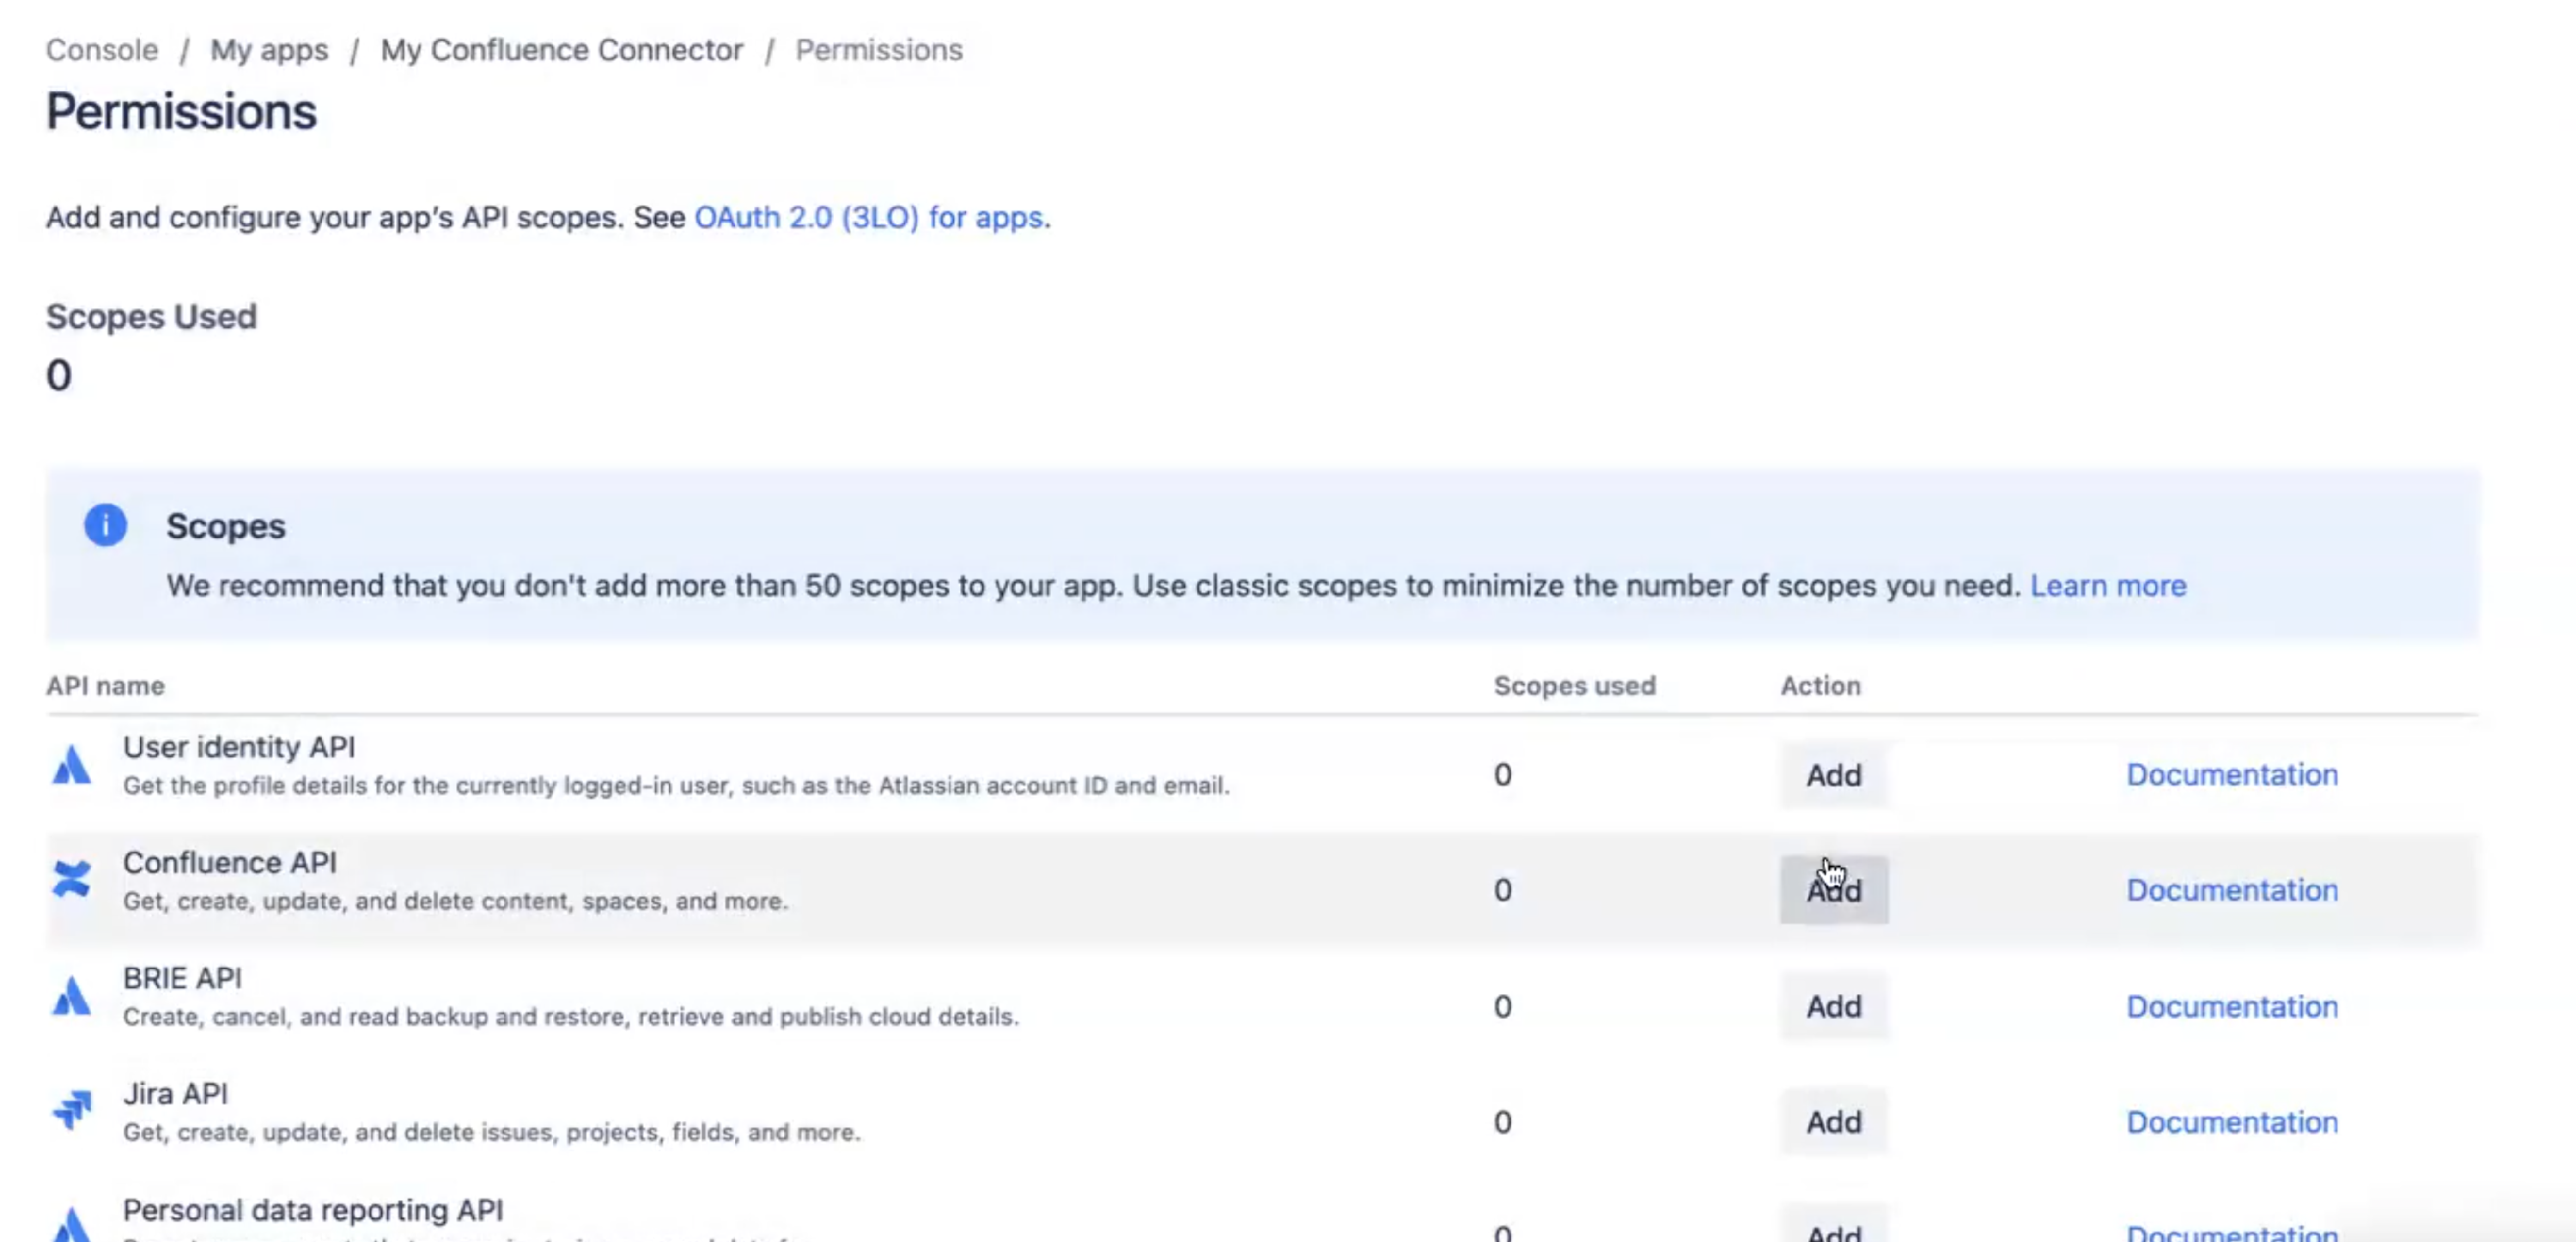
Next to Confluence API select Add, then Configure.
Select the Classic scopes tab, then select Edit. Add the following scopes:
Scope name | Code |
Search Confluence content and space summaries | search:confluence |
Next, select the Granular scopes tab, then select Edit. Add the following scopes:
Scope name | Code |
View space details | read:space:confluence |
View pages | read:page:confluence |
Return to the details page for your app.
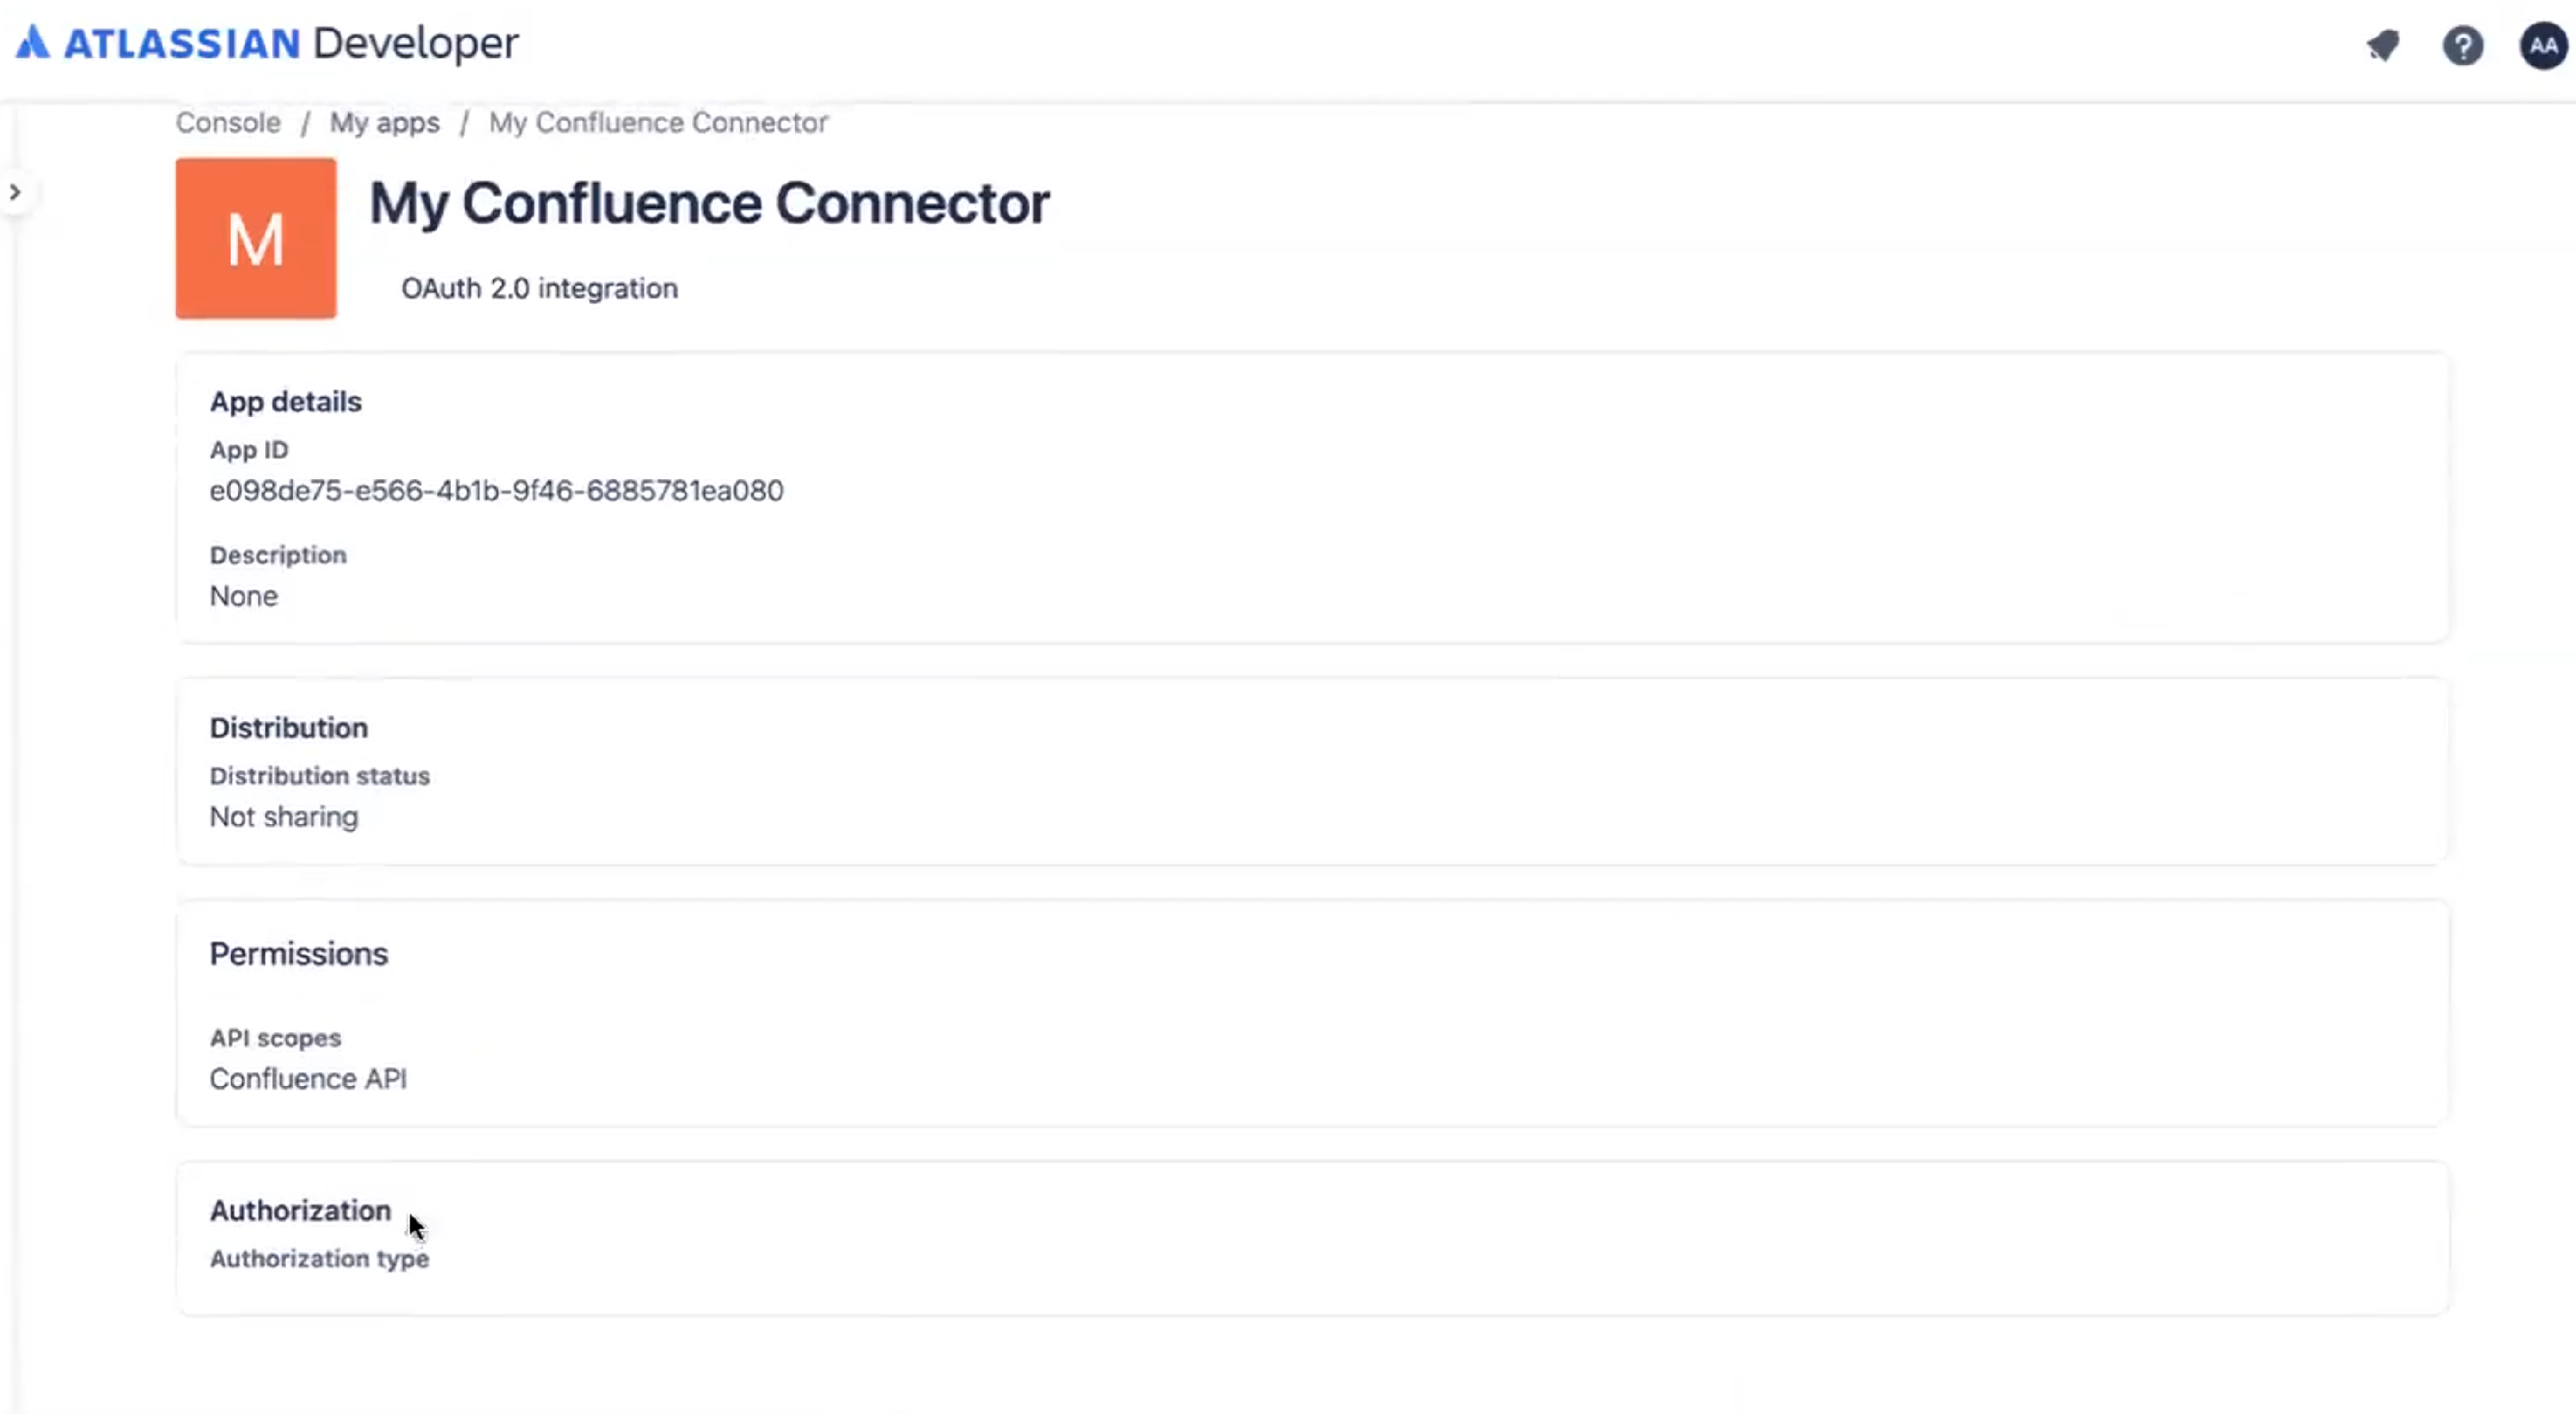
Select Authorization.
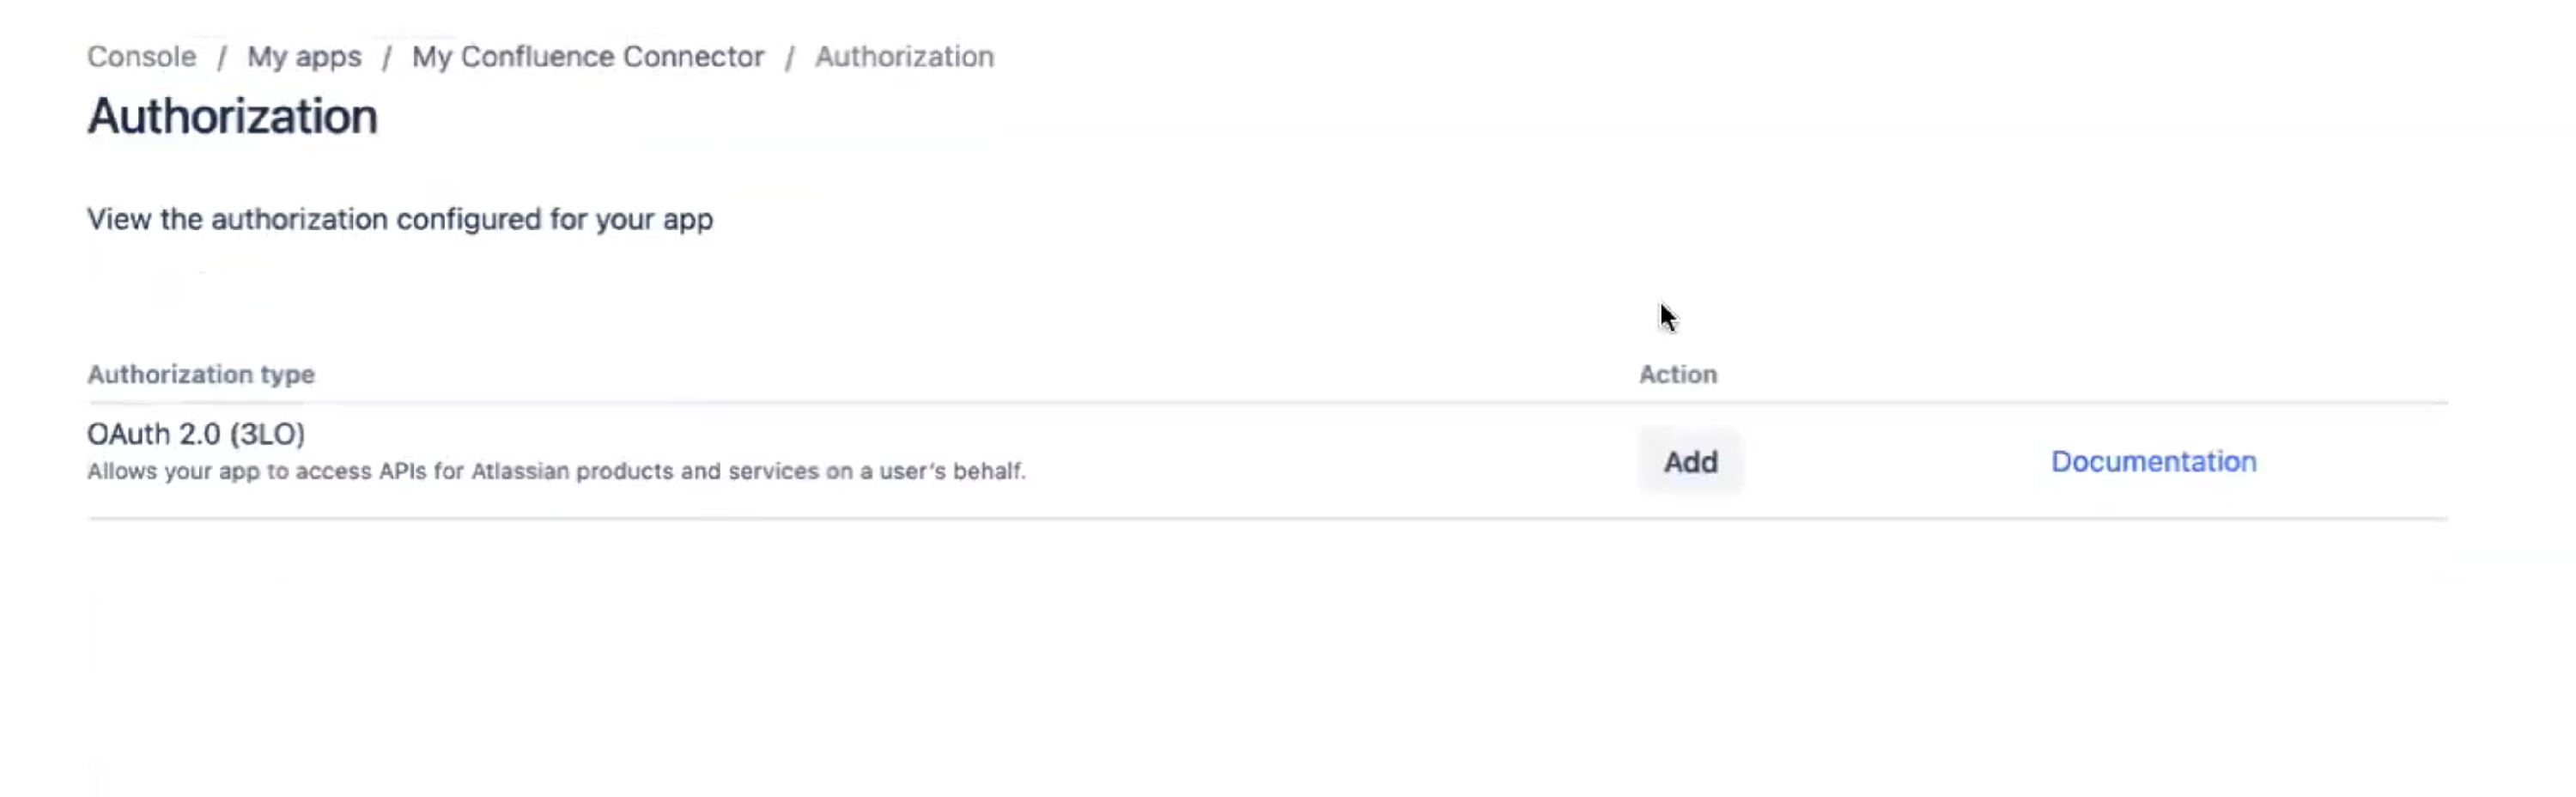
Next to OAuth 2.0 select Add.
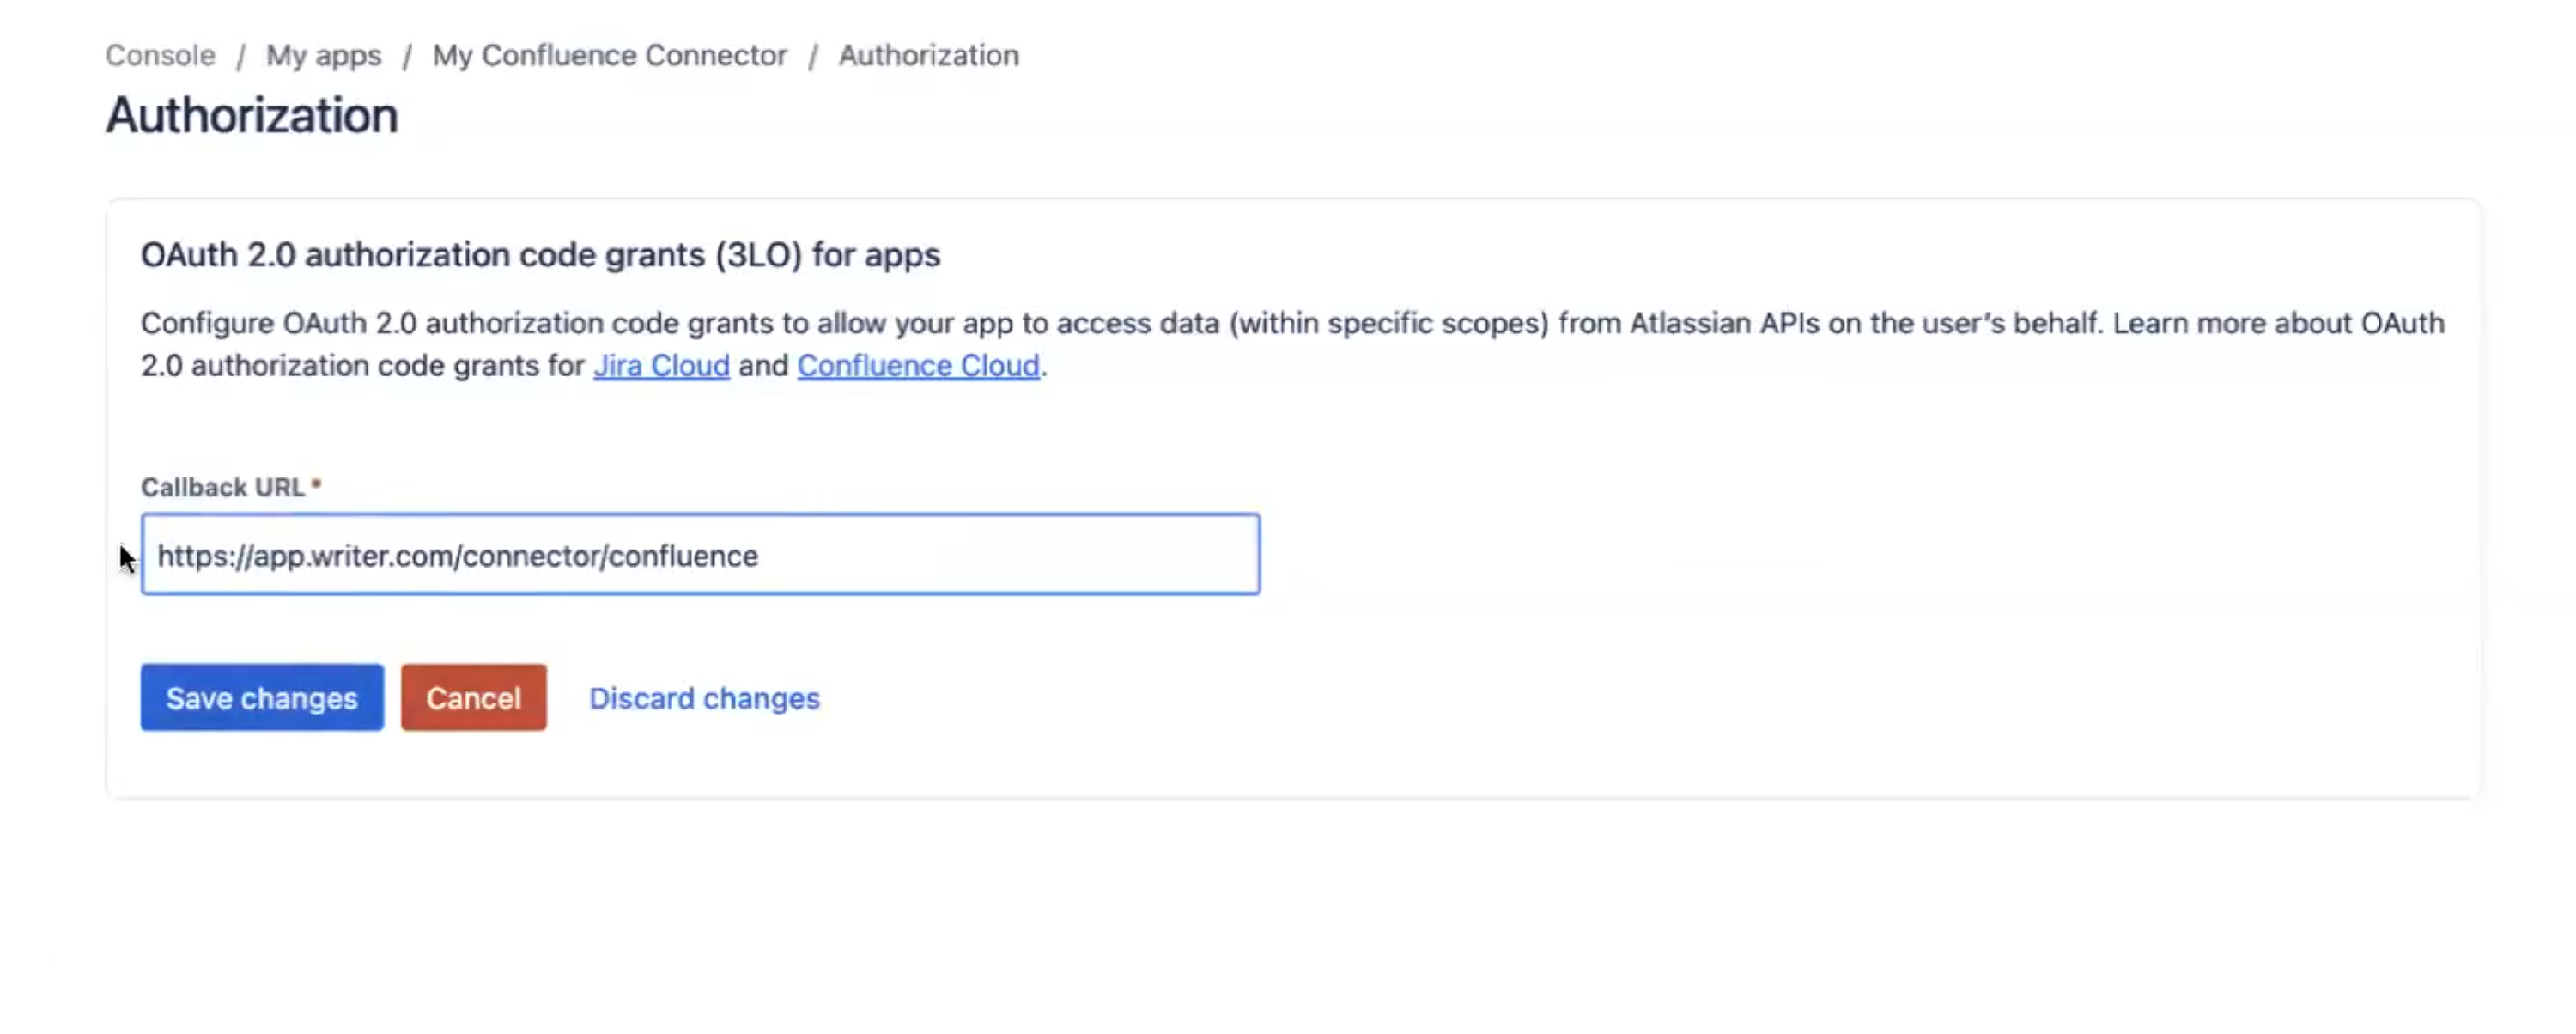
Under Callback URL enter the following URL:
https://app.writer.com/connector/confluence
Select Save changes.
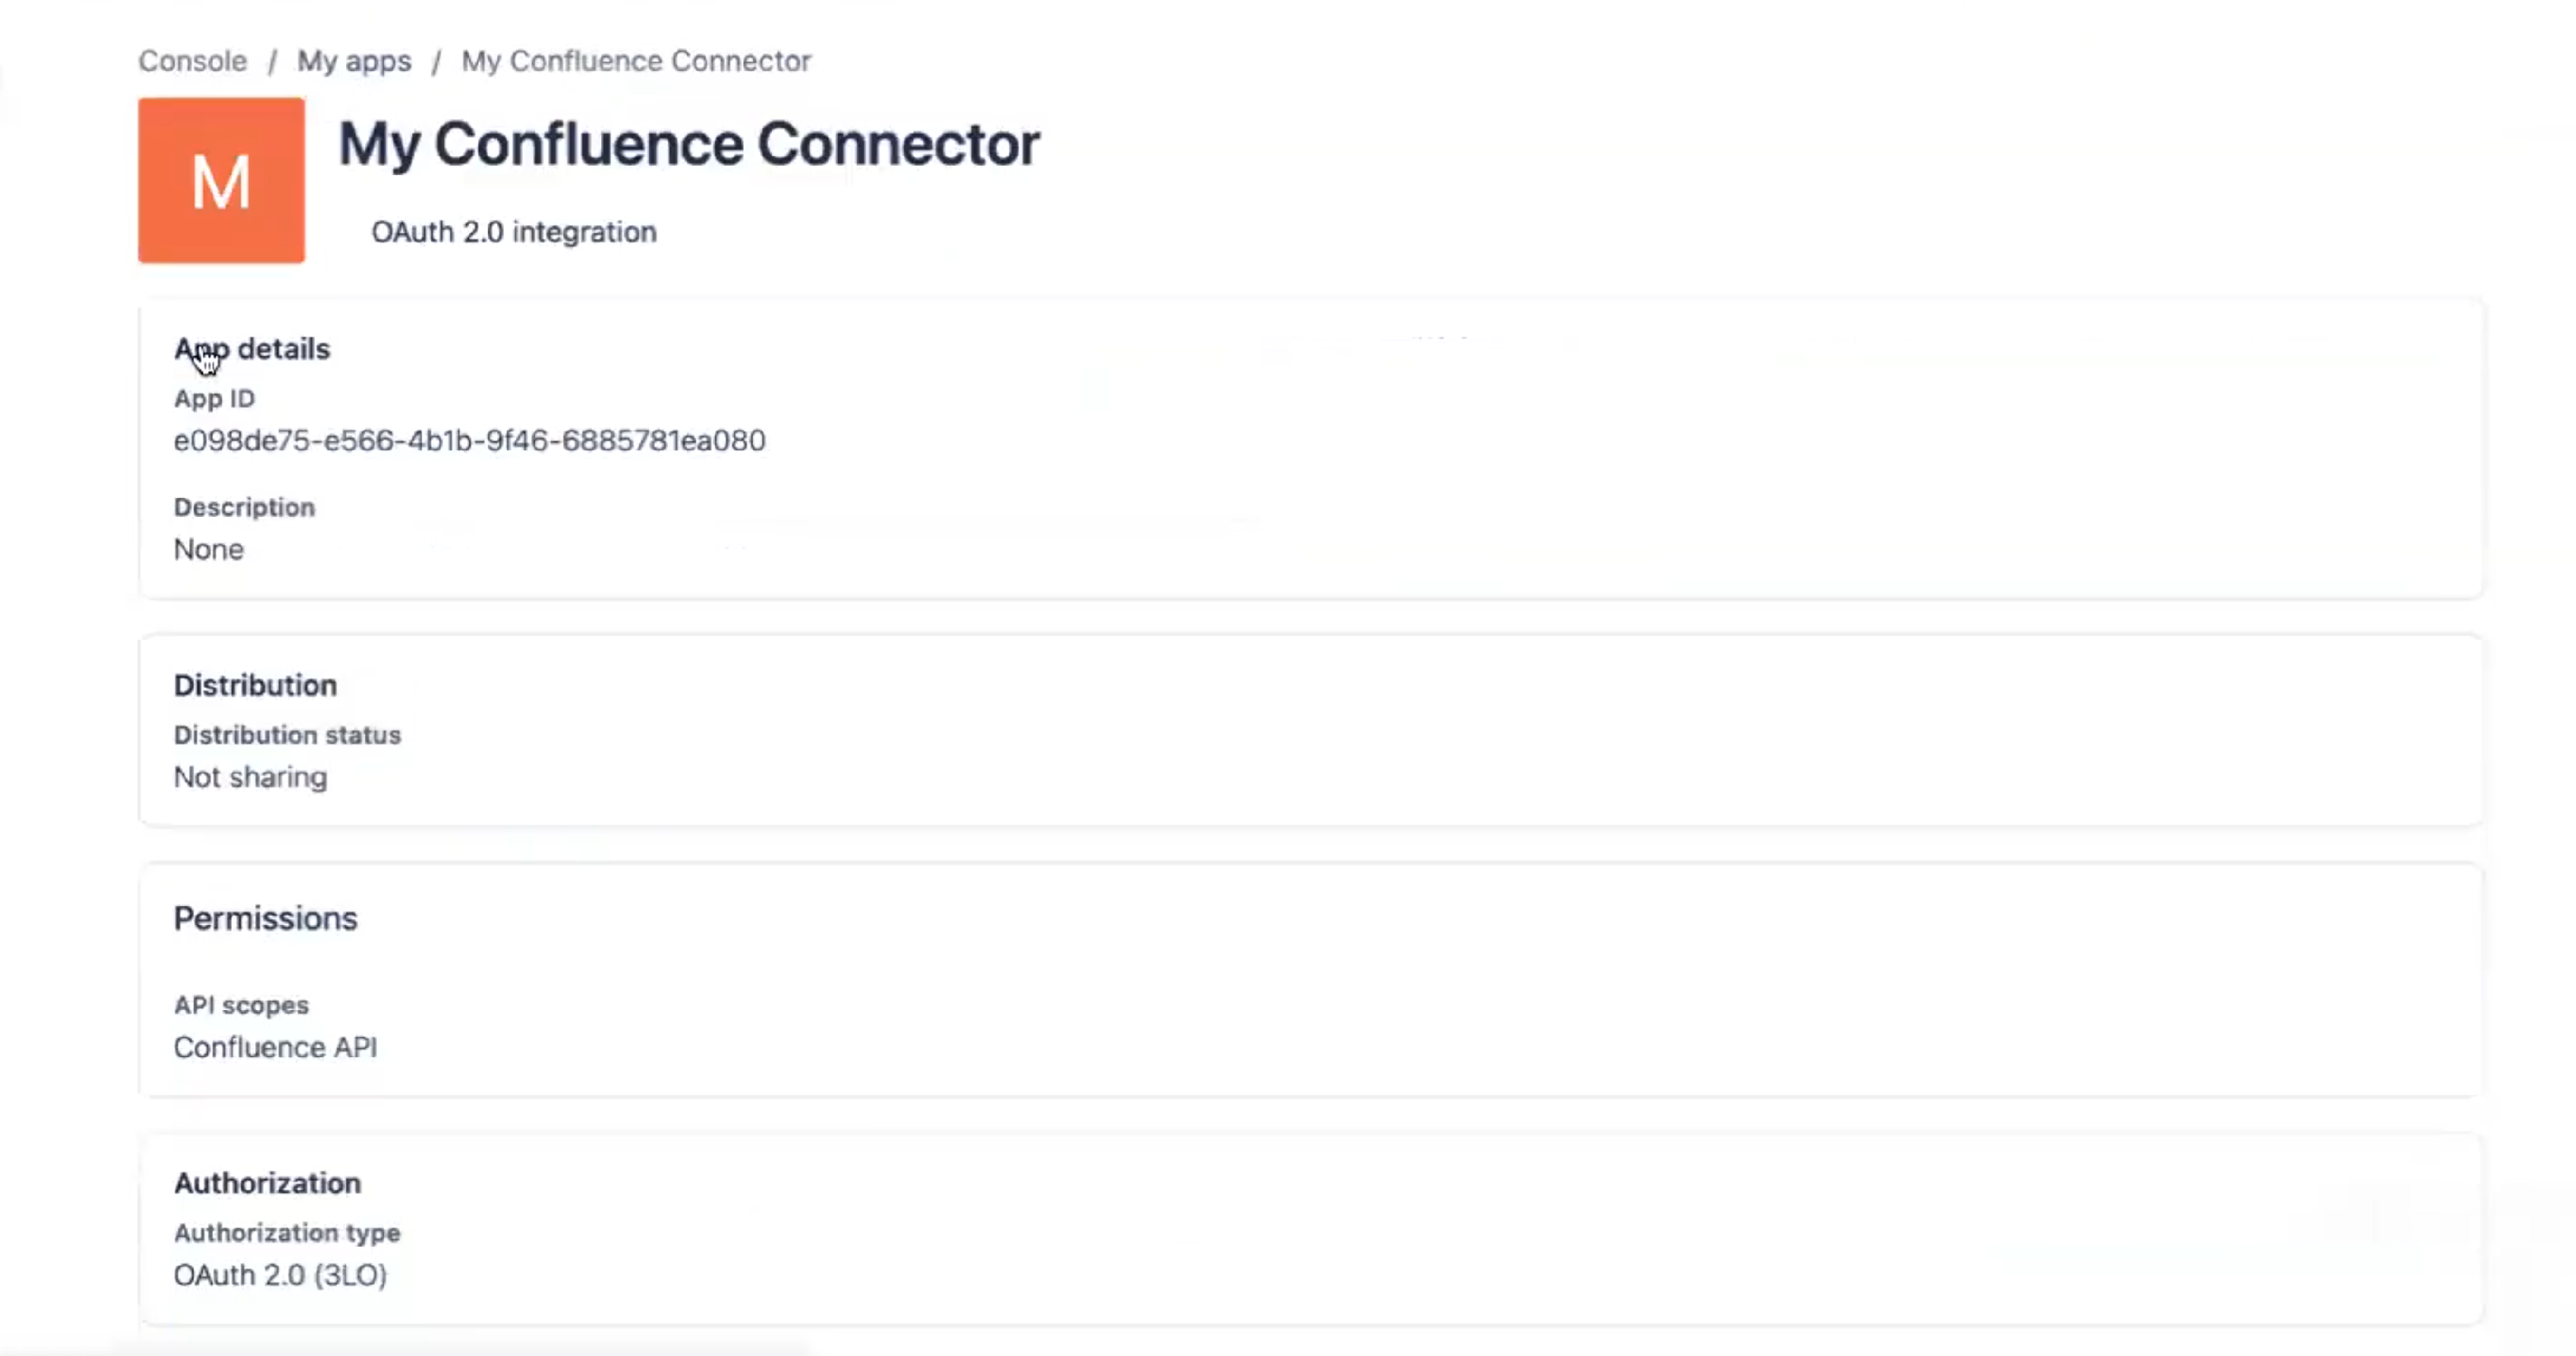
Return to your app and select App details.
You'll now see the authentication details needed to create your self-managed OAuth app within WRITER.
Configure your self-managed OAuth app in WRITER
Begin creating an OAuth app in the WRITER web app.
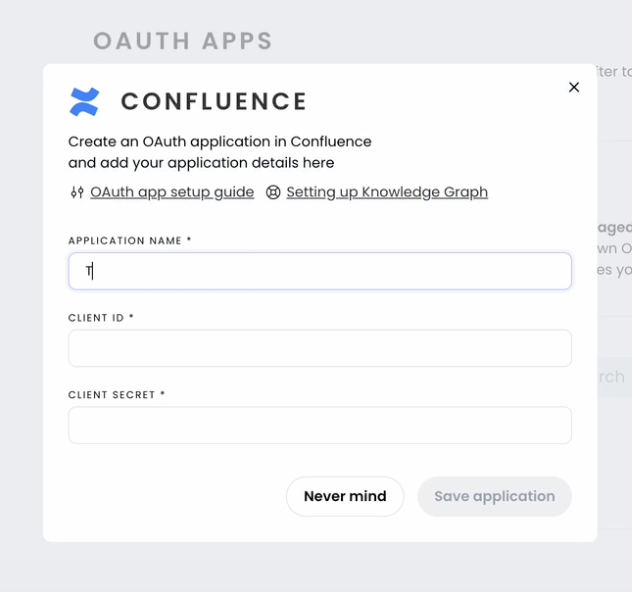
You'll need to fill in the OAuth application values for this popup below.
For Application name, you can use whichever you prefer. This application name will appear on the Knowledge Graph setup page as team admins set up graphs for their teams.
Fill in Client ID and Client secret with the information you just created in the App details page within Confluence.